views
Doing a Simple Rectangular Wrap
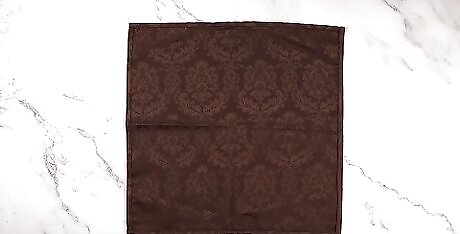
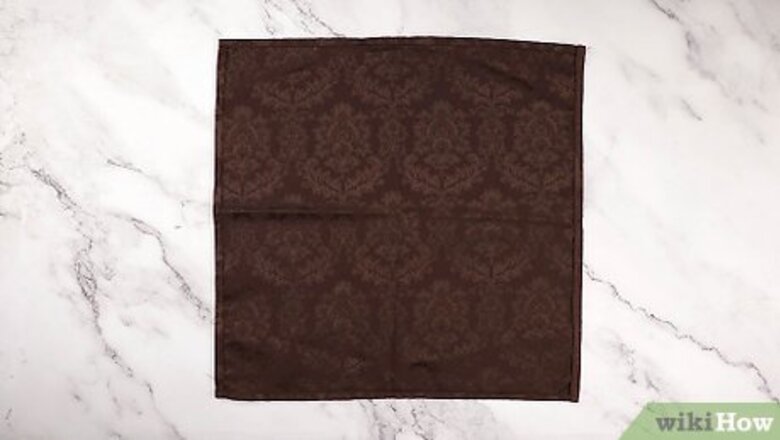
Place a napkin on a flat surface so that it looks like a square. If your napkin has both a front and a back, make sure that the back is facing up. If there isn't a front of back, then check the hems; make sure that the folded-under side of the hem is facing you. This method will create a skinny, elegant wrap with straight ends. The napkin needs to be about 3 times the height of your knife.
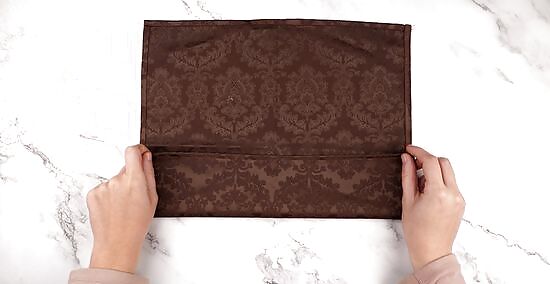
Fold the bottom edge up by 2 to 3 inches (5.1 to 7.6 cm). The measurements don't have to be exact; they are there simply to create a pocket for your silverware. The napkin should now be twice the height of your silverware. This will create a soft of pocket for your silverware to slip into. Make sure that the pocket is the same width from left to right. The side edges need to match up.
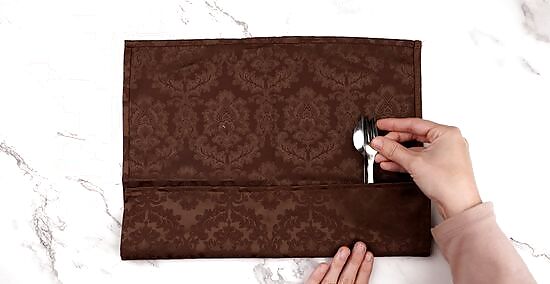
Tuck stacked silverware behind the fold, on the right side of the napkin. Make sure that your silverware is oriented vertically, so that it is sticking out from behind the napkin's pocket. Stack your silverware starting with the knife. Add the forks next, starting with the larger one and finishing with the smaller.
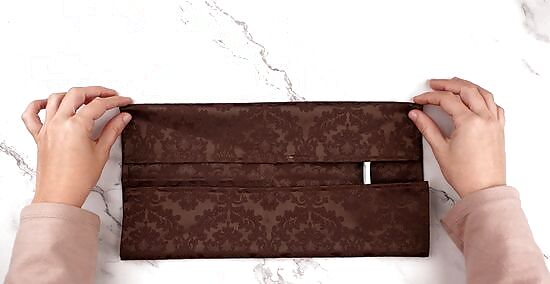
Fold the top edge so that the napkin is the same height as the knife. Make sure that the bottom edge of your stacked silverware is nestled inside the napkin's pocket. Next, grab the top edge, and fold it down over the silverware. Like with the pocket, make sure that the top edge is nice, neat, and straight.
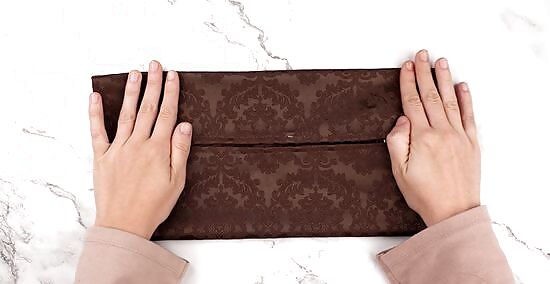
Adjust the folds so that the top edge touches the bottom fold. Napkins and silverware come in different sizes, so what works for one size may not work for another. The top edge of your napkin should be touching the bottom, folded edge of the napkin. If it doesn't, adjust the width of the pocket until it does. For example: If the top edge doesn't touch the bottom edge, the bottom edge is too wide. Make it narrower, then fold the top edge back down. If the top edge extends past the bottom edge, the bottom edge is too narrow. Fold it up more, then pull the top edge back down.
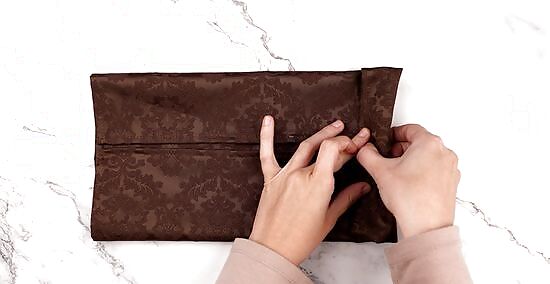
Roll the napkin tightly, starting from the right side. Take the right side of the napkin, and flip it over towards the right. Make sure that the silverware is tucked into the fold, then begin to roll it tightly towards the left side. Be sure to smooth out any ripples or wrinkles as you roll. Make sure that the top and bottom folded edges don't shift or move.
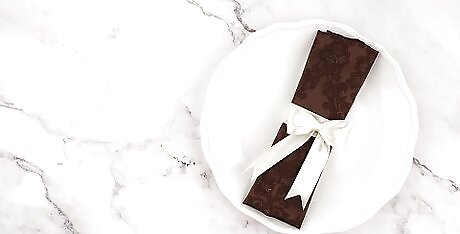
Add a napkin ring or ribbon, if desired. You could even wrap a thin strip of colored paper around the middle of the napkin, then overlap and secure the ends with a drop of glue or a piece of double-sided tape, just like in a restaurant! If you don't want to add napkin rings, ribbons, or paper, set the bundle seam-side-down on the table. This will weigh it down and keep it from unraveling.
Creating a Diamond Wrap
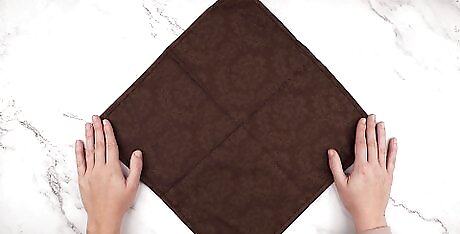
Set a square napkin down so that it makes a diamond shape. One of the corners should be turned towards you. If the straight edge is facing you, then rotate the napkin. Make sure that the back/wrong side of the fabric is facing up. This method is similar to the first in that it will create a tightly-wrapped bundle. Instead of having a seam running down the length of it, however, it will have diagonal seams. Pick a napkin that is about 2 to 3 times the height of your knife.
Fold the bottom corner towards the top to make a triangle. Make the crease nice and neat and be sure to smooth out any wrinkles. By now, you should have a straight, horizontal edge facing you, and a pointy top edge facing away from you.
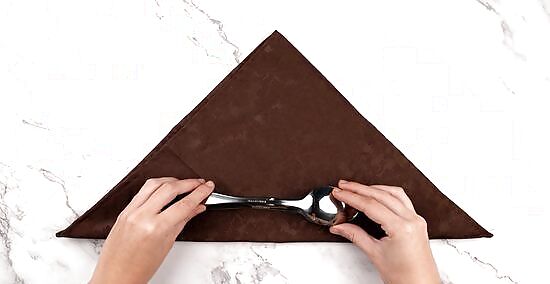
Place stacked silverware lengthwise along the middle of the folded edge. The entire side edge of your silverware should be aligned with the folded edge. There should be an equal amount of napkin sticking out to the left and right ends of the silverware. You are placing the silverware horizontally across the napkin, not vertically. Stack the silverware starting with the knife and finishing with the smallest fork.
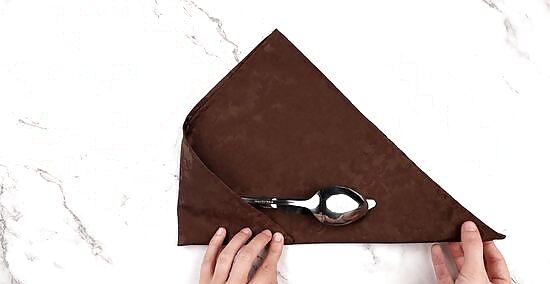
Fold the left and right corners over the silverware. Make sure that the bottom edges are aligned nicely. How much you fold the corners by depends on the length of the silverware. The ends of the silverware should be nestled right inside the folds. Do not crease these folds.
Wrap the napkin into a tight roll, starting from the bottom edge. Take the bottom edge of the folded fabric, and fold it upward once. Next, begin to wrap the bundle towards the top edge, as tightly as you can. Go slowly and use your fingers to keep the stacked silverware in place. Don't let them slip around.
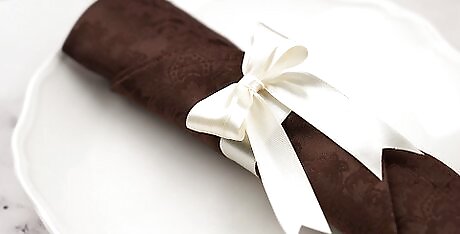
Finish the bundle with a ribbon or napkin ring. A napkin ring may cause the bundle to loosen, but a tightly-wrapped ribbon will keep it together better. Alternatively, you can wrap a thin strip of paper around the bundle, and secure it with some glue or a piece of double-sided tape. If you don't want to secure the bundle with anything, set it seam-side-down on top of the table.
Folding a Pointed Pouch
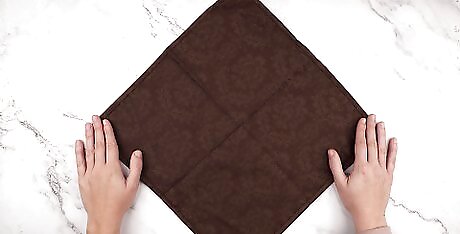
Orient a square napkin like a diamond. If the napkin has both a front and back side, make sure that the back is facing up. This method will give you a flat, house-shaped pouch. If you want to make a non-pointed pouch, orient the napkin like a square, with one of the straight edges facing you. Use a napkin that is about twice the height of your knife.
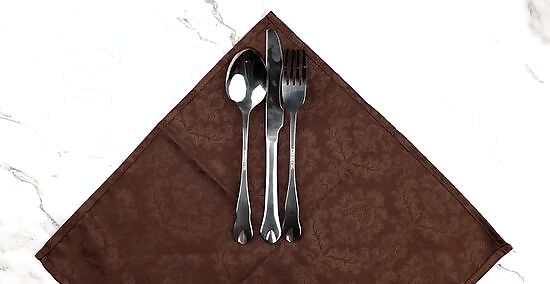
Center your silverware on top of the napkin so that it's touching the top corner. Do not stack the silverware. Instead, place the fork, knife, and spoon side-by-side on top of the napkin. Make sure that they are centered, oriented vertically, and touching the top corner. For a square pouch, have the silverware touch the top, straight edge instead. You should have an equal amount of fabric to the left and right sides of the aligned silverware.
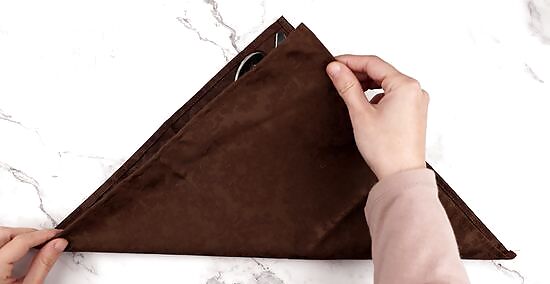
Fold the bottom corner of the napkin over the silverware. How many inches or centimeters you fold it up by depends on the length of the silverware. The bottom edge of the silverware should be nestled right inside the fold. You might end up covering the silverware all the way or partway. If you are making a non-pointed pouch, fold the bottom straight edge up instead.
Bring the left corner of the napkin over towards the right corner. The left side of the napkin should be completely covering the silverware, with the leftmost utensil nestled right inside the fold. Depending on the width of the silverware, the left edge of the fabric will be a few inches/centimeters from the right edge.
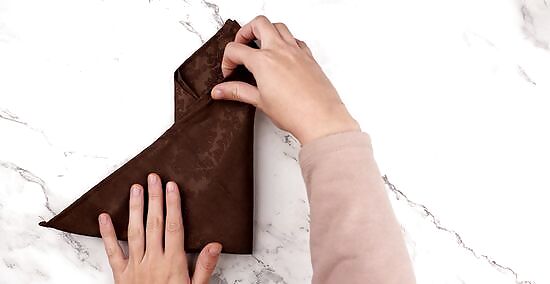
Fold the right corner of the napkin over towards the left edge. Pinch the stacked layers of fabric (left edge and right), and fold them across the silverware and towards the left side. Make sure that the rightmost utensil is nestled inside the right folded edge. The right edge of the fabric will extend past the left folded edge by a couple of inches/centimeters. This is fine.
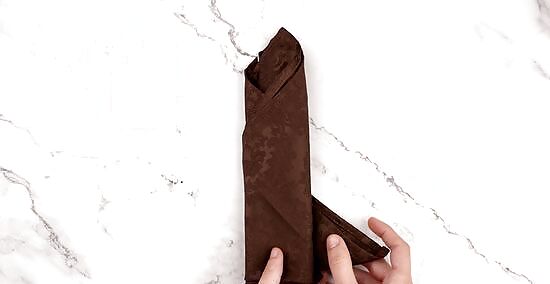
Tuck the right corner of the napkin under the pouch. Carefully lift the pouch up, keeping it parallel to the table so that it doesn't come apart. Fold the excess fabric on the left side under the pouch. You should end up with something that looks like a tall, skinny house. If you are making a non-pointed pouch, you'll end up with a skinny rectangle instead.
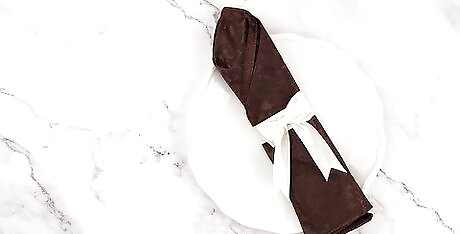
Wrap a ribbon around the pouch, if desired. Cut a long piece of ribbon, and set it horizontally down on the table. Place the pouch vertically on top of it, so that they cross in the middle. Wrap the left and right ends of the ribbon across the front of the pouch, then tie them into a bow. Tie the ribbon loosely enough so that it does not distort the shape of the pouch. You want the pouch to remain flat, and not bunch up like a bowtie.






Comments
0 comment