
Machine-Washing Your Gloves
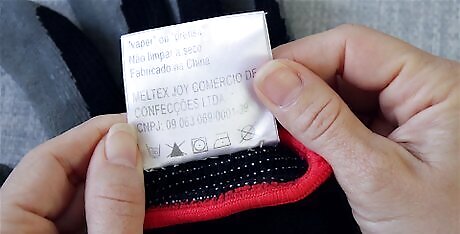
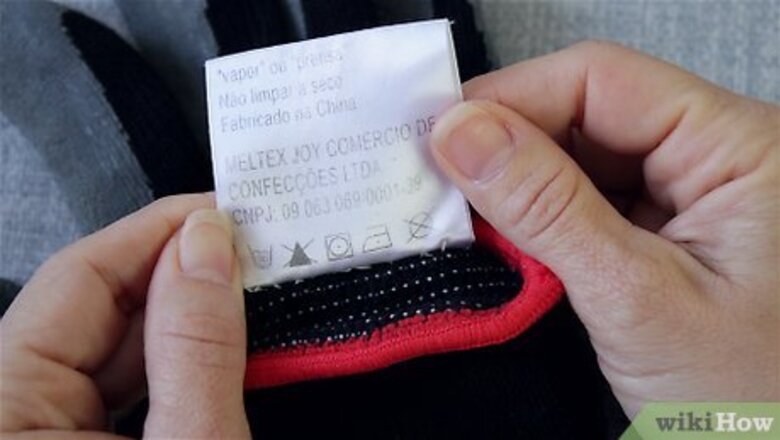
Check the tag to see if you can machine-wash the gloves. Look on the inside lining of the glove near the wrist and read the tag to see if the gloves can be machine-washed. You can typically wash the cutting gloves made out of fabric, but the mesh gloves made out of metal are not machine washable. Wash your gloves after every use if you’re working with food to prevent bacteria and germs from spreading. Otherwise, clean your gloves whenever they get excessively dirty. If there isn’t a tag on the gloves, assume that you can’t wash them in the machine. You cannot wash the steel mesh gloves that look kind of like chain mail. They’ll scratch up the machine and may potentially break apart in the wash.

Set the gloves inside the washing machine with other laundry. If you can wash the gloves in a washing machine, toss them in along with your other laundry. If the gloves are white or tan, toss them in with your white clothing. If they’re black or blue, throw them in with your darker laundry. You can wash your gloves on their own if you want, but use the most delicate setting available on your machine if you do this. It doesn’t matter what your other laundry is. You can throw them in with delicates if you’d like. If you’re nervous about damaging your other clothes, feel free to place the gloves in a mesh laundry bag.

Add a standard amount of your liquid laundry detergent to the machine. Pour 1–3 tablespoons (15–44 mL) of detergent into the machine based on the size of your load. Alternatively, you can use the hash marks printed on the inside of the detergent cap to determine how much you need to use. Pour the detergent directly over the laundry.Warning: Do not use bleach or fabric softener, especially if the glove is made of Kevlar. Bleach and fabric softener may wear away the fibers in the glove and damage their ability to protect your hands. You can use the detergent dispenser if your machine has one.
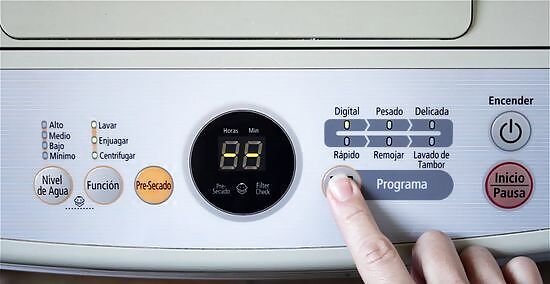
Set the machine to medium heat and run a standard wash cycle. Turn the dial to the “normal” or “regular” wash setting and set the heat to medium. Turn the machine on and wait for the cycle to complete. If you’re really worried about damaging the gloves, feel free to use a delicate wash cycle.
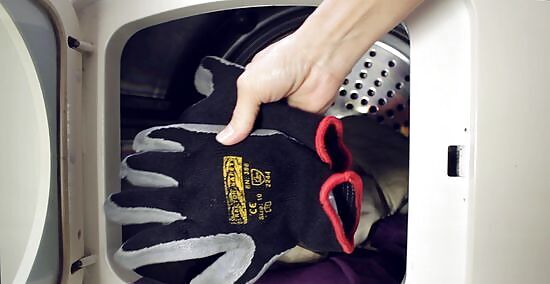
Tumble-dry your gloves on medium heat to dry them. Toss the gloves in the dryer along with the rest of your wet laundry and set the machine to medium heat. Run a standard dry cycle and wait for your gloves to finish drying. Do not use a dryer sheet or any anti-static products. These may damage your gloves or reduce their efficacy. You can air dry your gloves if you’d like, but if they were fine in the washer they’ll be okay in the dryer.
Hand-Washing the Gloves

Squirt some dish soap into your gloves and turn the warm water on. Put your cut resistant gloves on and turn the warm water on. Squirt 1–2 teaspoons (4.9–9.9 mL) of dish soap into your hands. You can use basically any standard dish soap for this. If you use the gloves to cut food, wash the gloves by hand after every use. This will keep bacteria and residue from transferring from the gloves to your food. For other uses, hand-wash the gloves whenever they become visibly dirty.
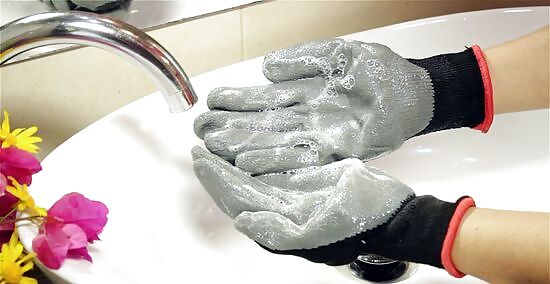
Wash your hands with the gloves on for 1-2 minutes. Rub your palms together to spread the soap out in your hands. Interlock your fingers and move them back and forth to lift dirt out from between the fingers. Then, for each glove, rub the top of each glove down with your palm. Do this for 1-2 minutes to fully work the soap into the fibers. Give each wrist a few wrings as well to cover each portion of the gloves with soap. You know you’re almost done when you feel the soap soaking through to your skin.
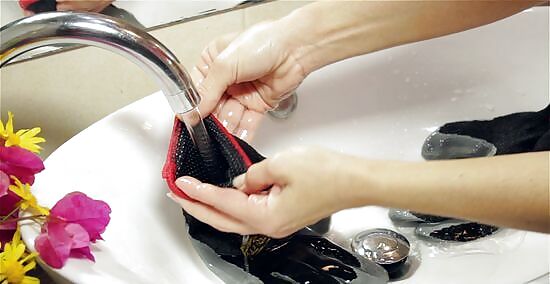
Rinse the gloves under warm water to remove the excess soap. Stick your fingertips under the water and slowly move your hands forward to rinse from the top to the bottom of the gloves. Wring your hands 2-3 times and hold the gloves under the water. Once the soap is gone and the water runs clear, take the gloves off and run some water through the inside of the gloves to rinse the insides of the gloves.Tip: If you have those cut-resistant gloves that are made out of cloth, squeeze them gently when you’re done to remove the excess water. It shouldn’t take more than 30-45 seconds to rinse your gloves.

Hang the gloves from a clothesline or hook to air dry them. Either hang your gloves outside from a clothesline, or use a command hook to hang them up in your kitchen. Let the gloves air dry vertically for 3-4 hours before reusing them.Warning: If you work in the food service industry, you must sanitize the gloves after washing them. Dip the gloves in a chlorine or QUAT-based sanitizer before hanging them up at the cleaning station. Do not air dry the gloves by leaving them flat. The underside of the gloves won’t dry out and they may attract bacteria or mold.


Comments
0 comment