
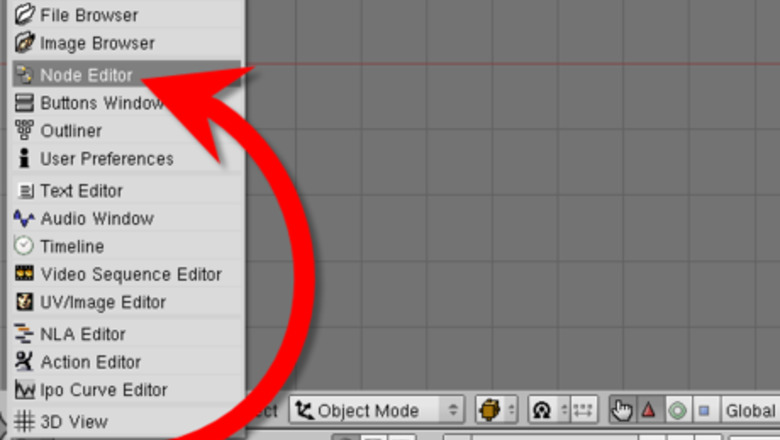
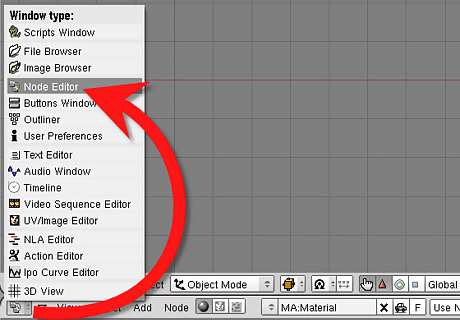
Get the node editor up. Click on the window type menu, located on the bottom left corner. Select the node editor.
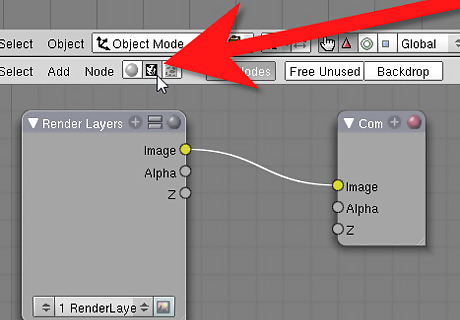
Change to composite nodes. On the bottom of the node editor, there will be a button with a portrait. That is for turning the editor so it will control the render image. Click on it. Click 'Use Nodes'
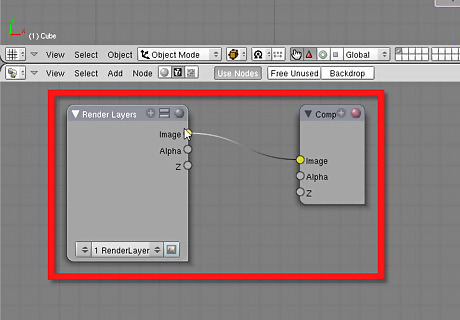
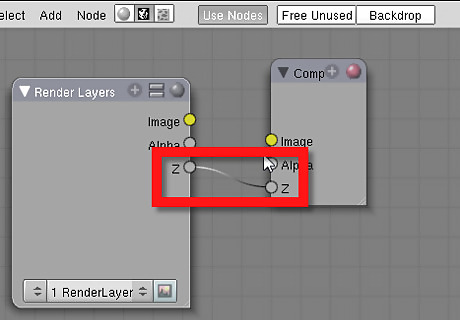
You will see two boxes: 'Render Layer' and 'Composite'. The boxes are called 'nodes'. You can resize them, close them, make them smaller, or cut line apart (unplug each other), by dragging a box. Unplug the nodes.

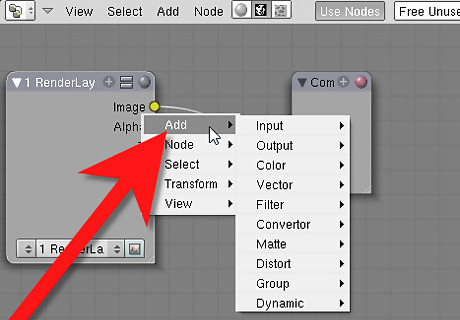
Press space and add a node.
Connect the Render Layers button to the node you just added and that to the Composite node.
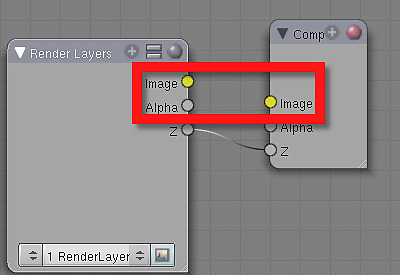
Drag from the 'image' yellow circle on the Render Layers to the 'image' circle of the node, same with the node to the Composite. It will not work if you plug them to wrong ones (usually).Use the Compositor in Blender Step 6.png

Make a simple scene, and render. You may notice something in the rendered image. Look at the nodes. Your image passed through the Render Layers node, through node(s) and into the Composite node. Andrew Price from Blender Guru ([1]) Describes compositing as a food factory. The rendered image will come from the render layers node, get processed in nodes and come out at the Composite node. Things can get added to the food, things can get taken out, or changed. The other circles one the nodes that say, for example, alpha or size, are self-explanatory. They dynamically control settings.
Add more nodes, and change the settings in them. Some of them, like Blur will be easy to use, others, like Glare will be hard to use. Just keep experimenting.
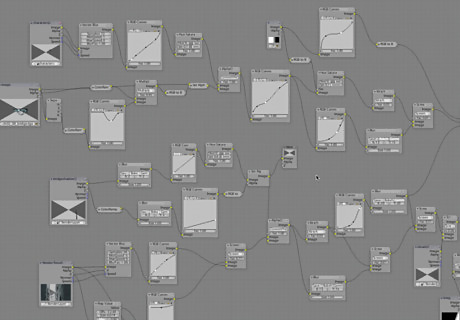
Organize. Your editor will start getting crowded.


Comments
0 comment