views
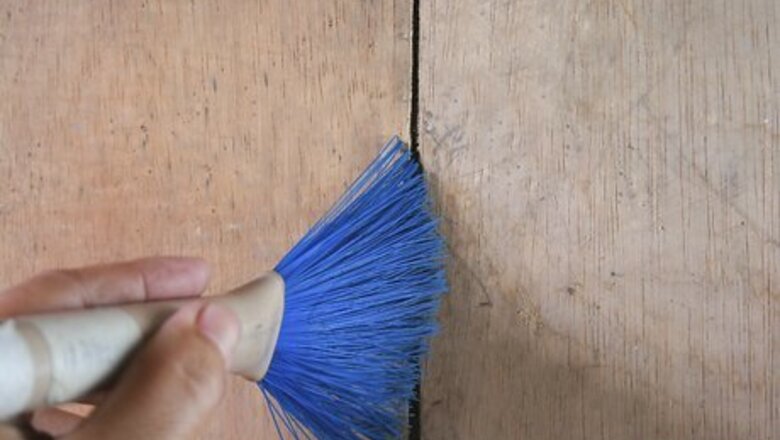
Clean the area around the seam.
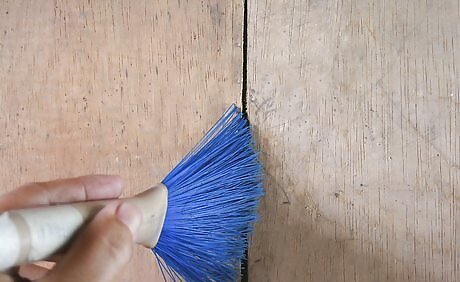
Brush the area or use a whisk broom to dislodge and remove any dust. You also want to brush away any other particles that may be clinging to the area where the joint compound will be applied. Before beginning to clean, put on the face mask as this will prevent inhaling any of the dust particles from the sheetrock.
Consider applying a small amount of joint compound into the seam.
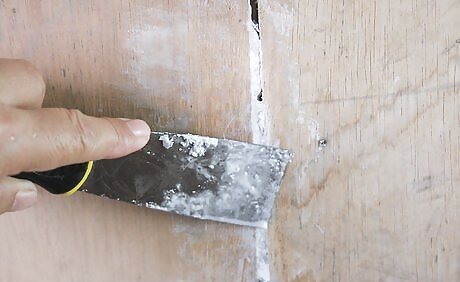
Do this if the gap between the 2 sections of sheetrock is somewhat pronounced. To accomplish this, scoop a small amount of compound with the edge of the drywall knife. Work the compound into the seam gently, and then use the knife blade to smooth the area even with the surface of the wall. Using only a small amount of the compound will minimize the need to clean the area before moving on to apply the drywall tape.
Cut and apply the drywall tape to the seam.

Measure the correct length of tape needed to adequately cover the seam. Then, cut a section of tape with the drywall knife. Gently but firmly press the tape into position over the seam, making sure that it adheres to the wall.
Apply the joint compound.
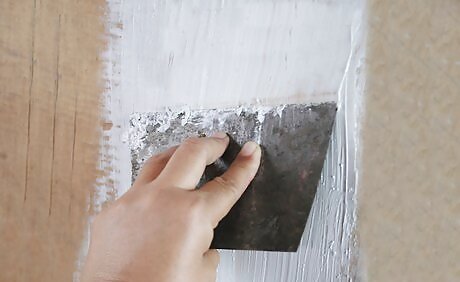
Use the knife to apply the compound in sections. Begin with the top of the covered seam. Feather the product over the seam so that the layer is thin but sufficient to cover the face of the tape. Feathering is accomplished by making light strokes that move downward and to each side in a steady manner. Once a section is covered, apply additional compound to the next exposed area, and repeat the process until the seam and tape are completely covered.
Allow the joint compound to dry.
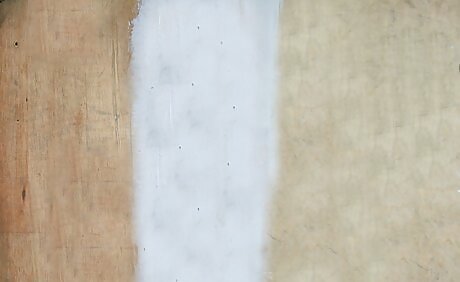
Depending on the brand involved, this may take up to 12 hours. Once the compound is dry, lightly sand with the sandpaper, and then brush away any residue with the brush or whisk broom. If the tape is exposed as the result of the sanding, apply a second coat of compound and allow it to dry. Then sand again until the wall is as smooth as possible.


Comments
0 comment