
X
Expert Source
Luigi OppidoComputer & Tech Specialist
Expert Interview. 31 July 2019.
Preparing to Use a VPN
Subscribe to a VPN if you haven't already done so. Virtual private networks (VPNs) typically require you to set up an account in order to access a server's name and address. You will need the VPN's name and address, as well as login credentials, to connect to a VPN. VPN services usually aren't free, but there are some reliable ones too, such as ProtonVPN, Cyber Ghost or Tunnel Bear. But if you need more security features, then you'll likely have to pay a monthly or yearly fee to continue access to the VPN. Be sure to research your VPN choice thoroughly in order to ensure the host isn't malicious. Many universities have dedicated VPNs for students.
Make sure you're connected to the Internet. If you're using a public Wi-Fi server, this will usually entail asking the network manager for the network name and/or password. For example, if you're in a coffee shop, you may need to ask a member of the staff for the login credentials.
Close any existing browsers. It's wise to re-open your browsers once your VPN is established rather than keeping them open. You may also want to close any apps that have Internet access (e.g., Twitter or Google Drive).
Using a VPN on iPhone
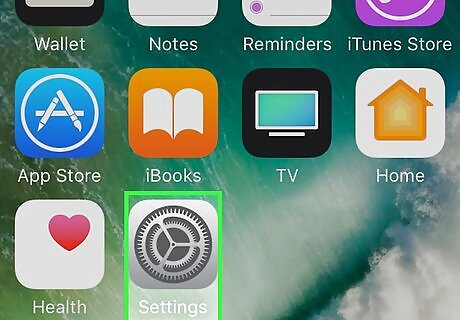
Open your iPhone's iPhone Settings App Icon Settings. This grey icon has an image of gears on it. You'll likely find it on the Home Screen.

Scroll down and tap iPhone Settings General Icon General. It's below the second group of settings items.
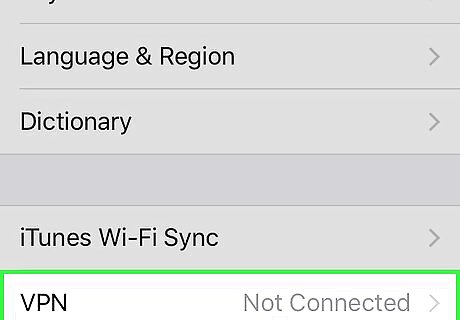
Scroll down and tap VPN. This option is near the bottom of the page.
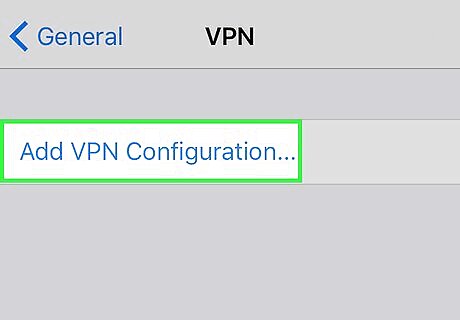
Tap Add VPN Configuration. It's near the top of the screen.
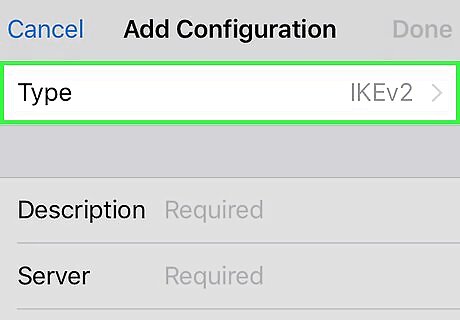
Tap Type, then select a connection type. Tap one of the following connection types: IKEv2 IPSec L2TP The connection type will likely depend on the VPN server itself. Look for an indication of the connection type in the VPN server's details.
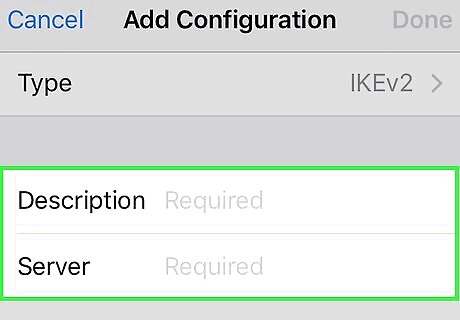
Enter your VPN's information. Depending on the connection type you choose, this step will vary; it usually includes filling out the following fields: Description - The network's description. Server - The VPN's address. Username - Your username for the VPN service. Password - Your password for the VPN service.

Tap Done. It's in the top-right corner of the screen. Doing so will sign you into your VPN.

Slide the VPN's switch right to on iPhone Switch On Icon. It will turn green. Your browsing should now be hidden from others on the same network.
Using a VPN on Android
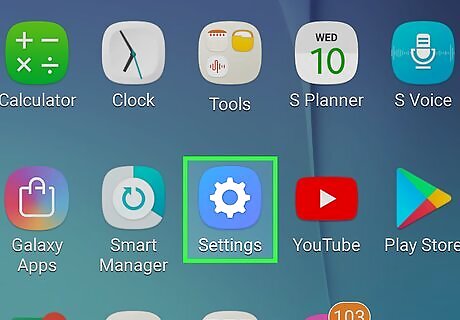
Open your Android's Android 7 Settings App Settings. This gear-shaped icon is in the App Drawer.
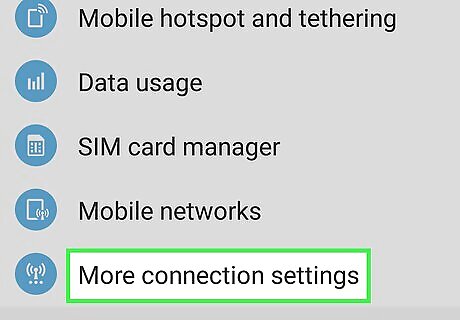
Scroll down and tap More. It's below the "Wireless & networks" section.
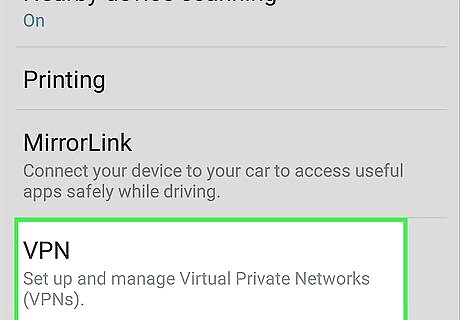
Tap VPN. You'll find this in the drop-down menu below the "Wireless & networks" heading.

Tap +. It's in the top-right corner of the screen. On a Samsung Galaxy, tap ADD VPN here instead.
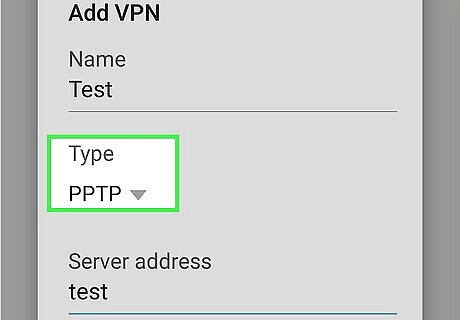
Enter your VPN's information. This will vary depending on your VPN's settings, but you will typically need to add the following: Connection type - The type of connection (e.g., PPTP) that your VPN uses. Check the details of your VPN subscription if you don't know this value. Server - Your VPN's server address or name. Username - The username or email address you use to sign into your VPN subscription account. Password - The password you use to sign into your VPN subscription account.
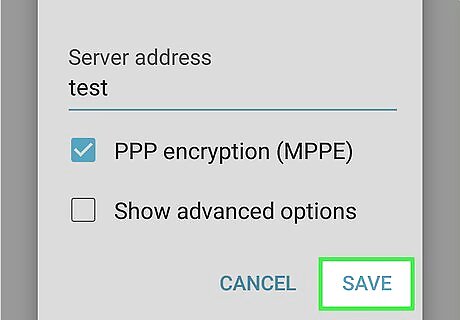
Tap Save. It's in the bottom-right corner of the screen. Doing so will create your VPN.
Tap your VPN's name. It should appear on the VPN page.

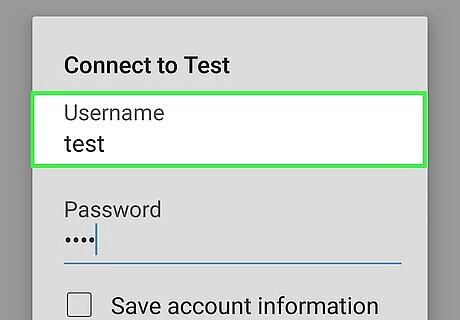
Enter your username and password, then tap CONNECT. This will sign you into your VPN service; your browsing traffic should now be hidden from other public network users.
Using a VPN on Windows
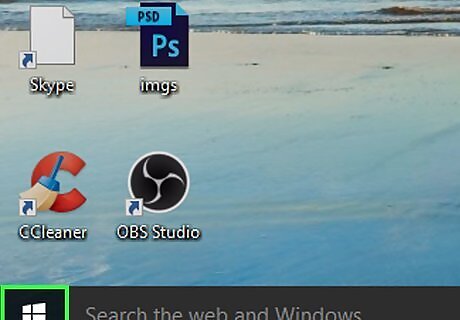
Open Start Windows Start. Click the Windows logo in the bottom-left corner of the screen.

Open Settings Windows Settings. Click the gear-shaped icon in the lower-left side of the Start window.
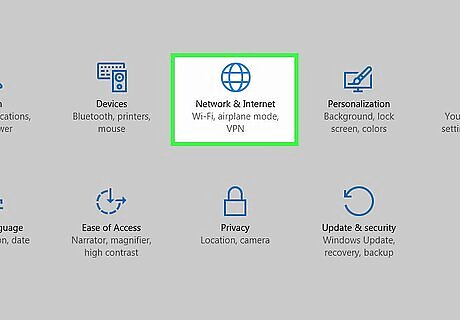
Click Windows Network Network & Internet. It's the globe-shaped icon in the middle of the Settings window.
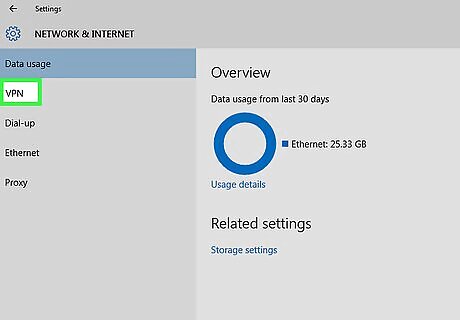
Click VPN. It's a tab on the left side of the window.
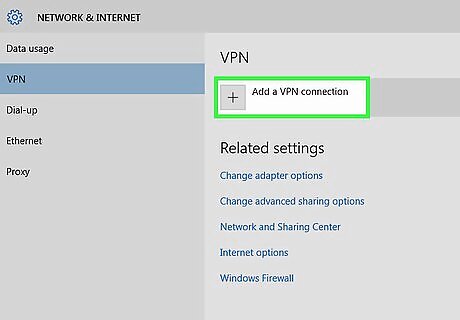
Click Add a VPN connection. You'll see this option at the top of the page.
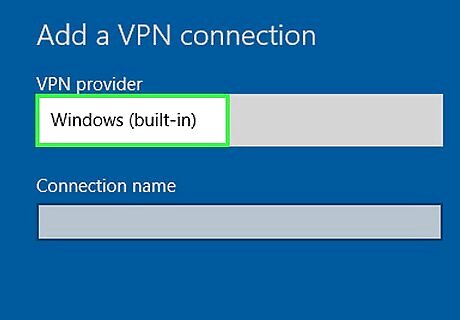
Click the "VPN provider" box, then click Windows (built-in). Do this in the field at the top of the pop-up window.
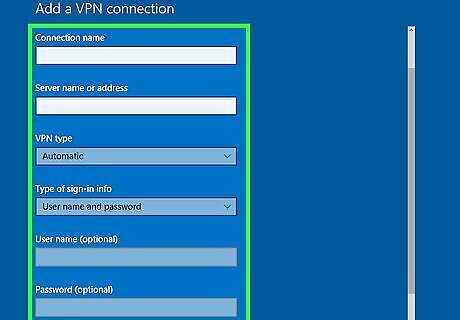
Enter your VPN server's information. Doing so will entail filling out the following fields: Connection name - The name of your VPN connection. Name this whatever you like. Server name or address - The VPN's address. VPN type - Your VPN's connection type. This will usually be PPTP. Type of sign-in info - You'll typically select Username and password here, but you can also set up a one-time password or a smart card. User name (optional) - Your VPN username. Password (optional) - Your VPN password.
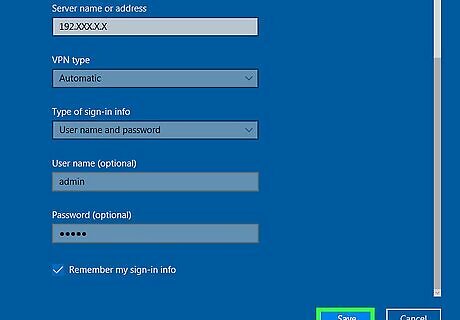
Click Save. It's at the bottom of the page. Doing this saves your VPN and adds it to your computer's VPN page.

Click your VPN's name. It should now be on the VPN page of the Settings window.

Click Connect. This option is at the bottom of the VPN's name card.
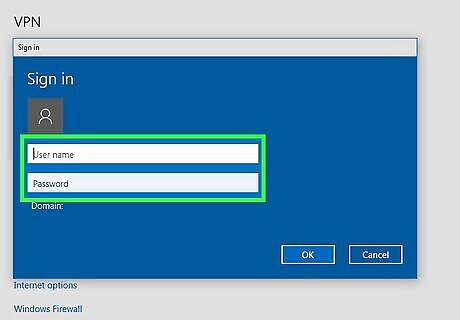
Enter your username and password if prompted. Doing so will log you into the VPN, though you may need to confirm this step by logging into the VPN online and approving your computer. Your browsing traffic should now be hidden from other public network users.
Using a VPN on Mac
Open the Apple menu Mac Apple. Click the Apple logo in the top-left corner of the screen.
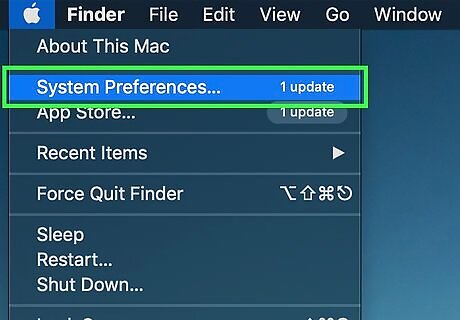
Click System Preferences. This option is near the top of the Apple drop-down menu.
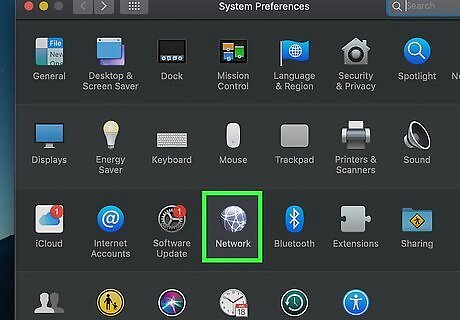
Click Network. This purple, globe-shaped icon is in the middle of the System Preferences page.

Click +. It's in the bottom-left corner of the Network page.
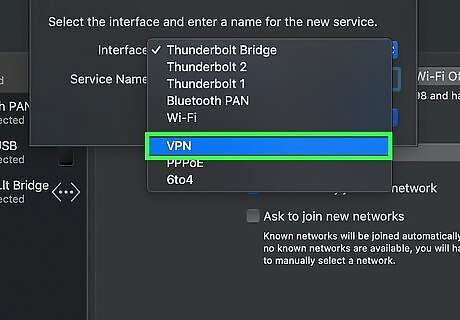
Select the VPN option. Click the box to the right of "Interface:", then click VPN in the drop-down menu.

Select a VPN connection type. Click the box to the right of "VPN Type", then select your VPN's connection type (e.g., L2TP over IPSec). The VPN's site should provide this information. Keep in mind that MacOS Sierra does not support PPTP connections.
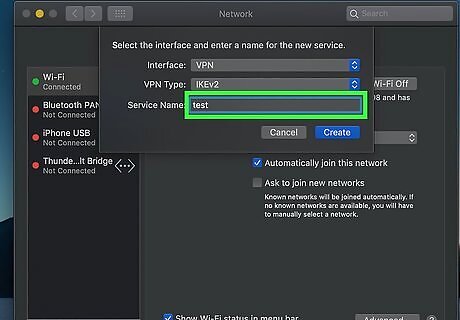
Enter a name for your VPN. It can be whatever you want to name the network.
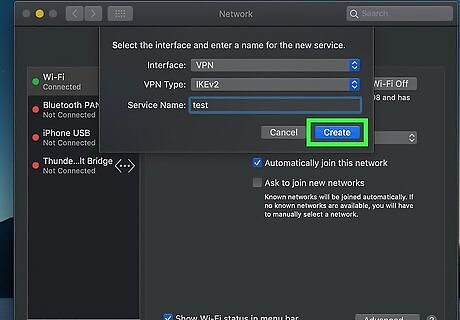
Click Create. Click the blue button in the bottom-right corner of the window.
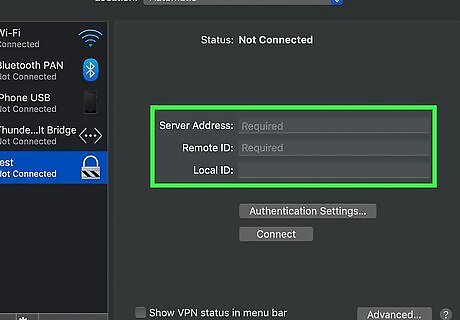
Configure your VPN. Enter the following information: Configuration - Select the "Default" option. Server Address - Type in your VPN's address here. Account Name - Type in your VPN's account name here.
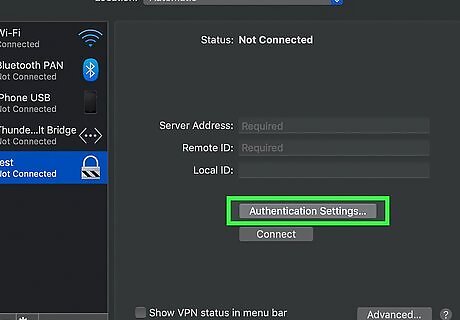
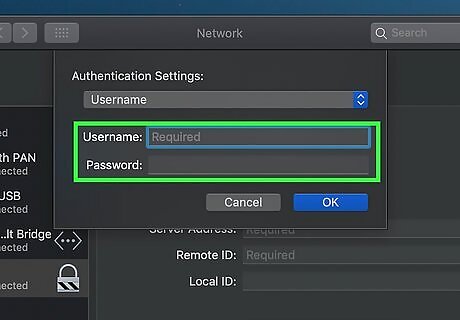
Click Authentication Settings. It's below the Account Name text field.
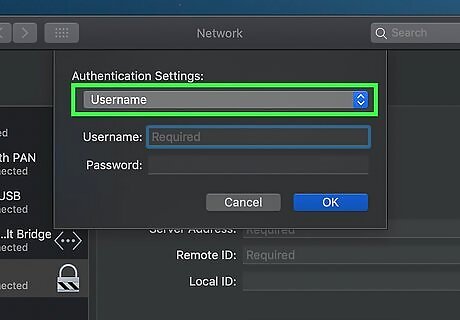
Enter your User Authentication information. Check the box to the left of your VPN's User Authentication option (e.g., Password) and then type the answer in.
Type in your Machine Authentication information. This section is near the bottom of the window. If you don't know which authentication your VPN uses, consult the details of your VPN subscription. Most VPN's use the "shared secret" option.
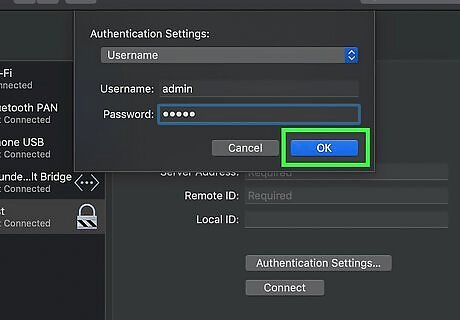
Click OK. It's near the bottom of the Authentication Settings window.
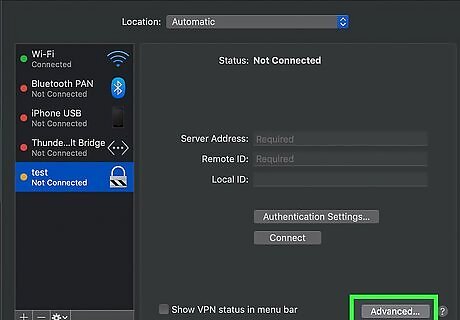
Click Advanced. You'll see this near the bottom of the window.
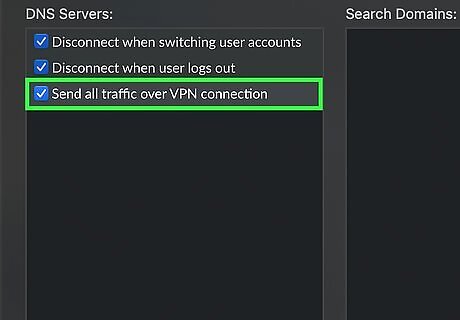
Check the "Send all traffic over VPN connection" box, then click OK. Doing so will ensure that all sites you visit use the VPN connection.
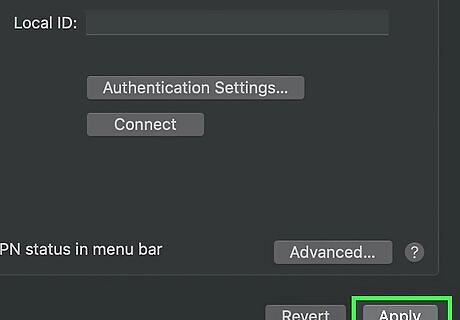
Click Apply. This saves your VPN settings and creates your network.
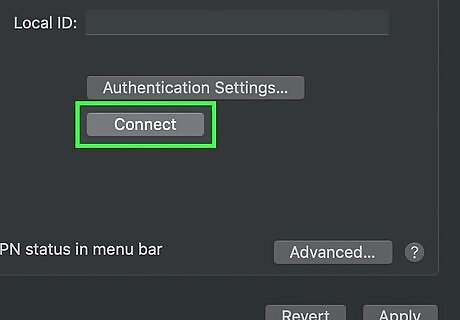
Click Connect. It's below the Authentication Settings option. Doing so will prompt your Mac to connect to the VPN. Any traffic between your computer and the Internet should now be encrypted.


Comments
0 comment