views
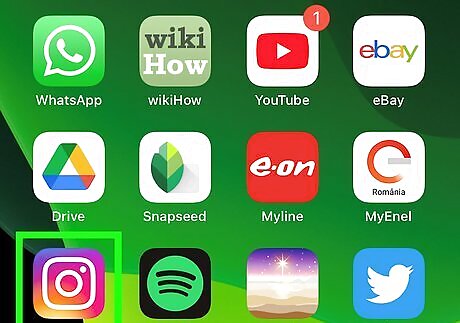
Open Instagram. This app has a white camera icon on a multicolored background.
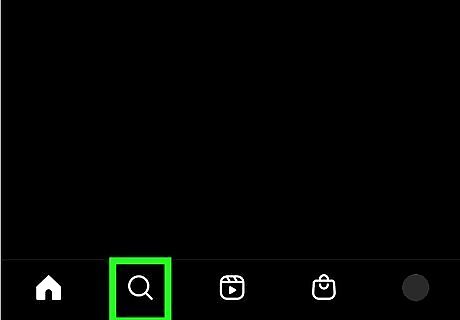
Go to the profile of the person that posted the photo. You can do this by clicking the magnifying glass icon towards the bottom left of the screen, then using the Search bar to search for their name. Once you find the right profile, tap it to see their photos. If you cannot remember who posted the hidden photo, you can try tapping the heart icon at the top right of the home page, then scrolling through your notifications to find the photo.
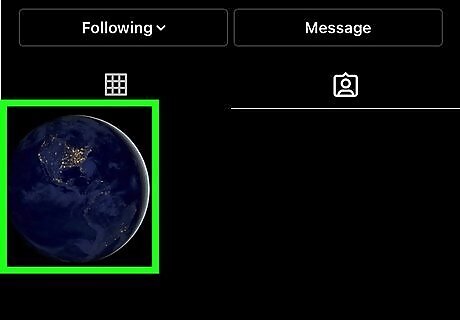
Tap the hidden photo. If you are on the poster’s profile, tap the square preview of the photo you currently have hidden. If you are scrolling through your notifications, tap the square preview of the photo on the right side of the screen.
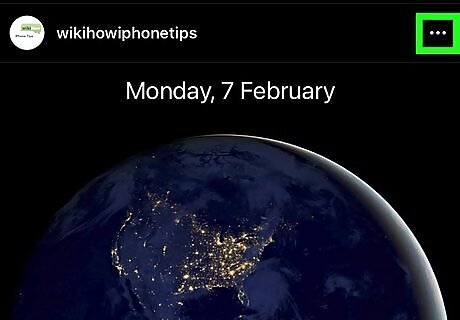
Press the three dots in the top right. This will open up a menu with several different options for that post. Alternatively, you can tap your tag in the photo, then select Show On My Profile.
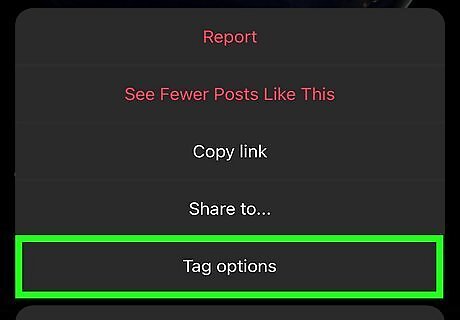
Tap Tag Options. A new pop-up menu will appear from the bottom of the screen.
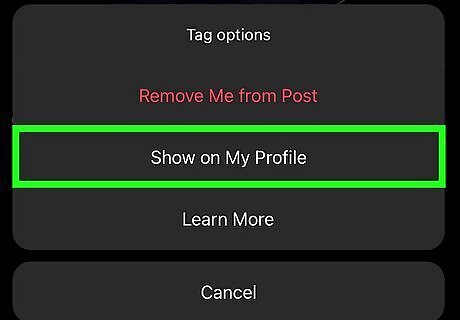
Select Show On My Profile. To check that the post has successfully been unhidden, tap your profile picture in the bottom right and drag down to refresh. Then, tap the icon of a person in a box located in the middle of the screen and look for the post.






Comments
0 comment