views
Refrigerating Fresh Sweet Corn
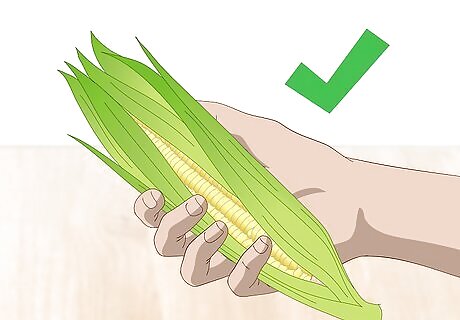
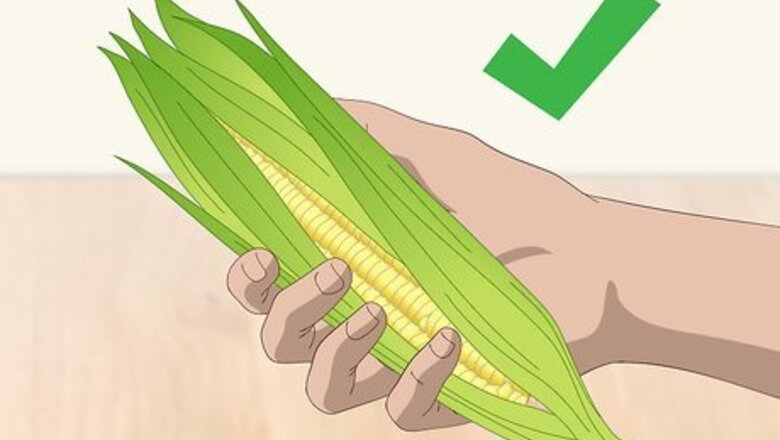
Select ripe, healthy ears. Sweet corn tastes best when it's fresh, which means that's also the optimal time to put it into storage. Whether you're buying sweet corn at the grocery store or harvesting a crop of your own, you'll want to look for fully-developed ears with supple green husks—the firmer the husks, the riper the corn inside. There should be no signs of drying or disease. Pass up ears that are pockmarked with tiny holes. This may be a sign that worms have been feasting on the corn. If you've got more corn on your hands than will fit in your refrigerator, use up the ripest ears first. That way, the underripe corn will have a little more time to reach peak freshness.
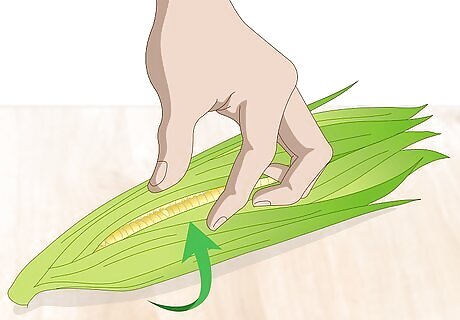
Leave the husks intact. Unless the corn you're storing has already been shucked, it's best to leave it be. Removing the husk only accelerates the ripening process, which turns all those scrumptious sugars into bland starches. The breakdown of sugars dulls the flavor of the corn and gives it a gummy texture. It's okay to peel back the top part of the husk a few inches to examine the quality of the kernels, but resist the urge to do too much poking around.
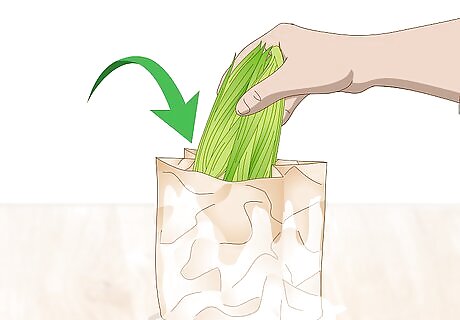
Wrap the corn in a damp paper bag. Wet a paper bag with cool water, then squeeze it gently to wring out the excess. Unfurl the bag and insert the fresh sweet corn. You should be able to fit 2-3 ears inside, depending on their size. Be careful not to tear the bag while putting the corn inside. The wet bag will provide constant moisture to the husks to prevent them from drying out in the refrigerator.
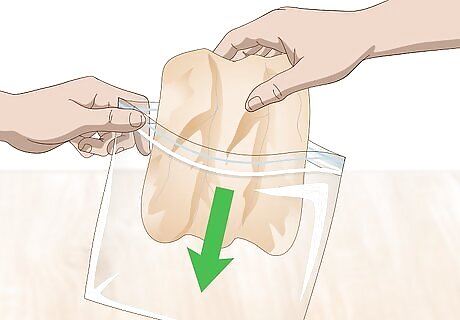
Place the corn in a resealable plastic bag. Slide the ears, paper bag and all, into the outer bag. Squeeze out as much of the air inside as possible, then seal it up. If you're using a pinch-to-close bag, make sure there are no unsealed spots along the opening. Exposure to bacteria in the air can cause the corn to go bad at a much faster rate.
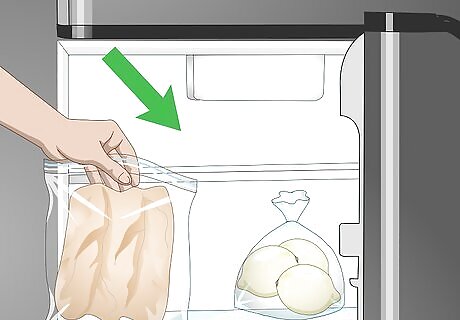
Keep the bagged corn in the refrigerator for up to a week. The sooner you eat or cook with the corn, the more of its sweet taste and crisp, succulent texture it will retain. When packaged as it is, however, it will be fine for a few days. When you're ready to use it, simply remove it from the bags, shuck it and prepare it as you ordinarily would. Store the corn away from other fresh fruits and veggies. These release gasses as they age that can speed up deterioration. If you bought your sweet corn already shucked, try to use it within 48 hours. After being left uncovered for a couple days, most of the natural sugars will have been converted to starch, leaving it flavorless.
Freezing Sweet Corn
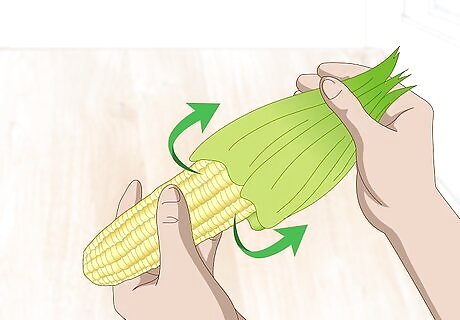
Shuck the corn. Strip away the loose leaves from the outside of the husk to expose the supple light green sheath underneath. Take hold of the silky tassel at the top of the husk and pull it slowly but forcefully towards the opposite end of the ear. The entire husk should peel off in one large piece. For optimal flavor and texture, start with ears that are at the peak of freshness. If the husk comes away in sections, take care to remove any remaining strands that are clinging to the corn. These can be a pain to deal with once it's time to start cooking.
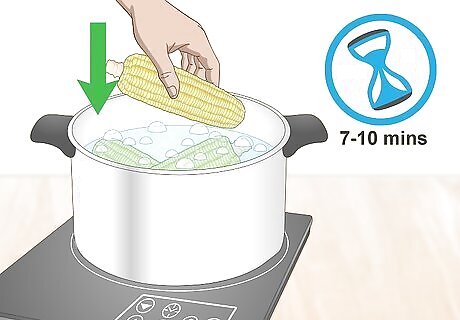
Blanch the corn for 7-10 minutes. Bring a large pot of water to a low boil on the stovetop. Dunk the sweet corn into the water and let it begin heating up. Small ears only need to remain in the pot for 5-7 minutes. Average-sized ears usually require 8-9, while especially large ears should be allowed to boil for 10-11. You'll know the corn is done when the kernels turn a deep yellow color and become slightly translucent. The average length of an ear of sweet corn is approximately 6–7 inches (15–18 cm). Smaller ears are those that are shorter than 6 inches (15 cm), while 8–9 inches (20–23 cm) is about as big as they come. A short but intense burst of heat is needed to cook off the enzymes responsible for breaking down the corn's natural sugars. Don't leave the corn in the boiling water for too long. You're not trying to cook it, just to get it ready for freezing.
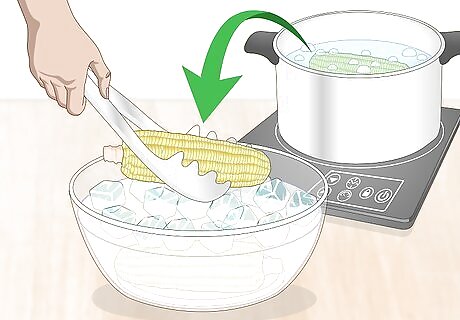
Move the blanched corn to an ice bath. Use a pair of tongs to remove the ears from the pot and immediately transfer them to a second bowl (or group of bowls, for big batches) filled with equal amounts of water and ice to cool them off. They should sit in the ice bath for roughly the same amount of time they were boiled, between 5-10 minutes. Be careful taking the corn out of the boiling water. Even with your tongs, the steam will be extremely hot. The ice bath will instantly lower the temperature of the corn so that it doesn't begin to cook.
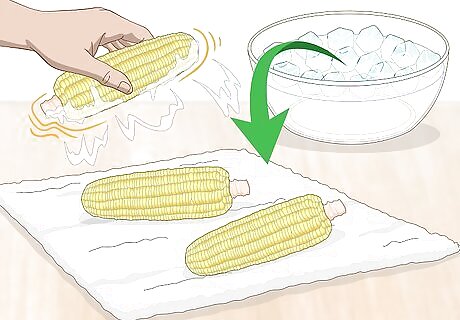
Dry off the corn. Remove the ears from the ice bath and shake off any remaining water. Then, set them on a clean, dry towel or layer of paper towels. Pat each ear dry. Avoid being too rough with the corn, as the kernels may still be somewhat soft from blanching.
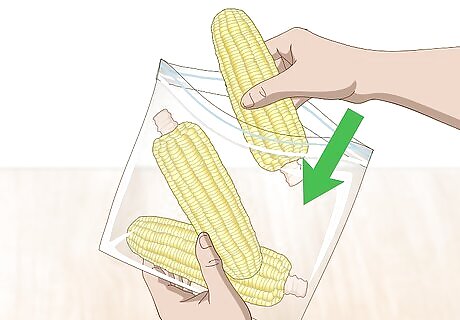
Place the corn in an airtight plastic zipper bag. Stuff each bag with 2-3 ears of corn and press out the excess air. Then, seal the bag up tight and check for leaks around the opening. Make room for the corn in the back of the freezer, away from other items that could fall and crush it. If you're worried about the bag's seal failing over time, wrap each ear individually with a sheet of plastic wrap before zipping it up. Since you've already removed the husk, there's no need to keep the corn moist inside the bag. It's high natural water content will allow it to freeze just fine. Make sure you buy bags specifically labeled as "freezer bags." These are made from thicker plastic than regular storage bags, which means they're better for protecting food from the cold conditions of the freezer.
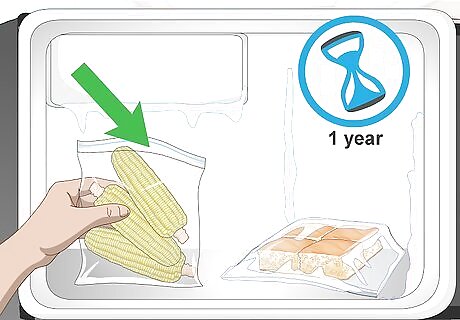
Freeze the corn for up to 1 year. As long as it's properly stored, it will hold onto most of its fresh flavor and texture. Thaw the ears to just above room temperature before using them to prepare your favorite dishes, or add them straight to a pot of boiling water if you plan on serving them on the cob. Otherwise, avoid handling them or taking them out of the freezer. Label each of the bags with their contents and packaging date so you'll know how long they've been in storage. Freezing your fresh sweet corn through the fall and winter is a good way to keep an abundant summer crop from going to waste.
Canning Sweet Corn Kernels
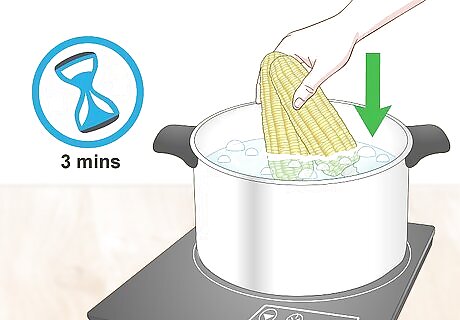
Blanch the corn for 3 minutes. Pick out a few ears that are at the ideal stage of ripeness for eating fresh and remove the husks and all traces of remaining silk. While you're shucking, heat a large pot of water until it just begins to boil, then add the corn. At the 3 minute mark, remove the ears from the pot carefully and set them aside on a layer of paper towels to cool. Leave the blanching water to continue boiling. You'll be using it later to pack the corn for canning.
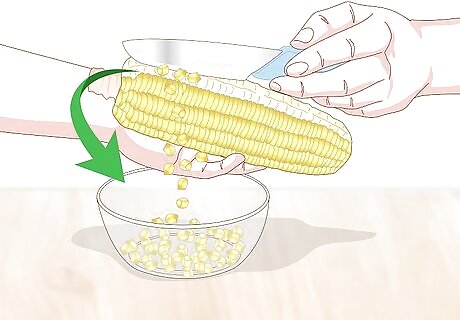
Cut the kernels off of the cob. Allow the corn to rest until it's cool enough to handle. Then, stand each ear vertically on its end and run a knife down the side to loosen the whole kernels from the cob. Use a large bowl to collect the kernels as they fall, or scrape them into the bowl from your cutting board. Be careful not to let the blade of the knife scrape against the cob. This can release a starchy liquid from the kernels, which may impact the flavor of the canned corn or it's ability to be safely preserved. An electric knife can come in handy for making quick, clean cuts. If one of these tools isn't available, you can use either a smooth or serrated blade, provided it's sharp enough to avoid mangling the kernels.
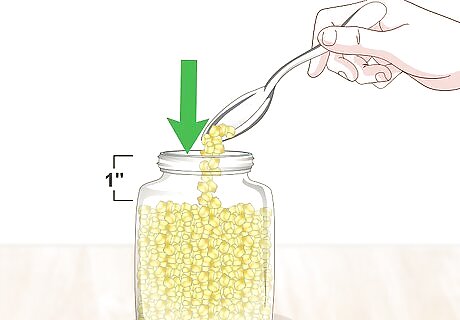
Fill canning jars with the corn kernels. Spoon the kernels into the mouth of each jar, leaving 1 inch (2.5 cm) of space at the top. Give the jar a shake to help the corn settle. Avoid packing or compressing the kernels, as this may damage them. It will take about 2.25 pounds (1,020 g) of whole corn, or about 4 average-sized ears, to fill 1 US-pint (470 ml)-sized canning jar. Double that amount for quart-sized jars. Heat your canning jars under a stream of hot water before adding the corn. This will prevent them from cracking or shattering when you add the boiling canning liquid. The exact temperature isn't that important as long as the jars are still warm to the touch when the corn goes in.
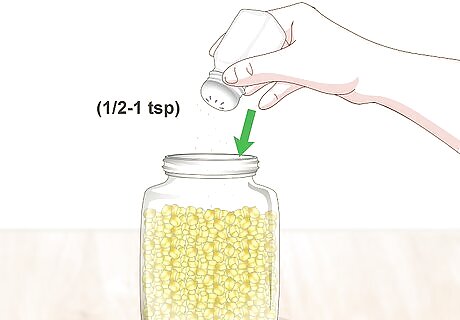
Add ½-1 teaspoon of salt if desired. Though it's not a strict requirement, a little bit of salt can help preserve canned goods more effectively and for longer periods. For pint jars, a ½ teaspoon pinch will do. For larger quart-sized jars, you can use up to 1 full teaspoon. Use granulated iodized salt or kosher salt only.
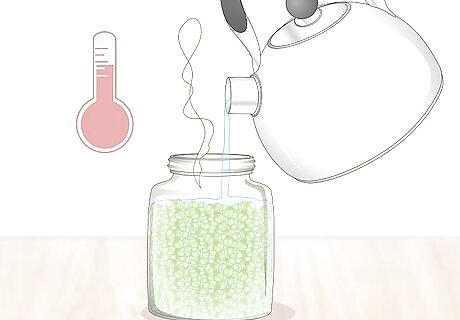
Fill the jar with the blanching water. Pour the hot liquid steadily into each jar until it reaches the top layer of kernels. Avoid overfilling the jars—once again, you'll want to leave about 1 inch (2.5 cm) of headspace. Let the jars sit open for 3-5 minutes to cool slightly and allow trapped air bubbles to escape. It may help to use a funnel or ladle to safely get the boiling liquid from the pot to the jars. Overfilling may cause the jars to burst when they're subjected to intense pressure.
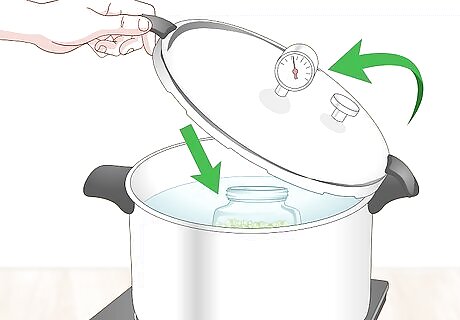
Process the jars in a pressure canner. Place the jars in your canner and lock the lid, leaving the heat vent open. Adjust the canner to the appropriate pressure setting specified by the model and start it up. Once the steam stops escaping, close the vent. Pint jars should process for 55 minutes, while quart jars will need about 85. Afterwards, you can cool them off and put them into storage. When preserved by canning, sweet corn will stay good for a year or longer. The exact pressure level you use will depend on the quantity of corn you're canning, as well as your location. As a general rule, however, you'll want to keep it somewhere between 11–13 pounds (5.0–5.9 kg). Alternatively, you can do your canning the old fashioned way by submerging the sealed jars in boiling water until you hear the lids pop.





Comments
0 comment