views
- Click Type atop the menu bar to begin.
- Click Show Hidden Characters. Ensure that you are in "Normal" and not "Preview" mode.
- Disable "Overprint Preview" as well to ensure that you can see the paragraph marks in your design.
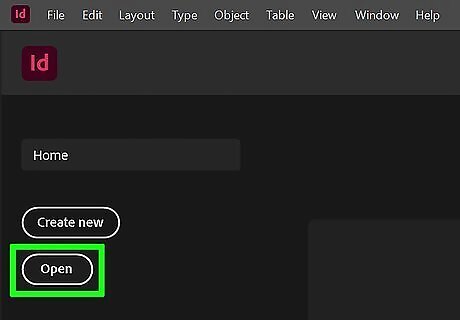
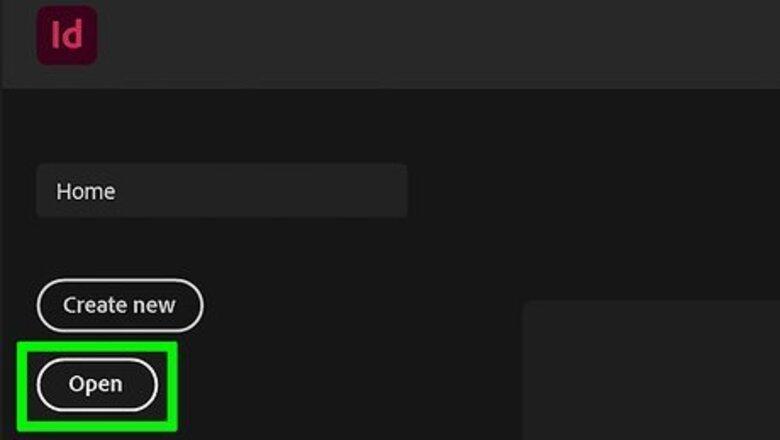
Open your project in InDesign. You can either open the program from your Start menu or Applications folder then click File > Open or you can right-click the InDesign project file and select Open with > InDesign. This doesn't permanently show hidden characters, so you'll have to redo these steps each time you want to see them.
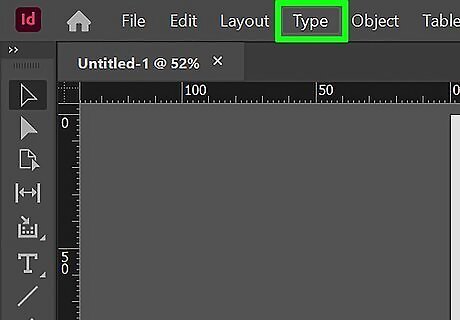
Click Type. You'll see this in the menu bar at the top of your screen with File, Edit, and Help.
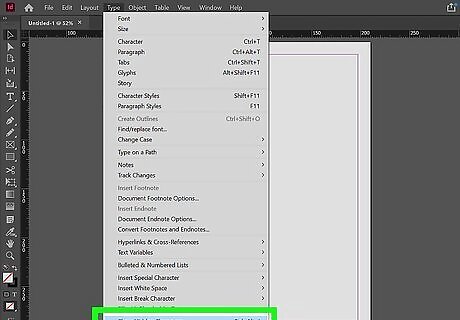
Click Show Hidden Characters. It's at the bottom of the menu. If your screen mode is set to "Preview," you won't see any special characters and need to switch it back to "Normal" to continue. You'll find the view options under the View tab in the menu bar. If you see "Overprint Preview" next to the title of your project, you won't be able to see hidden characters. Turn it off by going to View > Overprint Preview. Hide those paragraph marks and other hidden characters by clicking Hide Hidden Characters in the Type menu.




Comments
0 comment