
views
Using the Mattress (Invisible) Stitch
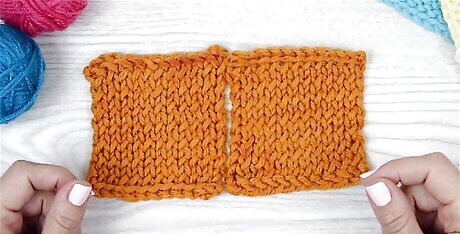
Arrange the 2 pieces of knitting. Set the pieces next to each other, so the edges you want to sew together are touching. The knits should be facing right side up.
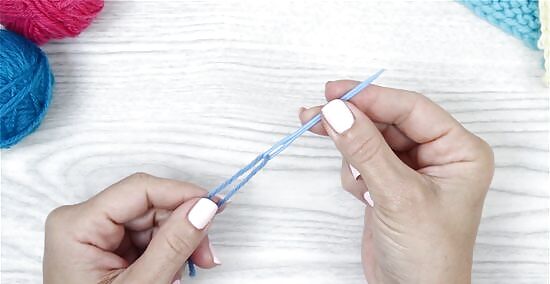
Thread the yarn on a blunt darning needle. Pull out yarn from the skein you used to knit the pieces. Measure the length of the knit pieces you'll be stitching together and pull out 3 times that length. Cut the yarn and thread it through a blunt needle so that 4 inches (10 cm) are pulled through the eye to keep the yarn in place. For example, if you'll need to sew a 5-inch (12-cm) length, thread a 15-inch (36-cm) strand of yarn onto the needle.
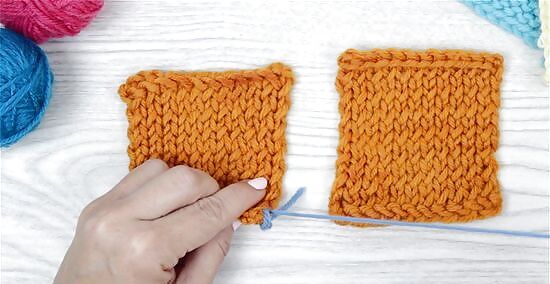
Attach the end of the yarn to the bottom corner of the left piece. Tie a knot at the bottom of the yarn tail so it's secure when you pull the yarn through the bottom of the left piece. Use a slip knot or whatever knot you're comfortable with making to securely tie it to the piece.
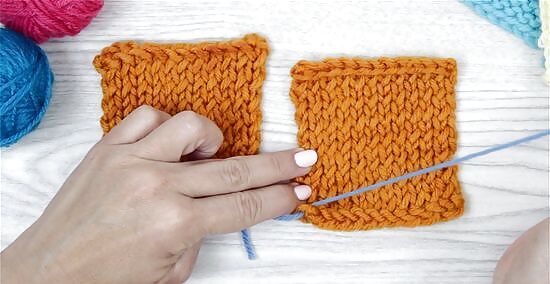
Insert the needle into the bottom corner of the right piece. The needle should go from back to front into the first stitch of the piece that you're joining. Pull the yarn through. You don't need to pull the yarn tightly to keep the 2 knit pieces touching, since you'll tighten them later. The 2 knit pieces can be up to 1-inch (2.5-cm) apart while you're doing the mattress (invisible) stitch.
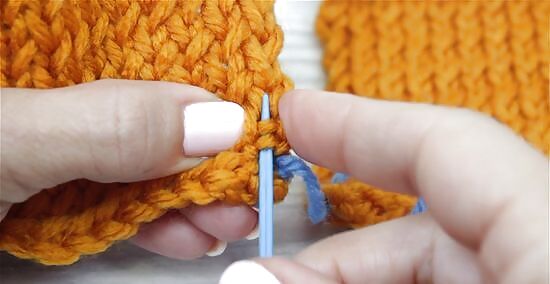
Find the gap next to your stitch edge and insert the darning needle. Pull the edge of the left piece to reveal a gap with horizontal bars. This gap will be between the edge and second-to-last row you knitted. Insert the needle below 2 of the horizontal bars near the bottom of the piece and pull the yarn up and through. Avoid pulling the yarn tightly to bring the 2 knit pieces closely together. For a tighter seam, you could insert the needle under 1 of the horizontal bars instead of 2. Stay consistent when you go back and forth between the 2 knit pieces.
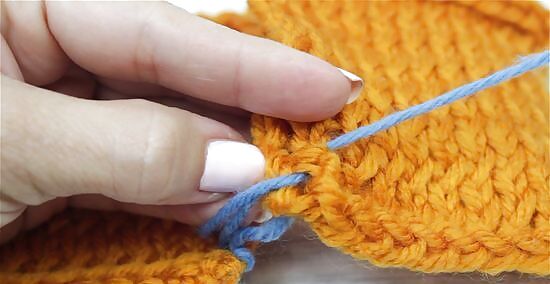
Insert the needle into the right knit piece and pull the yarn through. Pull the edge of the right piece so you can find the gap with the horizontal stitches. Insert the needle under the bottom 2 horizontal bars and pull the yarn through. The yarn should create a line that's even with the stitch you pulled through on the left piece.
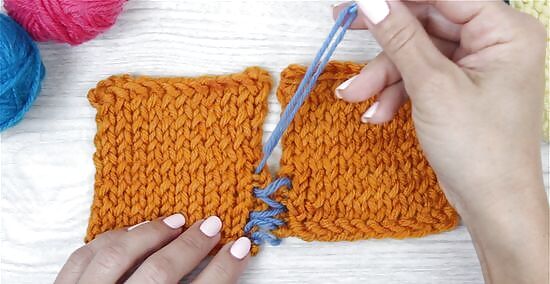
Alternate the mattress stitch between the left and right pieces of fabric. Insert the needle back into the left knit piece. Again, go under 2 horizontal bars and pull the yarn through. Then, insert the needle back into the right piece of fabric. Continue to sew until you've mattress stitched about 2 inches (5 cm).
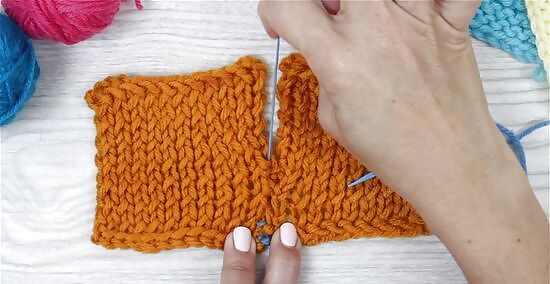
Pull the yarn to bring the 2 knit pieces together. Use one hand to press down on the 2 knit pieces and use your other hand to hold the yarn. Gently pull the yarn away from you so it tightens the mattress stitches you did. You should see the knit pieces join together and the mattress stitch won't be visible. Avoid pulling tightly or you'll make the pieces bunch together. Pull just until the pieces are touching.
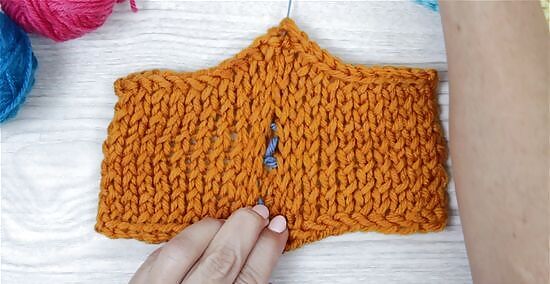
Continue to mattress stitch in 2 inch (5 cm) increments. Keep inserting the needle below 2 horizontal bars and pulling the yarn through. Do this back and forth on both pieces until you've done another 2 inches (5 cm). Pull the yarn to tighten the mattress stitch. Keep doing this until you reach the end of the seam.
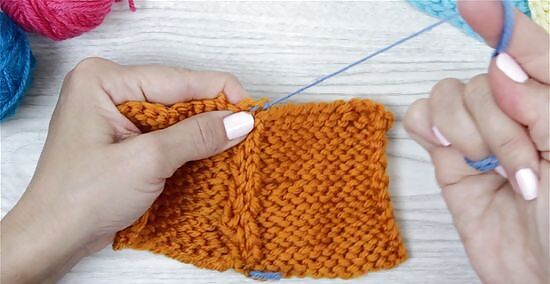
Tie off the yarn at the end of the seam. Once you've joined the 2 pieces together, insert the needle into the loop on the opposite piece. Pull the yarn through the loop so it tightens. Cut the yarn to leave a 2 inch (5 cm) tail and weave the end through your knit piece. The mattress stitch will make a tight, straight seam that's good for joining sleeves or shoulders.
Whipstitching Knits Together
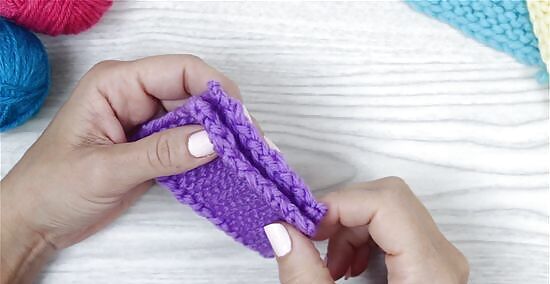
Hold the 2 knit pieces together. Press the right sides of the knit pieces that you're going to sew together against each other. The wrong sides should both face out. Ensure that you're holding the pieces so that the stitches on both edges line up. Turn the pieces so the edge is facing up and not laying flat on your work surface.
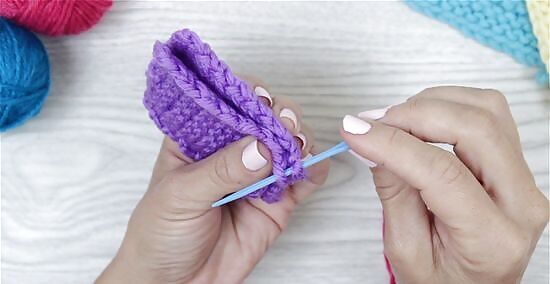
Thread the darning needle and insert it through the knit pieces. Pull 3 times the length of the yarn out from the skein and cut it. Tie a knot at the end of the yarn on your darning needle and insert the needle through the stitch that's nearest to you on the left piece. Since the pieces are turned on their side and facing up, insert the needle horizontally through the pieces. Pull the needle through both of the knit pieces so the stitches are even. If you prefer, you can insert the needle from the right to left piece.
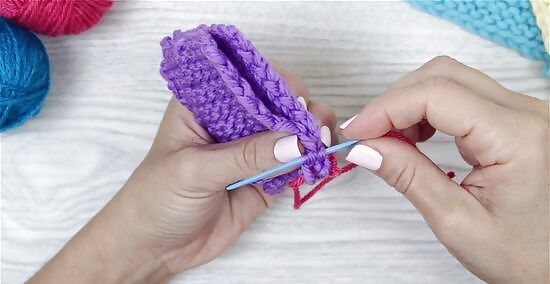
Whip the yarn back and insert the needle from the same side. Once you've pulled the needle through both pieces, tug on the yarn and move the needle back to the side you started from. Insert the needle into the next stitch on the left piece and pull it through the right piece.
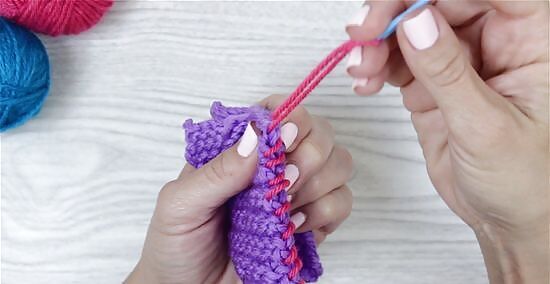
Continue to whipstitch until you reach the end of the pieces. Keep returning the needle to the left piece and pulling it through both pieces until both pieces are joined. Make sure that your stitches are evenly spaced.
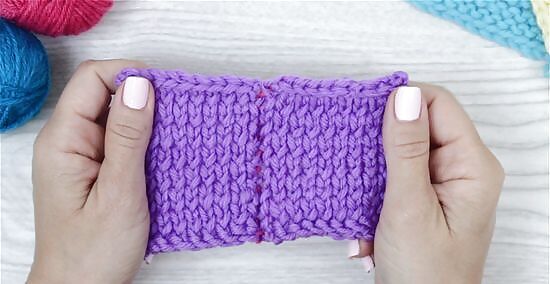
Tighten the seams and tie off the yarn. Pull the yarn gently to create a tight seam and knot the yarn through the last loop on the end of the knit piece. If you pull tightly, the yarn will bunch. Cut the yarn to leave a 2 inch (10 cm) tail and weave in the end. The whipstitch will make a softly finished seam. This makes it a good choice for joining blanket squares or creating handles.
Sewing the Knits with the Top Stitch
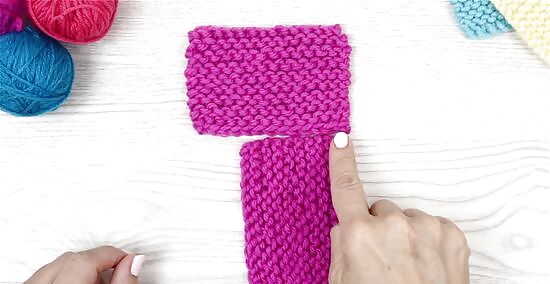
Hold the 2 knit pieces together. Decide if you want to lay the knit pieces next to each other so only the edges are touching or if you want to hold the pieces together so the wrong sides face out. Laying the pieces next to each other will make attach so they're flush with no ridges. Stacking and sewing the pieces together will create a bit of a ridge or bump along the seam. If you're sewing blanket pieces together, lay the pieces next to each other to make 1 smooth surface. If you're sewing shoulder or sleeve pieces together, hold the pieces against each other so the right sides are touching each other.
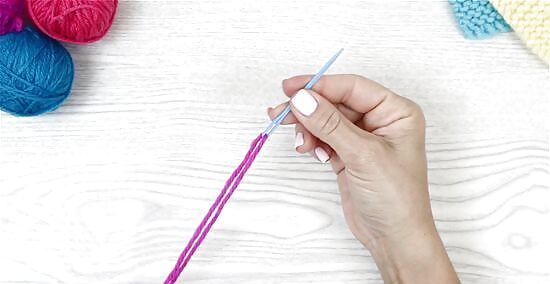
Thread the darning needle and insert it through the knit pieces. Pull a long tail of yarn from the skein and cut it. Knot the end of the yarn on your darning needle and insert it into the stitch that's closest to you. Depending on what you're sewing, you can insert the needle into either of the knit pieces.
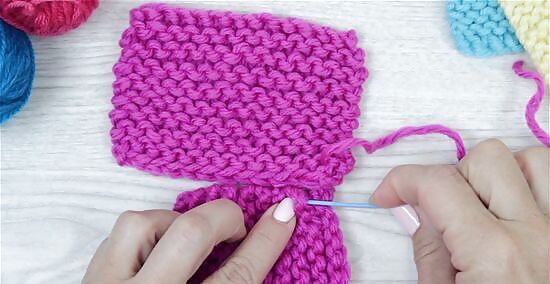
Pull the yarn through and insert it in the opposite direction. Bring the needle through the other knit piece and pull the yarn gently. Turn the needle the opposite direction and insert it into the stitch that's above your yarn. You'll need to insert it into the same knit piece that you just pulled the needle through. Pull the yarn through the other knit piece. Because you're sewing, you'll be alternating bringing the needle through the top and bottom of the pieces.
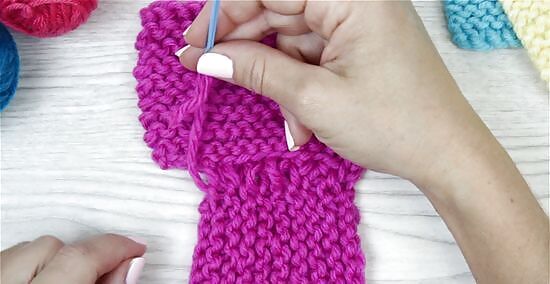
Alternate until you reach the end of the knit pieces. Remember to keep the space between your stitches even as you work along the piece. Avoid pulling too tightly when you work the yarn through a stitch or you could break the yarn.
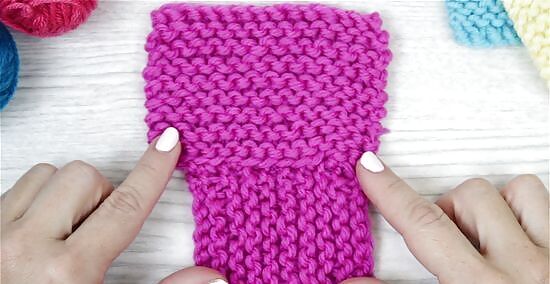
Pull and tie off the yarn. Gently tug the yarn so the seam is secure. Pull the yarn through the last loop on the end of the knit piece and cut it to leave a 2 inch (5 cm) tail. Weave the end of the yarn into the knit piece. The top stitch will make a softly finished seam that's good for light knits. Use the top stitch if you want your edges to have a little texture because the seam will make a slight ridge.


Comments
0 comment