views
Arranging and Cutting the Pelts
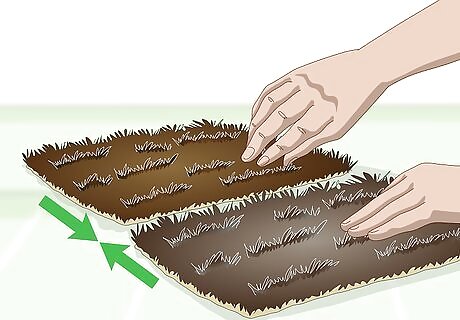
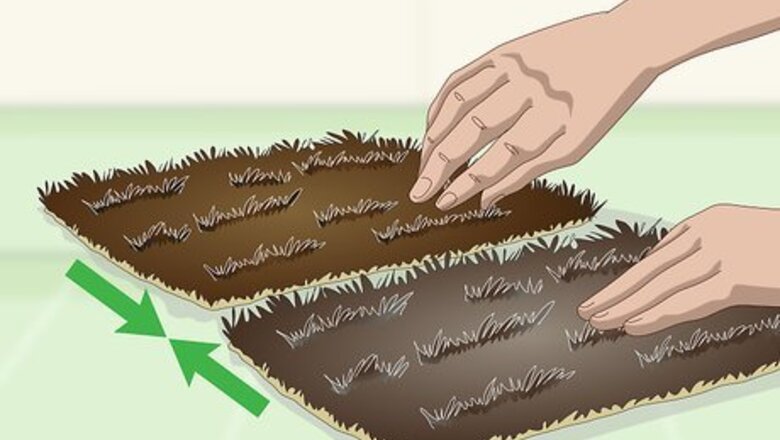
Arrange the pelts how you want to sew them together. Before you sew the pelts together, figure out how you want them to go together. Look at the pelts with the fur sides up facing up and position them next to each other on a flat surface as desired. You may arrange the pelts in a way that looks nice to you, or you may use the edges of the pelts to see which ones will fit together well. Keep in mind that pelts come in different shapes and sizes depending on the type of animal fur. For example, beaver pelts are typically cut into the shape of an oval while coyote pelts are cut with the leg and tail sections sticking out from the body section. If you are using small pelts, such as rabbit fur, then you may have lots of pelts to arrange. For example, it may take up to 50 rabbit pelts to make a small throw or lap blanket or up to 100 pelts to make a throw that is big enough for a double bed. Make sure you have a large, flat area to work in so that you can spread out your pelts. Use a large table or clear a space on the floor.
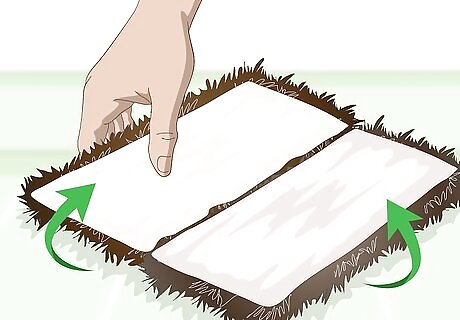
Turn the pelts so the skins are facing up and line up the edges. You should only sew the pelts through the skins, and not through the fur. After you have finished arranging the pelts how you want them to fit together, turn the pelts so that the fur sides of the pelts are facing downward and the skins are facing up. Then, move the pelts together so that the edges of the skins are aligned.
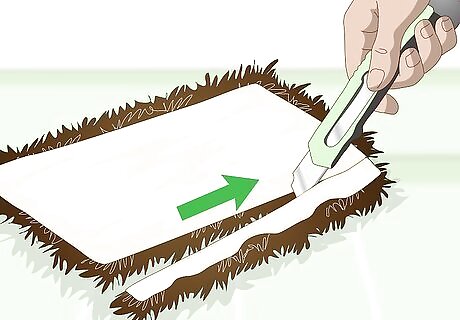
Cut the skins of the pelts with a rotary cutter or utility knife, if needed. You may find it easier to sew the pelts together if you cut some or all of the pelt skins to create flat edges. This will make it easier to line up the edges of the skins. However, do not use scissors to cut through the pelt skins because you may end up cutting some of the fur by accident. Instead, use a rotary cutter or utility knife to cut through the skin sides of the pelts. Apply light to medium pressure to cut through the pelts and hold them steady as you cut them. You may want to measure and draw lines on the back side of the pelts first to ensure that you get accurate cuts.
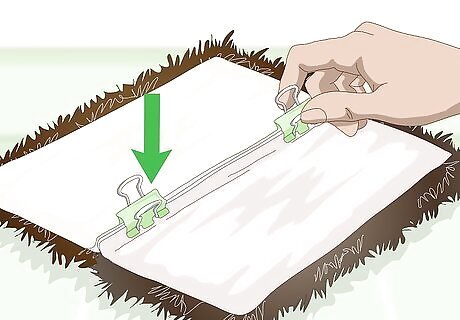
Hold the fur pelts together with clips. Use some small or large binder clips to connect the edges of the fur skins. Just clip them together so that about 0.5 inches (1.3 cm) of the skins are pressed together. This bit of skin should be on the skin side of the pelts, not on the fur side. Binder clips are great for keeping fur pelts together because they will not leave holes in the skins. Do not overlap the skins.
Sewing the Pelts Together By Hand
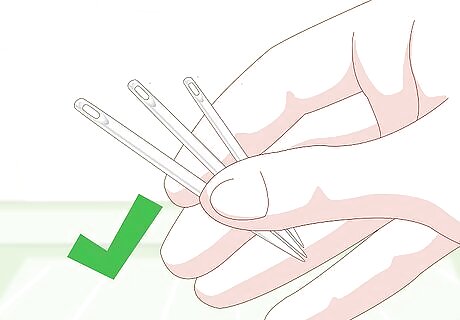
Purchase a leather or furrier's needle. The leather on pelts vary in thickness, but all leather is fairly thick, so you will need a special needle to sew it by hand. You can purchase a special leather needle or furrier’s needle in a craft store or online.
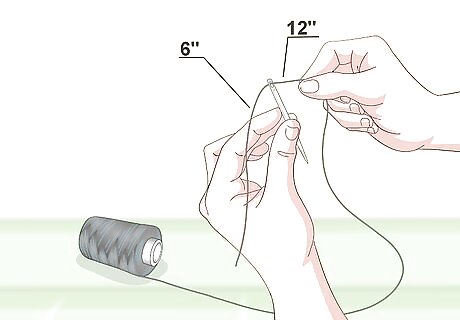
Thread the needle with waxed nylon, carpet-weight, or linen thread. A heavier thread works best for sewing pelts. Cut a piece of thread that is about 18 inches (46 cm) long. Then, tie a knot in the end of the thread and insert the other end of the thread through the needle. Pull the thread through the eye of the needle until about 6 inches (15 cm) of the thread is hanging out on one side and the other 12 inches (30 cm) is hanging from the other side. You can find these special thread-types in a craft supplies store or online.
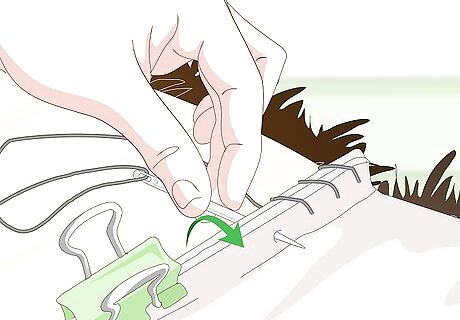
Use a whipstitch to sew the pelts together. When your needle is prepared, begin sewing through 2 of the skins you have clipped together. Start on one end of the pelts and work your way across to the other end of the pelts. To whipstitch, insert the needle through one side of the skin and then pull the thread all the way through on the other side until the knot is against the skin. Then, bring the needle around the edges of the skins and insert the needle through the skins on the same side as you did before. Space the stitches so that they are about 0.25 inches (0.64 cm) to 0.5 inches (1.3 cm) apart.
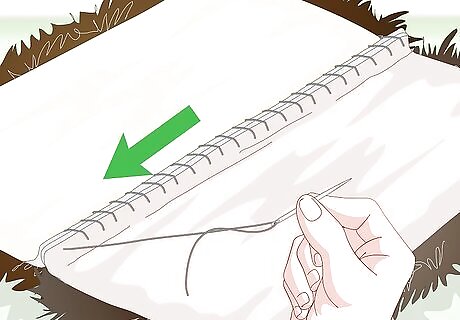
Continue to stitch until you reach the end of the pelts. Continue to whipstitch all the way across the project. You will be done sewing when you have connected all of the pelts together. Each time you run out of thread, make sure to re-thread your needle and pick up where you left off.
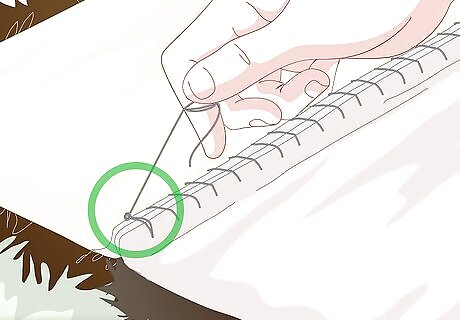
Tie off the thread when you reach the end. Every time you need to re-thread the needle, make sure to tie off the thread. You can then tie the new thread end to the strand you just tied off and continue sewing. When you get to the very end of your project, tie off the last thread. If desired, you may also snip the excess threads above the knots.
Using a Sewing Machine
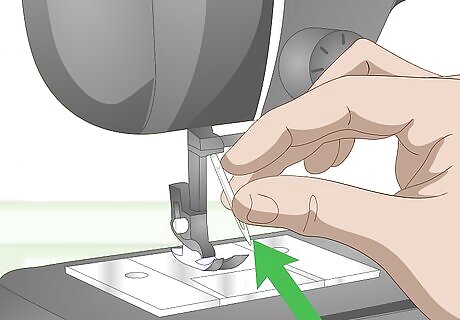
Install a leather needle on your sewing machine. Leather needles have a wedge-shaped point that pierces through the leather more easily than other types of needles. With your sewing machine turned off, unscrew the old needle from the sewing machine. You may be able to do this with just your fingers or you may need to use the small screwdriver that came with your machine. Pull out the old needle when the screw is loose enough. Then, insert the dull end of the new needle so that the flat edge is facing towards the back of your sewing machine. Tighten the screw to secure the needle. A traditional sewing machine can damage the fur. Instead, use a specialized fur machine for your project. You can find a leather needle for your sewing machine in a craft supply store or online. Look for a needle that is a size 80/12 through 110/18. The higher the number, the thicker the needle. Keep in mind that a standard sewing machine needle is too strong for your fur.
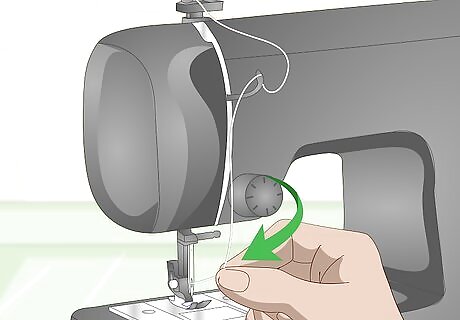
Thread the machine with all-purpose or heavy duty thread. All-purpose thread is usually strong enough for sewing leather on a sewing machine, but you may select a heavy duty thread if desired. Check your local craft supply store or look online for a thread that is meant for leather or denim. This ensures that the thread will be strong enough to hold the pelts together. Thread the machine as you normally would.
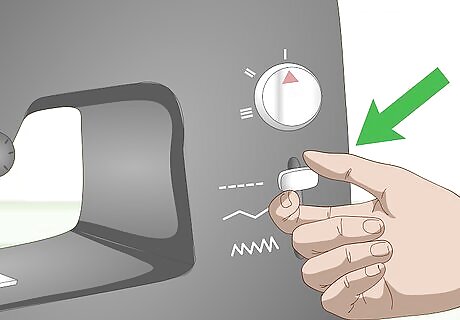
Set the machine to a wide straight stitch setting. The straight stitch setting is number 1 on most machines, but check your manual to be sure. Your sewing machine should also have a dial or digital screen where you can adjust the stitch width. Set the machine so that it will sew 7 to 9 stitches per 1 inch (2.5 cm). Check your sewing machine's manual if you are not sure how to adjust the stitch width. If you're using a traditional sewing machine, place pieces of ribbon on top of the fur and beneath the sewing machine foot. This way, your machine won't damage the fur.
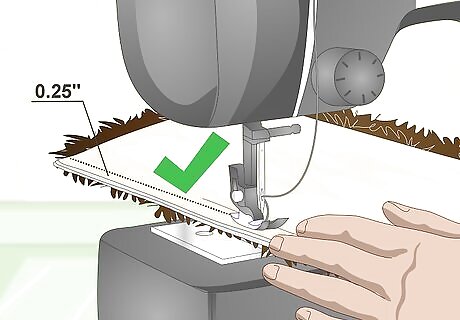
Sew about 0.25 inches (0.64 cm) from the edges of the pelts. Place the edges of 2 of your lined up pelts under the presser foot of the sewing machine and make sure that no fur is stuck between the edges. Then, sew along the edges of these pieces to connect them. Sew to the end of one section at a time. Snip the excess thread when you are finished sewing the pelts together.



Comments
0 comment