views
- Cut out lengths of fabric according to your pattern. Use a sturdy, durable fabric like cotton or wool for the outside, and a lighter fabric like satin or silk for the inside.
- Pin together matching pieces of outer and inner fabric and sew them together, leaving 8 to 10 in (20 to 25 cm) open to reverse the panels.
- Pin the individual pieces together, then sew them along their edges to attach them. Then sew a closure clasp near the neck.
Designing Your Cloak

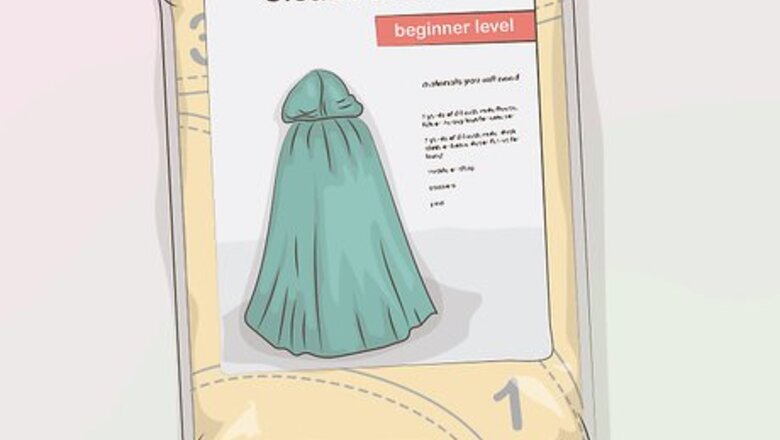
Choose a pattern in the style, length, and size you want. Having a pattern as your guide for making a cloak will take a lot of the guesswork, measuring, and math out of the process. You can simply follow the pattern’s instructions for how much fabric to buy and use the pattern pieces to cut and sew the fabric. Look for a beginner level pattern if this is the first time you are making a cloak. You can find a pattern in a craft supply store, or you can find free patterns online. The pattern package should have a list of the items you will need to make the cloak. Use this as your guide when purchasing your fabric and notions, such as the clasp and thread.
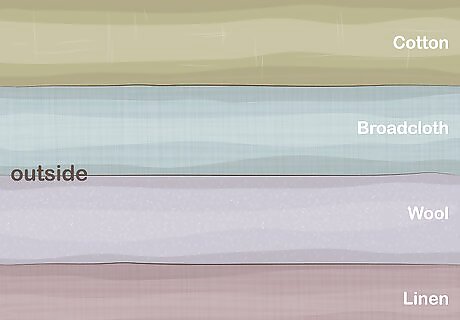
Select a durable fabric for the outside of the cloak. Cotton and broadcloth work well for the exterior of a cloak if you want it to be lightweight. If you want something heavier, then you can use wool or linen. If you plan to wear the cloak outdoors, then make sure the fabric you choose will hold up against the elements, such as a waterproof nylon or vinyl fabric. Make sure that the fabric you choose moves easily. Hold a piece in your hand and try to wave it around. If it is stiff, then it probably won’t work well for a cloak.

Use a smooth fabric for the inside of the cloak. Good choices for the inside of a cloak are satin and silk, but you can use any smooth fabric you like. A smooth fabric will make it easier to get the cloak on and off over your clothes. However, if you do not care about making the inside of your cloak smooth, then you can use any type of fabric you want. Silk and satin can be expensive. To save money, you can use cotton or broadcloth for the interior. They won’t be as smooth, but they are much cheaper.

Choose matching or contrasting colors for your cloak. The exterior fabric of the cloak will always be visible, but the interior will only be visible when you flourish the cloak, open it up, or take it off. Still, having a little pop of color on the inside of the cloak is a nice touch, or you can go with an interior fabric that will match the exterior for a more subtle look. For example, go with a black fabric for the exterior, and a black fabric on the interior for something subtle. Or, use black fabric for the outside of the cloak, and red, green, purple, or some other color for the interior for a pop of color.
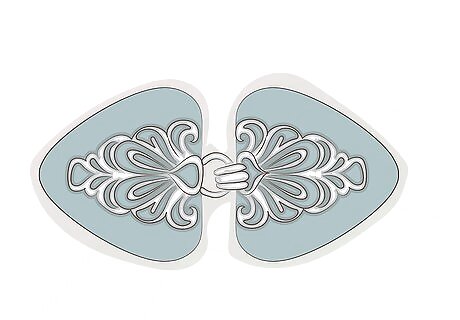
Pick out a clasp or other closure piece for the front clasp. Most cloaks are secured at the neck with just 1 hook clasp or some other type of closure piece. The pattern you use should specify what type of closure piece you will need to secure the cloak. Check to be sure, and then select a clasp in a design and color that you like. Try choosing a hook or other type of clasp that will compliment the fabric you are using. For example, you could use a gold hook for a black cloak with green lining. Or, you could use a purple clasp for a cloak made with teal fabric.
Cutting out the Fabric Pieces
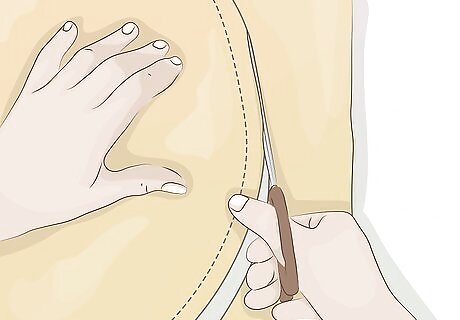
Cut out all of the paper pattern pieces. Cut along the lines for the size cloak you want to make. If you are using a 1-size-fits-all pattern, then there will only be 1 set of lines to cut along. However, some patterns may include different length options, so make sure that you follow the instructions for the length you want. Make sure to use a pair of sharp scissors to cut out the paper pattern pieces.
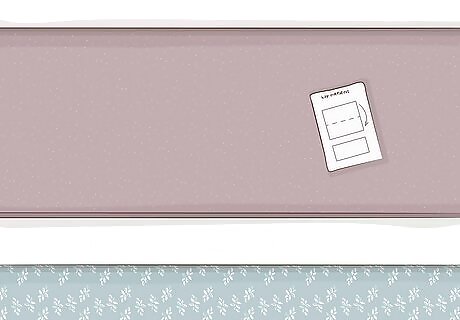
Lay out your fabric as instructed by the pattern. Usually, you will be instructed to fold the fabric in half so that you can cut 2 pattern pieces out at once, or so you can cut out 1 larger piece along the fold. Follow your pattern’s instructions for how to lay out your fabric. Make sure that the fabric is flat with no bumps in it. If there are any wrinkles in your fabric when you lay it out, you may want to iron it before you start pinning and cutting.
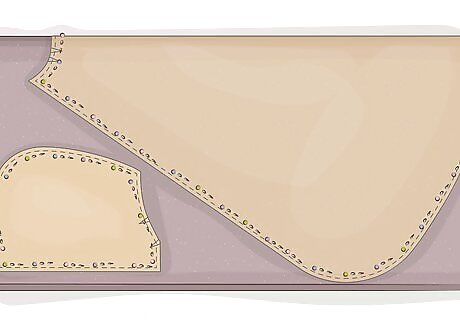
Pin the paper pattern pieces onto the fabric. Place the paper pattern pieces on the fabric as indicated by your pattern’s instructions. Some pieces can go anywhere on the fabric, while others will need to go along the fold. This will be indicated on the paper pattern pieces with arrows and text. However, you should also check your pattern’s instructions to be sure. If you are using satin or silk fabric, use ballpoint pins or paper weights to keep the pattern pieces in place. Regular pins may damage the fabric.
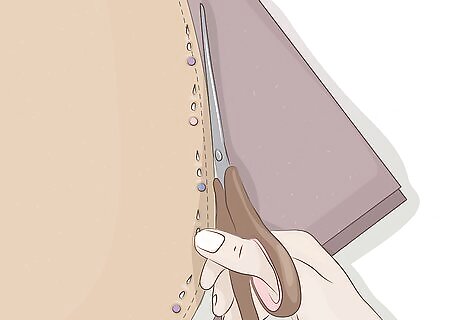
Cut the fabric around the edges of the paper pattern pieces. Use a sharp pair of scissors to cut the fabric along the edges of the pattern pieces. Follow the edges of the pattern pieces closely to ensure that you get the proper shape and size. Try to avoid making any jagged cuts in the fabric as well. Make sure to cut out any notches that are printed on the pattern. These are important for lining up your fabric pieces to sew them together.
Sewing the Pieces Together
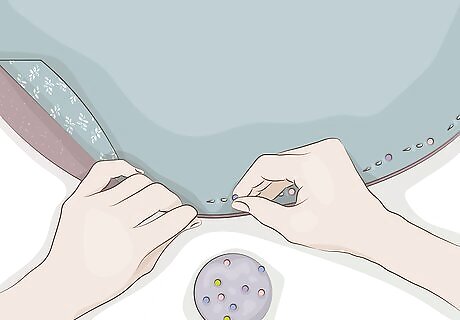
Pin together matching fabric pieces as instructed by your pattern. You will need to pin together the edges of the interior and exterior cloak pieces so that the right sides (print or outer sides) of the fabric are facing each other. Line up any notches that you cut in the fabric and make sure that the edges of the pieces are even all the way around. Make sure that the right sides of the fabric pieces are facing each other when you pin them. This is so the seams will be hidden inside of the cloak. The hood pieces will likely have a few notches in them, so make sure to line these up carefully.
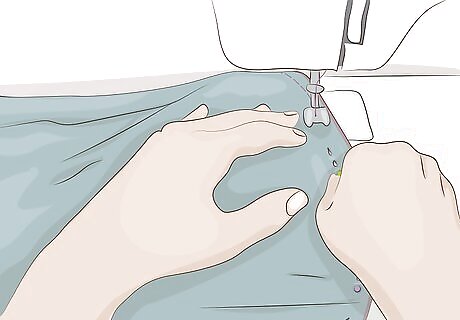
Sew together individual pieces of the cloak exterior and lining. Since a cloak is such a large garment, you may have to sew a few smaller pieces together, and you will also have to sew together 4 or more pieces to create the hood. Check your pattern’s instructions to be sure, and sew pieces together as instructed. The hood will likely be the most complicated part of the sewing pattern. Make sure to line up any notches and sew the hood parts together exactly as your pattern instructs you to. For example, you will sew 2 hood lining pieces together with the edges aligned and the right sides facing each other. Then, repeat this for the exterior fabric, and then sew together the edges of the exterior and lining hood pieces.
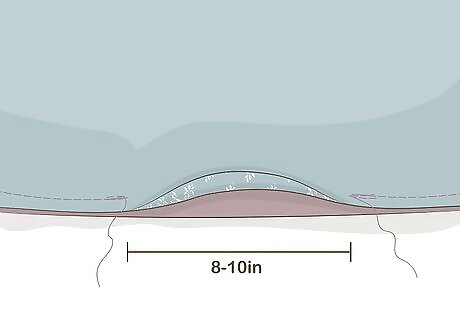
Sew the lining and exterior leaving an 8 to 10 in (20 to 25 cm) opening. Sew a straight stitch 0.5 in (1.3 cm) from the raw edges of the pinned areas of your cloak and lining fabric. This will be the seam allowance for your cloak and it will make the seam more secure. The opening will allow you to invert the cloak so that the seams will be hidden. Make sure to remove the pins as you sew. Do not sew over them or you may damage your sewing machine.
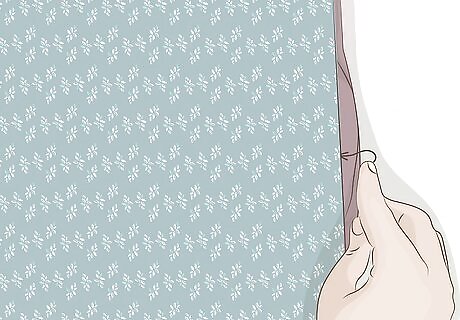
Invert the fabric and sew over the open area to close it. After you have finished sewing the cloak lining and exterior fabric together, pull the fabric through the opening to invert it. The right sides of the lining and exterior should now be visible. Press your fingers into the corners of the cloak to ensure that the edges of the cloak are well defined. If desired, you may iron over the seams once the cloak has been inverted. This will also help to make the edges look slightly more defined.
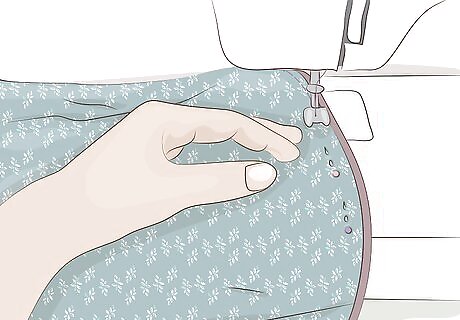
Sew a straight stitch 0.25 in (0.64 cm) from the folded edge. Find the open area, and fold 0.5 in (1.3 cm) of the fabric into the cloak so that the raw edges are hidden. Place a few pins to hold the fabric in place, and then sew over the pinned area. This will secure the opening and finish the edges of your cloak.
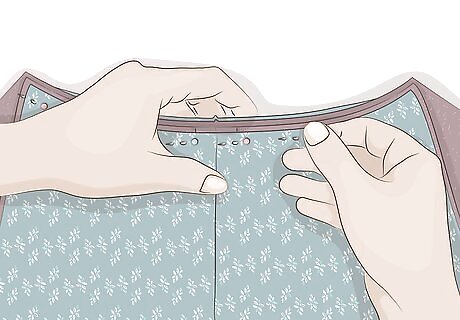
Pin the hood to the neckline of the cloak. Line up the seam on your hood with the seam on the back of the cloak, and place a pin to join the hood and cloak at the seam. Make sure that the right sides of the exterior fabric are facing each other and the raw edges of the hood line up with the top edge of the cloak. Then, pin the rest of the hood onto the neckline of the cloak. Place 1 pin every 2 to 3 inches (5.1 to 7.6 cm) so that they are perpendicular to the fabric. This will allow you to easily pull the pins out before you sew over each area.
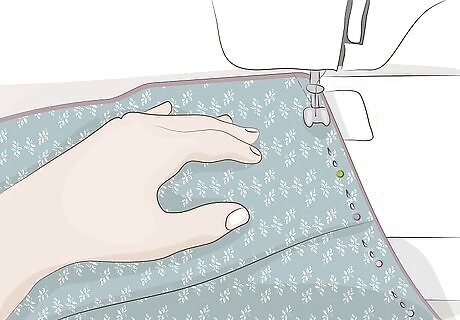
Sew a straight stitch 0.5 in (1.3 cm) from the hood and neck edges. To secure the hood to the neckline of the cloak sew over the areas you have just pinned. Sew all the way around to attach the 2 pieces together. When you get to the end of the hood, press down on the lever on the side of your machine to backstitch by 1 in (2.5 cm), and then release the lever to sew over the edge of the hood fabric. To finish up, snip any excess threads left after sewing the hood onto the cloak.
Attaching the Closure Piece
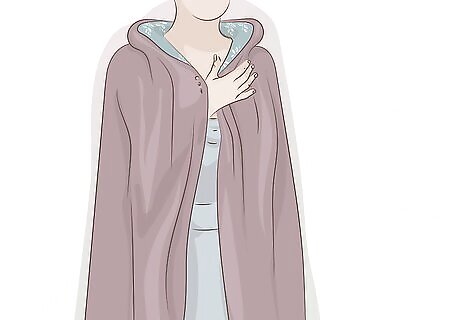
Try on the cloak to find the ideal placement for the closure piece. Check in a mirror to locate the ideal place to attach your clasp. This should be right at the front of your neck over your collarbone. However, you can place it higher or lower depending on what is most comfortable for you. Once you have found where you want the closure, insert a straight pin into the exterior fabric on each side of the cloak where you want the clasp to be. Remove the cloak after you have identified where to place the closure piece.
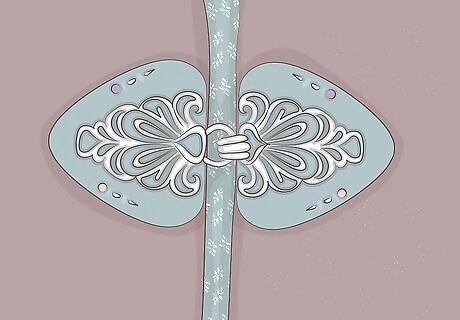
Pin the clasp where you inserted the straight pins. Use your thumb to mark the clasp placement when you remove a pin, and then put 1 side of the clasp on the cloak. Insert the pin you removed through the clasp to hold it on until you are ready to sew. Do this for both sides of the clasp.
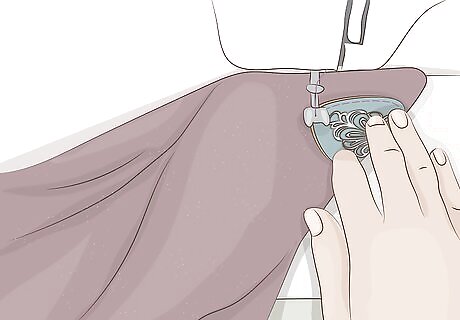
Sew the closure onto the cloak. Use a straight stitch to sew about 0.25 inches (0.64 cm) from the edges of the closure. Sew the closure base all the way around its edges to secure it. Then, do the same for the other side of the closure. Depending on the type of closure you are attaching, you may need to use a heavy-duty needle, so change your sewing machine needle if necessary. For example, if the closure has leather or another thick material as its base, then a heavy-duty needle will be required.



Comments
0 comment