views
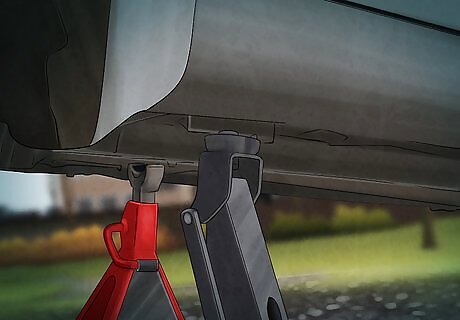
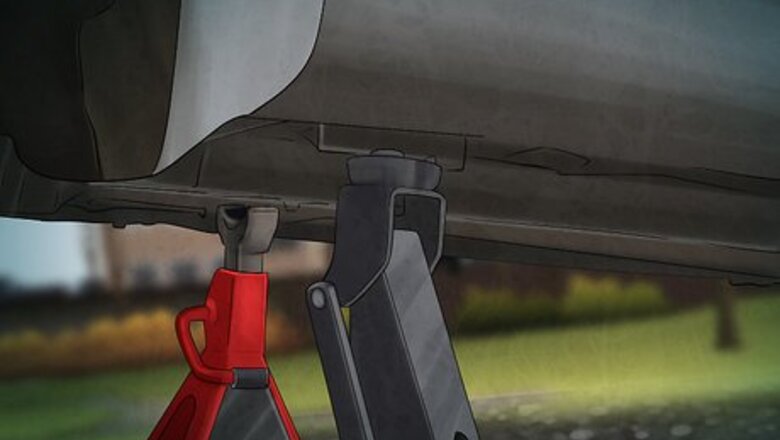
Make sure the vehicle is on a level surface, the transmission is in park, and the emergency brake is engaged. You may also place a block behind the back wheels to prevent the vehicle from rolling back. Start on one side of the car and use the tire iron to break loose each lug nut on the tire. You only need to loosen it about an 1/8th of a turn. Be careful not to loosen it more than that. Behind each front tire there is a metal lip (about 5in long) that you can use with the car jack to lift the vehicle. Raise the jack stand so that the pad sits sturdily under the metal lip. Then raise the vehicle just a few inches but not so that the tire is in the air. Continue loosening and removing the lug nuts off the tire, then raise the vehicle so that the tire has at least an inch of clearance above the ground. Place a jack stand under the vehicle's steel frame, behind the car jack. Then lower the car jack until the jack stand is supporting the vehicle. (You may need to raise the vehicle significantly to fit the jack stand under the frame.) Remove the tire, and repeat the process on the other side of the vehicle.
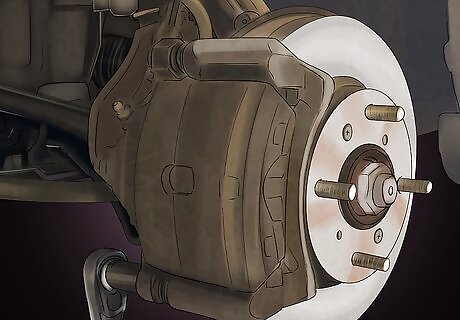
Starting on either side, locate the brake caliper (which is directly behind the tire). It is mounted on top of the brake rotor (the large metal disk where the wheel studs come out of), and has two long bolts (top and bottom) in the back that hold it in place. Use the 17mm socket wrench to remove the bottom bolt.
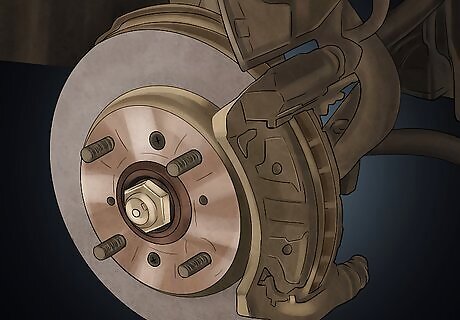
Lift the bottom of the caliper so that it pivots off of the top bolt. This is done to reveal the brake pads underneath and to move the caliper out of the way.
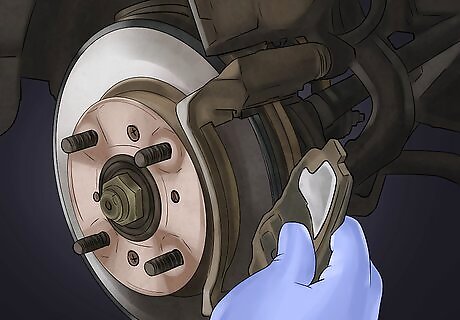
Remove both brake pads. Notice that the two pads differ, and that the pads on the back side have a wear indicator which looks like metal tab that extends out the side of the pad.
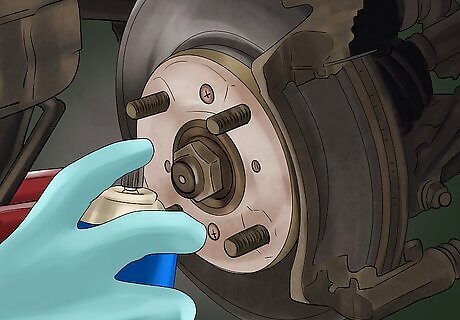
Use the brake cleaner to spray down the entire brake assembly.
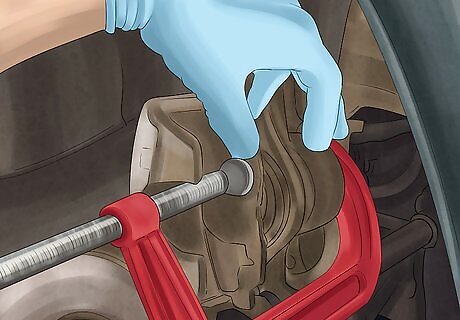
On the inside of the brake caliper is the piston which extends out towards the back pad. Use a c-clamp to press the piston back into the caliper. You may use an old brake pad to make it easier. Compress the piston until it is all the way back.
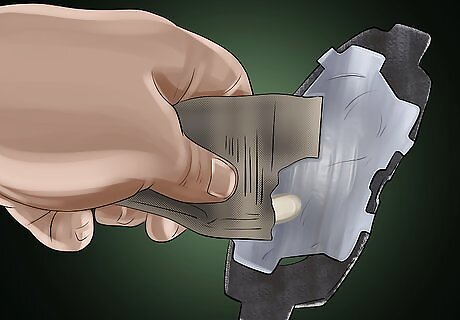
Apply brake grease to the new pads. Use a generous amount on the area which the pad will come in contact with the caliper. This will be on the metal side of the pad (which is the opposite side of where the pad touches the brake rotor).
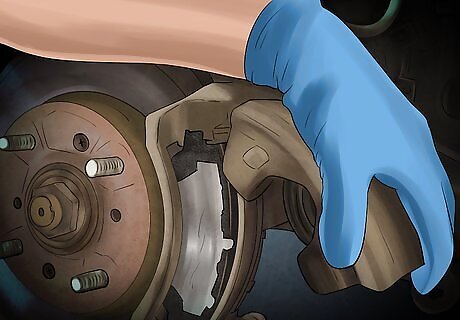
Install the new brake pads in place. Remember that the one with the wear indicator goes on the back side with the piston. Then carefully lower the bottom of the caliper back down, over the brake pads. The caliper now has space to slide in and out, so you may have to slide it out so that you can swing the caliper over the new brake pads.
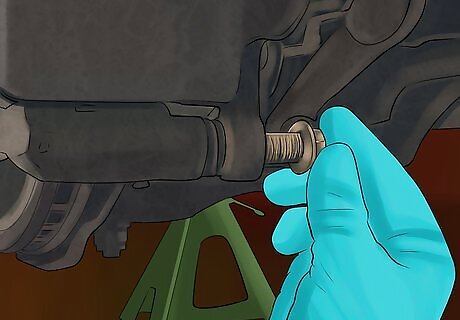
Use any leftover grease on the bottom bolt if it needs any. There is a black silicone slip on the bottom hole of the caliper. Slide the bottom bolt back in, making sure that it goes through the silicone slip, and then tighten the bolt. The silicone slip is so that the no dust or dirt can get on the bolt.
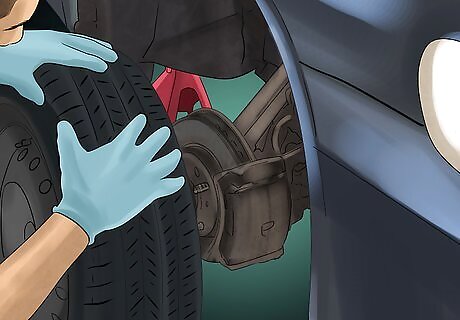
Put the tire back on and tighten the lug nuts as best as you can. Raise the car jack back into place and remove the jack stand. Slowly lower the car jack just enough so that there is pressure on the tire for you to tighten the lug nuts. Use a "star" pattern to tighten the lug nuts securely. Lower the car jack slowly until it clears the bottom of the vehicle. Double check that the tire is secure.
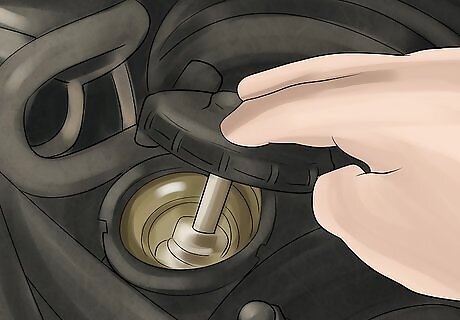
Repeat steps 3-11 on the other side of the vehicle. Once this is complete, it is a good time to check the brake fluid under the hood. It is located on the driver's side, towards the back of the engine compartment. Fill as necessary.
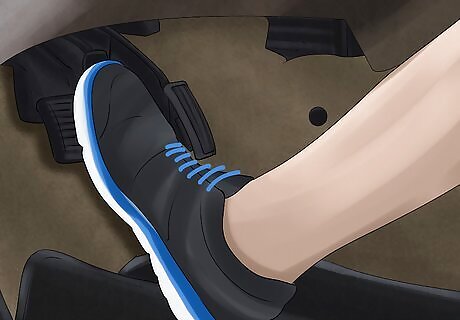
Clear any tools from under the vehicle, and pump the brakes until they begin to firm up. Start the vehicle and slowly test the brakes out. Start off with a slow speed, then come to a complete stop. Gradually test the brakes at increasing speeds in a safe area. Once you feel comfortable with the brakes, you are now done!




Comments
0 comment