
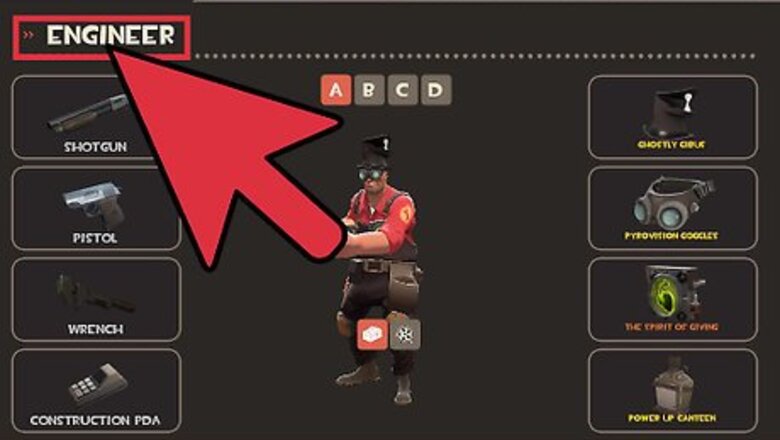
Grab your toolbox. Engineers hold a 6/32 (meaning 6 bullets a clip, 32 extra clips) medium ranged Shotgun (Primary), a 12/200 Pistol (Secondary) and the Wrench that helps build the crazy contraptions (Melee). In addition to this, Engineers have multiple buildables that require metal to build (Four key).
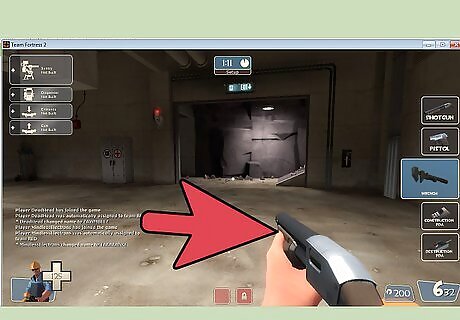
Get metal. When you spawn, every Engineer starts with a maximum of 200 metal (shown bottom right). To collect metal, walk over to ammo boxes, guns from the dead, a resupply cabinet, or a Dispenser. Once you build something, you also have to upgrade it to its full potential. Every building can be upgraded from Level 1 (Newly built) to a Level 2 (Requires 200 metal) to a Level 3 (Complete). Upgrading a Sentry to its maximum level (3) makes it the most deadly, being able to shoot twin Gatling guns and rockets (which would be the equivalent of two Heavies and a Soldier shooting the target at the same time), whereas upgrading a Dispenser further helps the team by deploying ammo and metal faster, and increasing the healing rate.
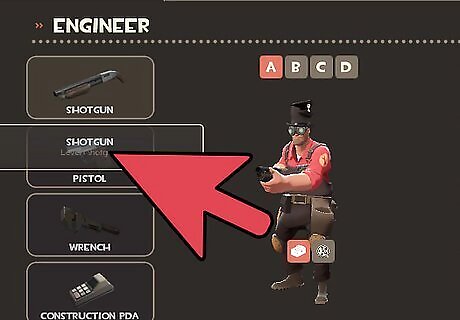
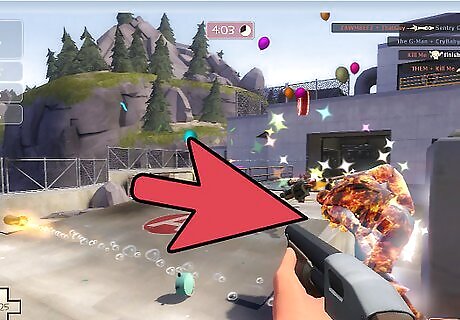
Recognize when and how to use your primary weapons. Engineers are given a shotgun, a pistol, a wrench, a tool for creating buildings, and a tool to detonate them. Use the shotgun for short-to-mid range attacks. This is your base weapon, which you will be using to attack for the majority of the time. Use the pistol for long distance. While not pinpoint accurate, the Engineer's pistol is good for finishing off a retreating enemy. If you run out of ammo in the heat of battle with the shotgun, pull out the pistol and fire away. Use your wrench to repair your structures and close combat. Wrench kills are fun, but not always practical in head-to-head combat. Save your wrench for repairing your sentry gun and other structures, except when against a spy who's sapping your buildings. It's quicker and more effective to attack a Spy with the same weapon you use to fix your buildings than to switch between them.
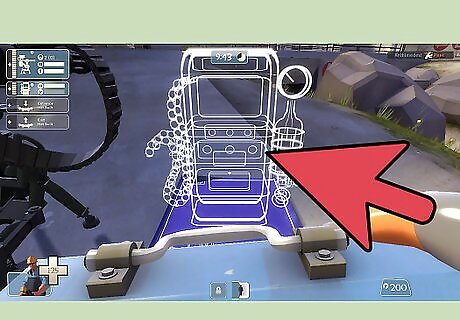
Understand how to use each of your structures. Engineers have the ability to build a sentry gun, a dispenser, and teleporter entrance/exits. Select a blueprint and turn it 90º by right clicking, if you desire. Place a structure at your desired location and watch as it automatically begins to construct itself. You can also hit it a few times with your wrench to speed up the process. Be sure to keep it well guarded in the meantime, otherwise, an enemy can easily destroy it before it finishes. Sentry gun (130 metal). These turrets will automatically fire at any oncoming enemies, making them a staple in base defense. Sentries have a limited range, which is outlined by a wall of your team's color prior to placement. Sentries have three levels of firepower (levels 1, 2, and 3), which can be upgraded by obtaining more metal and hitting it with your wrench. Each level upgrade requires an additional 200 metal. At its lowest level, the sentry will only complement the team's defense/offense, at Level 2 and higher the sentry is capable of shutting down any enemies in the sentry's vicinity, with the exception of spies. Level 1 sentries are very basic. They fire rounds and rotate much more slowly than other levels, making them susceptible to damage by faster players. They are comparable in firepower to the Scout pistol. Pretty much any class can handle a sentry at this point Level 2 sentries have stronger firepower and can rotate faster than Level 1 sentries. They are roughly comparable to a Heavy's mini-gun. Level 3 sentries are the most powerful, able to rotate and shoot rapidly with rockets and additional rounds. They are the equivalent of a Heavy's mini-gun and a Soldier's rocket launcher. Dispenser (100 metal). The dispenser slowly generates metal and ammo for teammates. It will also heal teammates, although much more slowly than a Medic. Coupled with a nearby sentry, a dispenser can provide virtually unlimited metal, ammo, and health to an Engineer and to other players. Be wary, though, that dispensers generate metal at a relatively slow pace, so don't expect to have a batch of metal right after it finishes constructing itself. Place a dispenser strategically on the front lines to provide teammates a consistent source of health. These are invaluable during sudden death matches. Unlike in Team Fortress and Team Fortress Classic, you cannot kill enemies by detonating your dispenser. You can, however, place a dispenser in a tight corridor to create a makeshift barrier. This is useful to hinder retreating enemies, as well as inform the Engineer of incoming enemies. Dispensers have 3 levels. The more levels the dispenser has, the faster it can heal people. At level 1, it heals at the rate of 10 HP/sec; at level 2, it heals at 15HP/sec; at level 3, it becomes 20HP/sec - almost as fast as a medic, with a rate of 27HP/sec. Dispensers healing stacks with other nearby dispensers. Two or more of them make for a very quick healing point for your team. However, it requires the cooperation of a second engineer. A Heavy or Pyro near a dispenser will never run out of ammo even if they fire constantly, so with proper placement you can have a Heavy act as a makeshift sentry or Pyro as a Spy checker. Teleporter (50 metal). The teleporter is highly useful for transporting newly spawned players to the front lines quickly. Remember that you will need to place a teleporter entrance and exit. Be strategic when selecting a location for your teleporter entrance. You will want to place an entrance where your teammates can readily see it, but not so obvious as to leave it open to enemy fire. Similarly, avoid placing exits out in the open. Not only do you want to preserve the life of your exit, but also the lives of your teammates as they come to learn where they've been teleported. Remember that players passing through your teleporter will temporarily leave your team color's trail in their wake. Experienced opponents will take note of this and attempt to track down the location of your exit. Your teleporter can transport one player about every 10 seconds unless upgraded, which then the time is reduced to 5 seconds for level 2, and 3 seconds for level 3. Before building an exit, make use of your ability to turn structures by right-clicking. It helps to give incoming players a clear view of where they are going, rather than staring into a corner.

Develop a strategy. While Engineers are catered to being a defensive class, they still have much opportunity to play on offense as well. Be sure to experiment with different techniques and plans that offer the most benefit for you and the rest of your team. Consider your defensive role. Most Engineers will spend their time within the base, placing sentries in locations where they cannot be destroyed easily. If you are very close to the re-spawn, you might consider building a far-off dispenser near the front line to provide health to your teammates, since you have easy access to the supplies cabinet. Don't forget about placing a remote teleporter exit to assist in transporting your teammates. For a defensive engineer, the sentry gun should be positioned to best protect the objective. Consider your offensive role. Engineers can be used to create "mini bases", which can provide a place for teammates to retreat for health and ammo, as well as a place to transport teammates with the teleporter. In an offensive role, a sentry gun should serve to protect the teleporter exit and dispenser.
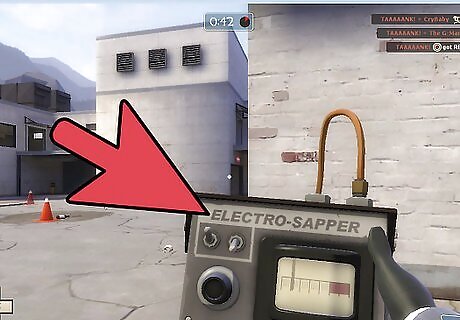
Be wary of Spies and their sappers. Spies are equipped with sappers, which will disable your structures and render them unusable. Sappers will also slowly drain your structure's power, and will destroy it if it is left on for too long. If a Spy saps one of your structures, quickly hit it a few times with your wrench to destroy the sapper and to repair your structure. It is usually a good idea to focus on killing the spy first, and then repair and/or rebuild your structures. Otherwise, the spy will just continue to sap your structures over and over again, or he could backstab you while you're facing your sentry. It's important to remember that sappers will disable your structures. Hence, if a Spy saps your sentry, it will not be able to shoot until the sapper is removed. This can leave you vulnerable not only to the Spy's attacks, but also to other incoming enemies. Naturally, don't forget that your sentries will not attack a Spy that is cloaked and/or is disguised as one of your teammates. Usually your sentries, dispensers and teleporters will be first priority to be destroyed by the opposing team, whether attacking or (especially) defending. in many cases, therefore, building sentries and teleporters in hidden or unexpected, hard-to-reach locations can be a better decision than building it in traditional defense spots, which would be the first place targeted. Consider using a dispenser and a crouch jump to reach to roof on point C on Gravel pit, or the corner ledge on stage 1, point 2 in Goldrush. A team faced with a sentry in an unconventional position will sometimes be too stunned to strategize around it and destroy it! Keep an eye out for demomen, whose stickies can knock out a whole set of engineer buildings if they're close together. Make sure to keep an eye on all the corners and blind spots where the demo man can launch stickies from
Use more gun. Completing the achievements or finding weapons should give you the Gunslinger, Frontier Justice and Wrangler. You will also get another weapon if you craft.


Comments
0 comment