
views
Navigating by the Sun

Use the sun. If it's in the afternoon the sun will be setting so it will be, more or less, in the west. If it is still morning then it will be rising roughly in the east. You can then figure out the approximate directions of north and south as well. During midday it can be more difficult to determine which way the sun is moving, so you may need to work a little harder.

Locate a flat, open area. Find a spot on the ground that is out of the shade. You will need direct sunlight in order to create a shadow. If you can find a patch of dirt, use that area instead of grass. The grass may make it more difficult to see the shadow accurately and mark it.
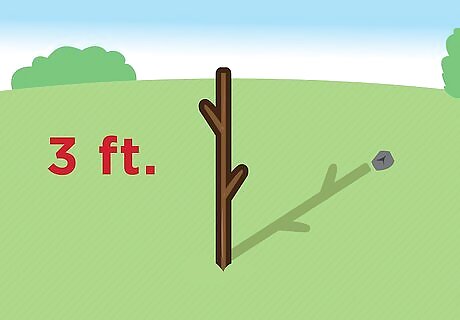
Find a stick. It should be at least three feet tall. Push the stick into the ground so it stands vertically. Place a stone or another stick on the tip of the shadow of the vertical stick. Wait for half an hour.
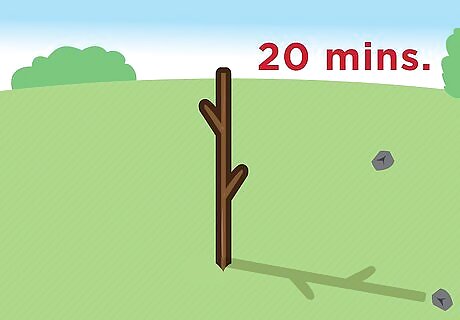
Check the location of the shadow. After about 20 minutes, check the movement of the shadow. As the sun moves across the sky, the shadow will change in length. Place another rock to mark the location of the tip of the shadow. You may want to repeat this step one more time if you have time to wait. Having more points of reference along your line will help you determine which direction you face more precisely.
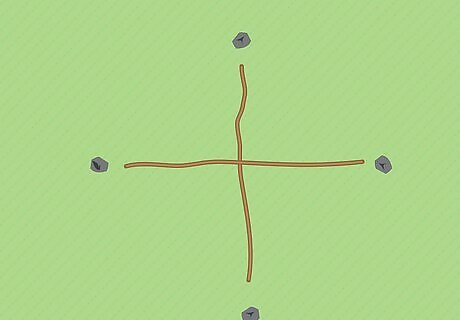
Draw a line connecting the rocks. This line points east and west. The first tip of the shadow that was marked is always west, and the last tip that was marked is always east.Draw a perpendicular line through the first line and it will point north and south. You can also place your left foot on the location of the first marker, and place your right foot on the second marker. The direction your body will be facing is north.
Navigating by the Stars

Look for the North Star. At night, in the northern hemisphere, look for Polaris. It is located in the handle of the Little Dipper. Looking at Polaris, you will be facing North. The North Star is always in the same direction in the night sky, so once you can easily find it you will always know which direction is north. At night, you can find the North Star using the Big Dipper as well. The Big Dipper is shaped like a ladle with a handle and a cup. The two stars that make up the side farthest from the handle, or the outside edge of the cup, are called pointer stars. Note the distance between these two stars. Draw a line away from the bottom of the cup through the star at the lip as indicated by the pointer stars for an additional length of five of these pointer distances. If you see a star nearby, that is the North Star. If the area is clouded over, you are still within three degrees of true north. Another way to find the North Star is to learn to identify the five stars that make the "W" shape in Cassiopeia. It is located directly opposite the North Star from the Big Dipper. In the southern hemisphere, you can find the Southern Cross constellation in the night sky to find south.

Get two long sticks. One should be slightly longer than the other. If you can't locate Polaris, you can line up any star in the sky using the tips of two sticks. You can track the motion of the star across the sky to find out which direction you are facing.

Find a flat, open area on the ground. You will need enough space to stand and place the sticks a couple feet apart. Be sure you pick a spot that has a good view of the night sky.

Push the sticks into the ground a few feet apart. Be sure both sticks are standing straight up. Push the shorter stick in the ground first. Line up a star in the sky. Place the taller stick in the ground so the tip lines up in a straight line with the first stick and the star in the sky.
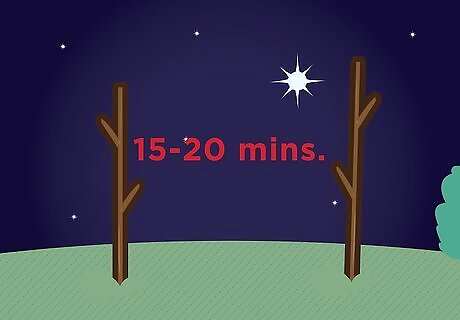
Check back after 15 or 20 minutes. Look over the tips of the sticks again and note the changed location of the star. If the star moved left, you are looking north. If the star shifted to the right, you are facing south. If the star is higher, you are looking east. If the star moved down, you are facing west. The star will likely have moved in a combination of directions, like up and to the right. So, you will need to estimate your southeast direction by how much the star moved in each direction.
Using Time

Hold an analog watch so the face is level with the ground. You need to have a watch with hour hands, not a digital face to use it. You also need to know your watch is working and set to the correct time. Note: You should only use this method between 40 and 60 degrees north or south of the equator. The closer you are in proximity to the equator, the less accurate this method will be. If you have a digital watch, you can simply draw a circle on the ground with a stick. You can use this to represent the watch.

Point the hour hand at the sun. Turn your body while holding the watch until hour hand is pointing in the direction of the sun. If you are in the southern hemisphere, point the twelve on your watch in the direction of the sun. If you are drawing the "watch" on the ground, draw a line in the direction of the sun. In the northern hemisphere this will represent the hour hand; it will represent the twelve on the watch in the southern hemisphere. Ignore the minute hand; it is not used in this method. In the northern hemisphere, you would draw a line to the 12. In the southern hemisphere, you would draw the second line toward the current hour.

Study your watch. Find the midway point between the hour hand and the number twelve on your watch. If you are in the northern hemisphere this line points south. If you are in the southern hemisphere, this line points north.
Using Landmarks to Stay on Course
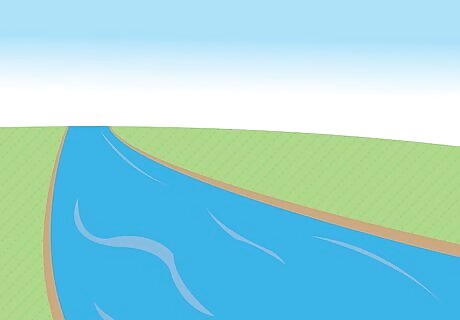
Find landmarks around you. You can look for natural landmarks, like mountains, lakes, and rivers. You can also look for manmade landmarks like roads, buildings or bridges. You can also try to line up a landmark with another landmark further away. Keep the landmark in line with the more distant landmark as you travel to be sure you are going straight. If you have a map, orient the map in the direction you are facing. North is usually up at the top of a map. Walking straight may seem easy, but without a means of getting their bearings people tend to walk in circles while thinking they are traveling in a straight line.
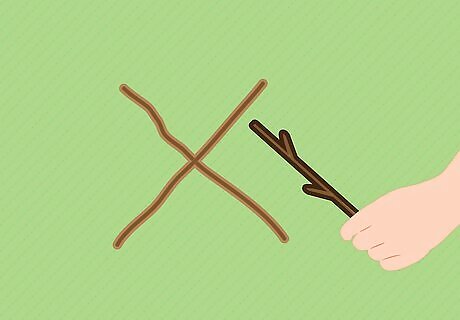
Move towards a landmark. When you reach it, make a mark in the direction you came from. Use a stick and scratch a line in the dirt.

Find another landmark in front of you. Look for a hill, a tall tree, or any distinguishing feature in the direction you are heading. Be sure it lines up with your line in the dirt. Continue walking toward the landmark.
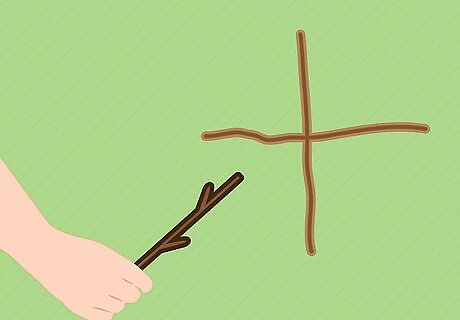
Repeat. When you get to the new landmark, look back to the last landmark and draw a line in the dirt. Line up a new landmark in front of you from the line in the dirt. Using this technique, you can continue to travel in a fairly straight direction so you can avoid becoming lost.

Study the trees. Moss will grow only on the north side of a tree. Deciduous plants tend to populate the southern slopes of hills while coniferous trees cover the north. These phenomena occur in the opposite manner in the southern hemisphere. Plant life signs may help you to determine your direction of travel, but it is not very imprecise. Though you shouldn't rely on these occurrences entirely when navigating, it can come in handy when other methods fail.


Comments
0 comment