
- Move a camera by selecting it with the mouse and pressing "G" to grab or "R" to rotate it. Then, drag it with the mouse.
- You can also lock the camera to the viewport by clicking "View" > "Sidebar." Then click "View" in the sidebar. Check "Lock Camera to Viewport."
- Use the middle mouse wheel to rotate the viewport/camera. Hold shift and use the mouse wheel to pan the camera from side to side. Roll the mouse wheel to zoom in or out.
Using Keyboard Shortcuts
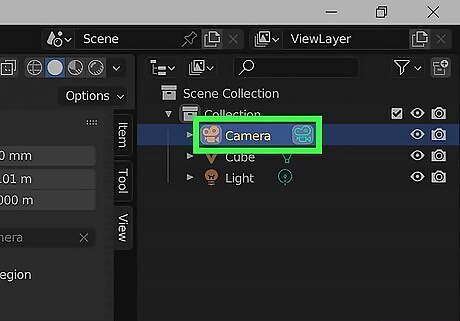
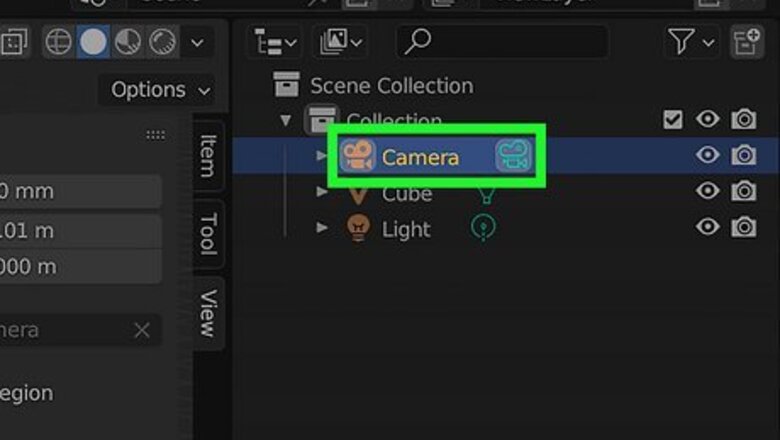
Click the camera to select it. The camera resembles a triangle-shaped object in your scene. When you start a new project in Blender 3D, a camera and a cube are added to the scene automatically. If your viewport is Camera View, click the frame around the camera frame to select the camera.
Press G to grab the camera and drag it with the mouse. The camera is like any other object. You can move it by selecting it and then grabbing it. Drag it with the mouse to You can lock the camera to a specific axis after grabbing it to keep it from moving in an unwanted direction. To lock the camera to the up-and-down directions, press "Z" to lock it to the Z-axis. To lock the camera to the North and South direction, press "Y" to lock it to the Y-axis. To lock it to the East and West direction, press "X" to lock it to the X-axis.
Press R to rotate the camera and drag it with the mouse. You can rotate the camera or any other object by selecting it and pressing "R" to rotate it. Drag it with the mouse to rotate it. Press "Z" after pressing the "R" to lock the camera to a left-right axis. Press "X" to lock the camera to an up-down axis. Press "Y" to lock it to a tilt axis.

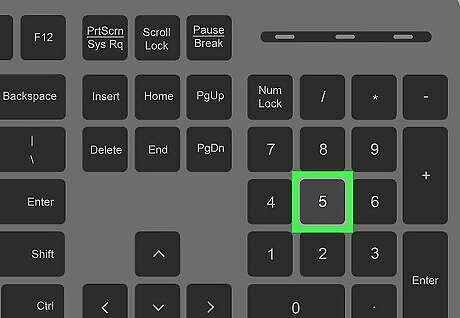
Press Num 0 to view the camera in the viewport. This switches to Camera View. After you move the camera, you'll probably want to see things from the camera's perspective to see if you need to make any more adjustments. Press "0" on the number pad to see through the camera in your viewport. You can also click the icon that resembles a camera on the right side of the viewport.
Using Viewport Controls
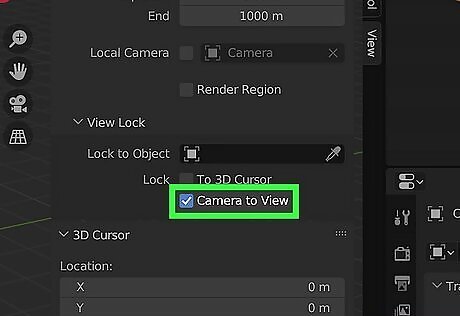
Lock the camera to the viewport. When you lock the camera to the viewport, you can use the viewport controls to move and adjust the camera position. This allows you to move the camera more quickly because you don't have to jump in and out of Camera View to see what the camera is looking at. Use the following steps to lock the camera to the viewport: Click View in the menu bar at the top. Click the checkbox next to Sidebar. Click the View tab next to the sidebar at the top. Click the checkbox next to Lock camera to viewport.

Press Num 0 to switch to Camera View. You can either press "0" on the number pad or click the icon that resembles a camera on the right side of the viewport. This switches to Camera View. With the camera locked to the viewport, you can use viewport controls to move the camera.
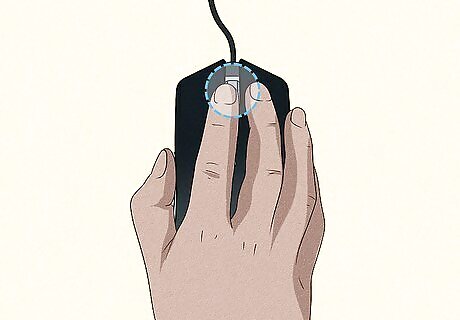
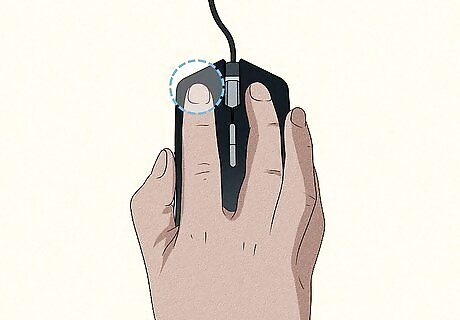
Press and hold the mouse wheel and drag to rotate the camera. Just like viewing a scene through the viewport, you can rotate around the scene by pressing the mouse wheel and dragging.

Hold ⇧ Shift and the mouse wheel at the time and drag to pan the camera. Holding Shift and the mouse wheel at the same time allows you to move the camera from side to side or up and down by dragging the mouse.
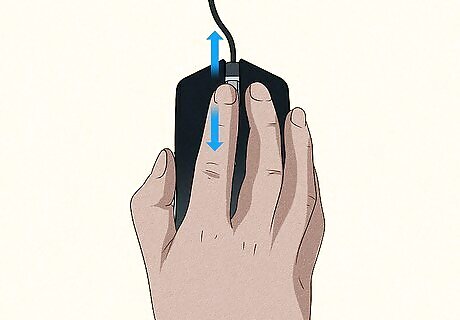
Roll the mouse wheel to zoom in or out. Roll the mouse wheel forward to zoom in. Roll the mouse wheel back to zoom out.
Press a number on the number pad to exit Camera View. When you are finished moving the camera, press one of the numbered buttons on the number pad (except for "0") to exit Camera View. You can also click the camera icon to the right of the viewport to exit Camera View.
Using Walk Navigation Mode
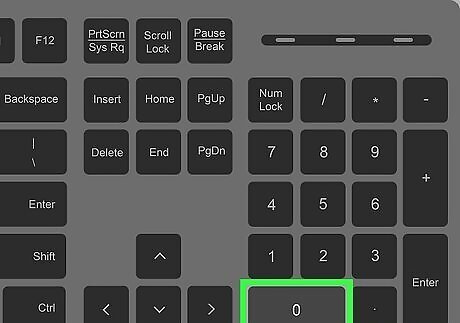
Press Num 0 to switch to Camera View. You can either press "0" on the number pad or click the icon that resembles a camera on the right side of the viewport. This switches to Camera View. With the camera locked to the viewport, you can use viewport controls to move the camera.
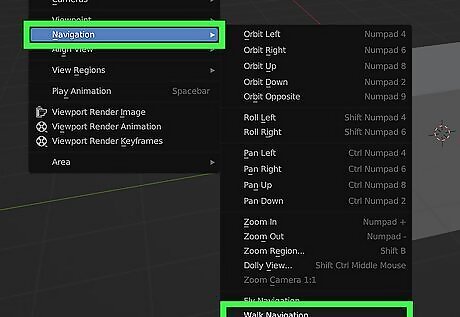
Switch to Walk Navigation Mode. Walk Navigation Mode allows you to move the camera using WASD controls, which are common in gaming. Use the following steps to switch to Walk Navigation Mode: Click View in the menu bar at the top. Hover over Navigation. Click "Walk Navigation' at the bottom of the menu (alternatively, you can select Fly Navigation but it is much harder to control).
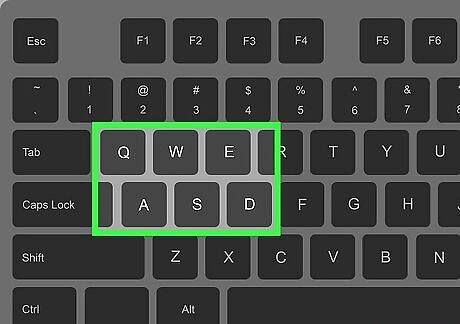
Use WASD controls to move the camera. WASD controls are as follows: Press "W" to move the camera forwards. Press "S" to move the camera backwards. Press "A" to move the camera left. Press "D" to move the camera right. Press "E'" to move the camera up Press "Q" to move the camera down.
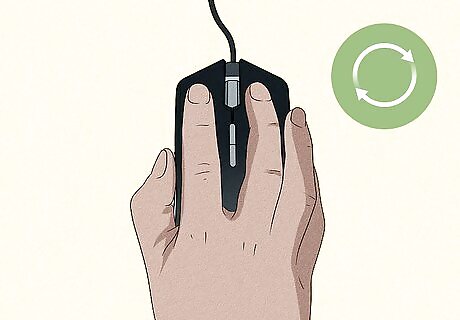
Move the mouse to rotate the camera. You can rotate the camera side to side or up and down by moving the mouse. Aim the reticle in the center of the viewport at what you want the camera to be pointed at. Be careful. The mouse aim is very sensitive by default.
Click to set the camera view. When you are done moving the camera, and you are happy with the camera angle, click the mouse button to exit Walk Navigation Mode. Right-click to reset the camera position back to the original.


Comments
0 comment