
Preparing to Make Cold Process Soap
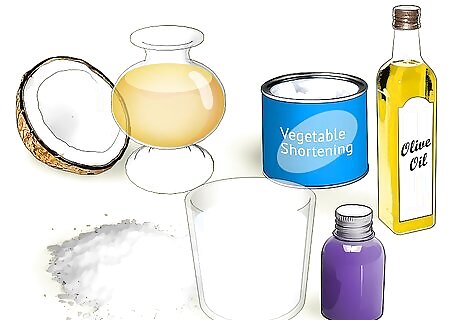
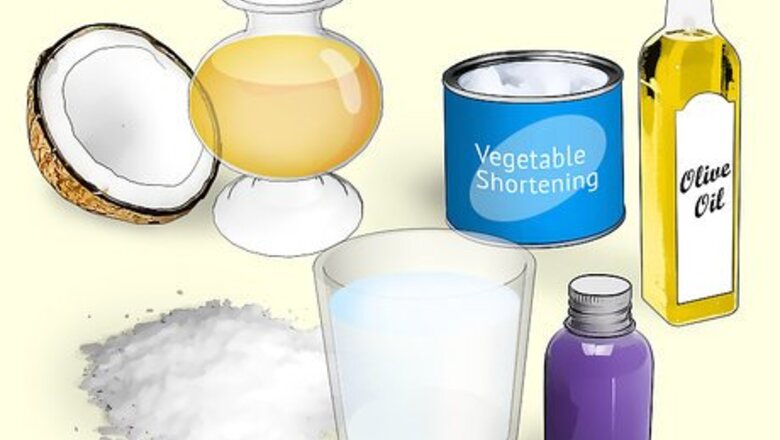
Gather the ingredients. Cold process soap is made from oils, lye, and water. When these ingredients are combined at the right temperature, they harden into soap in a process called saponification. Go to your local craft store and grocery store to purchase the ingredients listed.
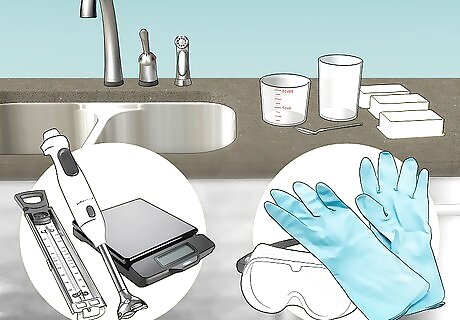
Set up your soap-making workspace. It's easiest to clear a space in the kitchen since you'll need to heat the ingredients over the stove. You'll be working with lye, a dangerous chemical, so make sure children and pets are not underfoot while you work. Spread newspaper over a table and assemble the following equipment, which can be sourced online or from your local craft store: Safety goggles and rubber gloves, to protect you from the lye. A scale to weigh the ingredients. A large stainless steel or enamel kettle. Do not use aluminum, and do not use a pot lined with a non-stick surface. A glass or plastic wide-mouth pitcher, to hold the water and lye. A two-cup plastic or glass measuring cup. Plastic or wooden spoons. A stick blender, also called an immersion blender. This isn't absolutely necessary, but it reduces stirring time by about an hour. Two glass thermometers that register between 80-100 degrees F. Candy thermometers work well for this purpose. Plastic molds that are suitable for cold process soapmaking, or shoebox, or a wooden mold. If you use a shoebox or wooden mold, line it with parchment paper. Multiple towels for cleanup.
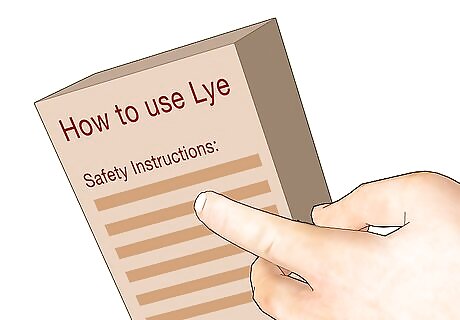
Read up on how to work with lye safely. Before you start the soap-making process, read the safety warnings that came on your box of lye. Keep the following in mind as you handle lye or raw soap before it has been cured: Lye should never touch your skin, as it will burn you. Wear safety goggles and glove at all times while handling lye and raw soap. Work with lye outside or in a well-ventilated area to avoid breathing in fumes.
Mixing the Ingredients
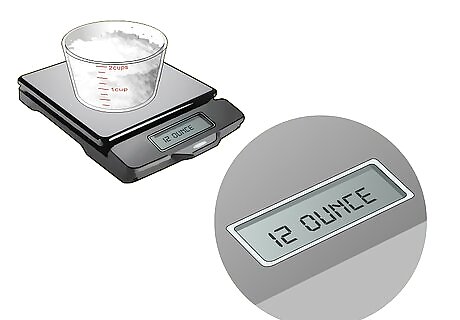
Measure 12 ounces of lye. Make sure that all of your ingredients are exactly the measurement that it is supposed to be, especially on smaller batches. Use the scale to make sure the measurement is exact, and pour the lye into the two-cup measuring cup.
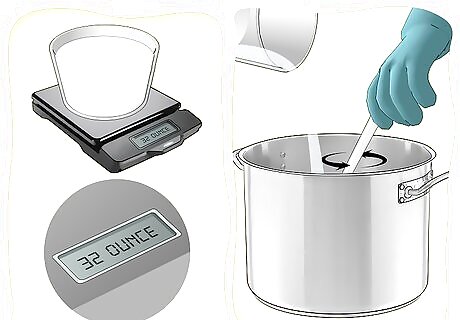
Measure 32 ounces of cold water. Use the scale to make sure the measurement is exact, and pour the water into a large, non-aluminum container, such as a stainless steel pot or glass bowl. Use distilled water for the best consistency.
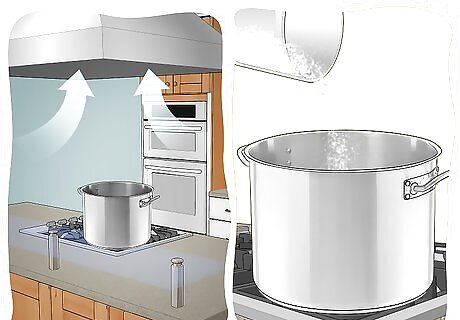
Add the lye to the water. Place the container of water under your stove's running exhaust fan, or make sure the windows are open and the room is well-ventilated. Add the lye to the water slowly, stirring gently with a spoon until the lye is completely dissolved. It is very important to add the lye to the water and not the other way around; if you add the water to the lye, the reaction between the two substances is too quick, and may be dangerous. As you add the lye to the water, it will heat the water and release fumes. Keep your face turned away to avoid inhaling the fumes. Set the mixture aside. Allow it to cool and let the fumes dissipate.
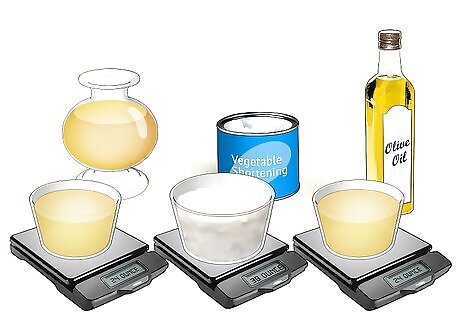
Measure the oils. Use the scale to weigh out 24 ounces of coconut oil, 38 ounces of vegetable shortening, and 24 ounces of olive oil.
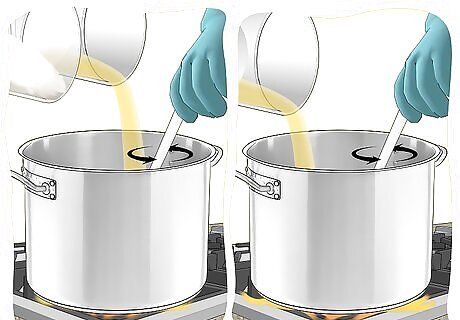
Combine the oils. Set a large stainless steel pot on the stove on low-medium heat. Add the coconut oil and vegetable shortening and stir frequently until melted. Add the olive oil and stir until all are completely melted and combined, then remove the pot from heat.
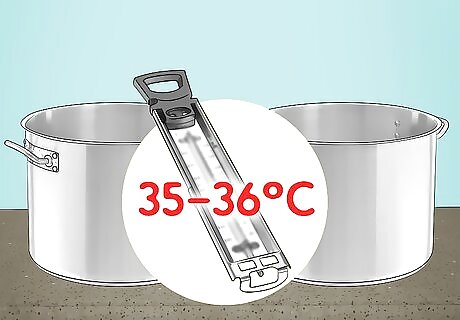
Measure the temperature of the lye and oils. Use different thermometers for the lye and oils, and continue to monitor their temperatures until the lye reaches 95-98 degrees Fahrenheit (35-36 degrees Celsius) and the oils are at the same or lower temperature.
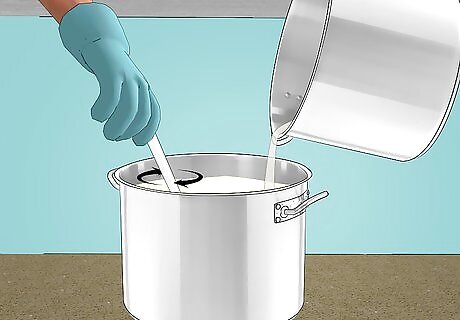
Add the lye to the oils. When the two substances have reached the proper temperatures, add the lye in a slow, steady stream to the oils. Stir with a wooden or heat-resistant spoon; do not use metal. You may instead use a stick blender to stir the lye and oils. Continue to mix for about 10-15 minutes until "tracing" occurs; you'll see your spoon leave a visible trace behind it, like one you'd see when making pudding. If you're using a stick blender, this should occur within about 5 minutes. If you don't see tracing within 15 minutes, let the mixture sit for 10-15 minutes before continuing to mix again.
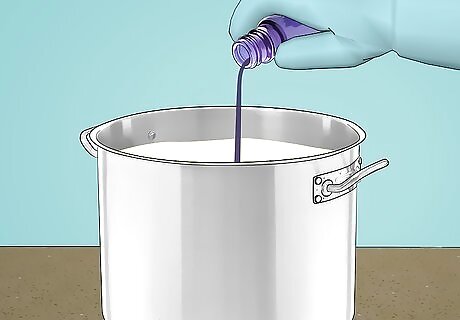
Add 4 ounces of essential oil once tracing occurs. Some fragrances and essential oils (cinnamon, for example), will cause soap to set quickly, so be ready to pour the soap into molds as soon as you stir in the essential oil.
Pouring the Soap
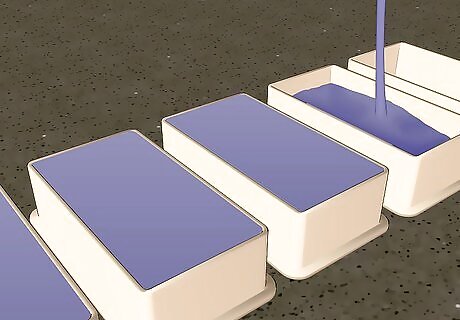
Pour the soap into your mold. If you are using a shoebox or wooden mold, make sure it is lined with parchment paper. Use an old plastic spatula to scrape out the last bits of soap from the pot to the mold. Be sure you are still wearing gloves and safety goggles during this step since raw soap is caustic and can burn skin. Carefully hold the mold an inch or two above the table and drop it. Do this a few times to work out any air bubbles inside the raw soap.
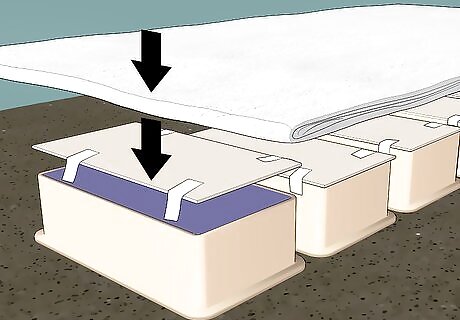
Cover the mold. If you're using a shoebox as a mold, put the lid on it and cover with several towels. If you're using a soap mold, tape a piece of cardboard over the top before adding towels. The towels help insulate the soap to allow saponification to occur. Leave the soap covered, undisturbed, and out of air drafts (including the air-conditioner) for 24 hours.
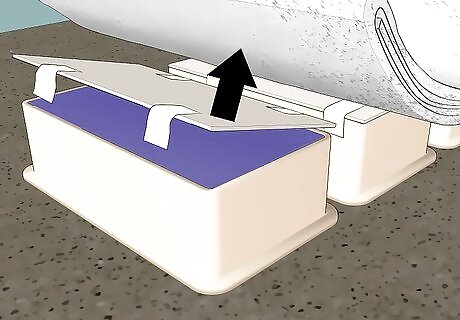
Check the soap. The soap will go through a gel stage and a heat process during the 24 hours. Uncover the soap and let it sit for another 12 hours, then see what the results are. If you measured accurately and followed the directions, the soap may have a light layer of a white ash-like substance on the top. This is basically harmless and can be scraped away with the edge of an old ruler or metal spatula. If the soap has a deep oily film on top, it cannot be used, because it has separated. This will occur if your measurements were not accurate, you did not stir long enough, or if there is a drastic difference in the temperatures of the lye and oils when they are mixed. If the soap did not set at all, or has white or clear pockets in it, this means it is caustic and cannot be used. This is caused by under-stirring during the soap-making process.
Curing the Soap
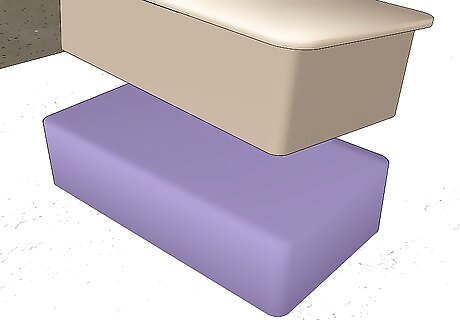
Unmold the soap. Turn the box or mold over and allow the soap to fall on a towel or clean surface.
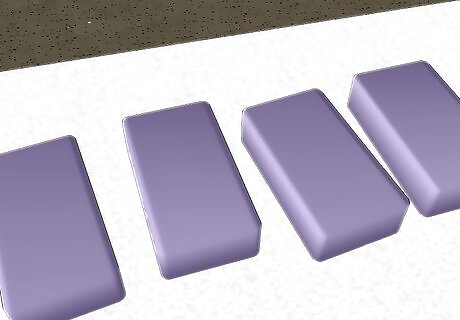
Cut the soap into bars. You need to use tension to cut soap of this type. You can use a sharp knife, a length of wire with two handles, or heavy nylon string or fishing line.
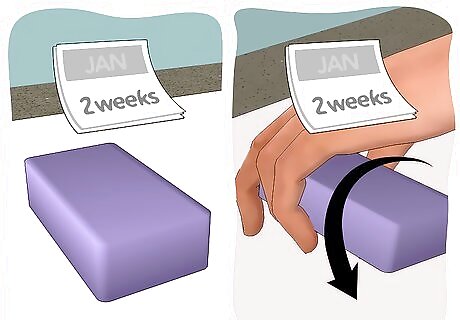
Allow the soap to cure. Set the soap on top of parchment paper on a flat surface or a drying rack for two weeks to allow the saponification process to complete and the soap to fully dry. Turn the soap over after two weeks to let it dry on the other side.
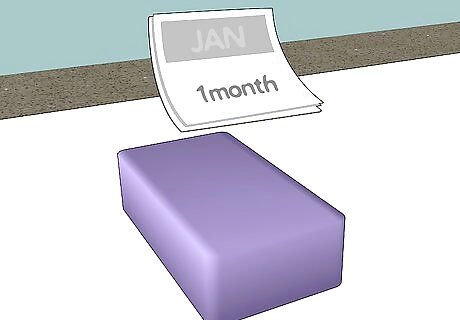
Cure the soap one month. Let the soap sit, exposed to air for at least one month. When the soap has fully cured, use in your home, as you would any store-bought soap, or wrap as a present for your friends. It will keep indefinitely.


Comments
0 comment