
Using a Template in Microsoft Word

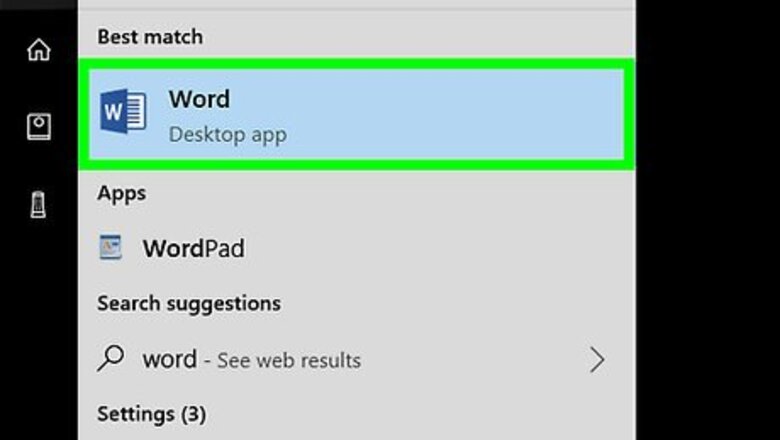
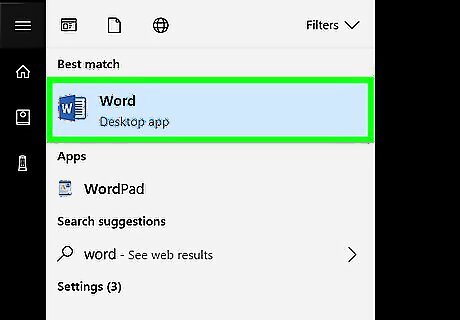
Open Microsoft Word. Its app icon resembles a dark-blue box with a white "W" on it.
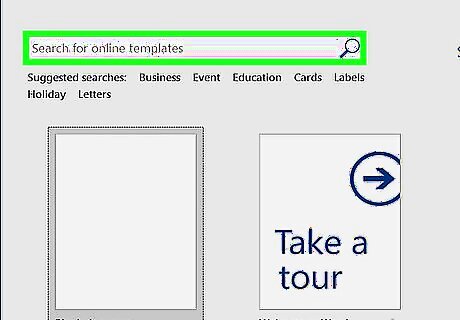
Click the search bar. It's at the top of the Word window. On Mac, first click File in the upper-left corner, then click New from Template… in the drop-down menu.
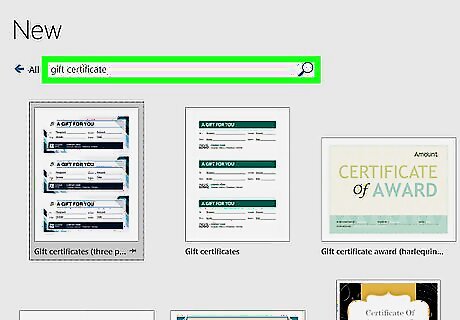
Search for gift certificate templates. Type gift certificate into the search bar, then press ↵ Enter.
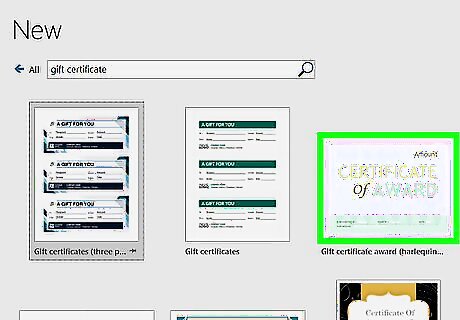
Select a template. Click a gift certificate template that you'd like to use. This will open the template preview window.
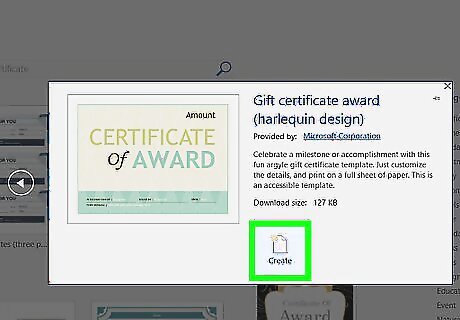
Click Create. It's on the left side of the preview window. Doing so opens the template in Word.

Fill out your gift certificate. Most gift certificate templates have text fields with labels (e.g., "Name", "Amount", "Comments", etc.) into which you can type, so click a text field and enter your preferred text. If you have several people to whom you want to give the same certificate, consider leaving the "Name" field blank and handwriting people's names.
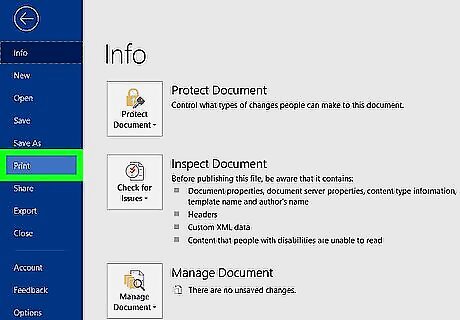
Print your document. To do so: Click File in the upper-left corner of the window (Windows) or the screen (Mac). Click Print Enable color printing if possible. Adjust any other printer settings. Click Print

Decorate your gift certificate. This step is completely up to you, but some examples include adding ribbon or glitter, or gluing the certificate to a rigid piece of cardstock. If you don't want white edges around your gift certificate, cut it out.
Creating a Certificate Manually
Open Microsoft Word. Its app icon resembles a dark-blue box with a white "W" on it.
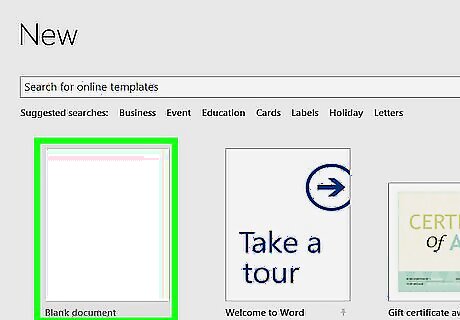
Click Blank document. This option is in the upper-left corner of the page. If you're on a Mac and Word opens to a blank document, skip this step.
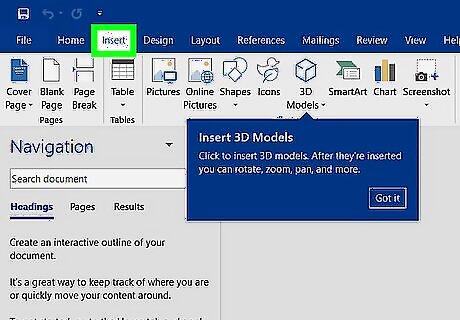
Click the Insert tab. It's near the top of the Word window. This will open a toolbar below the Insert tab.
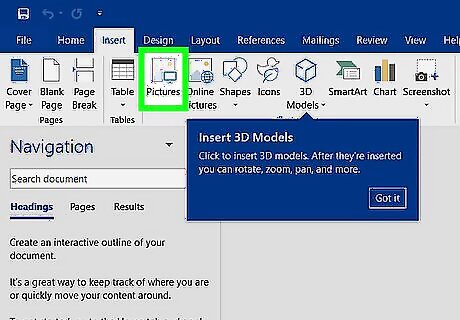
Click Pictures. This option is on the left side of the Insert toolbar. A window will appear.
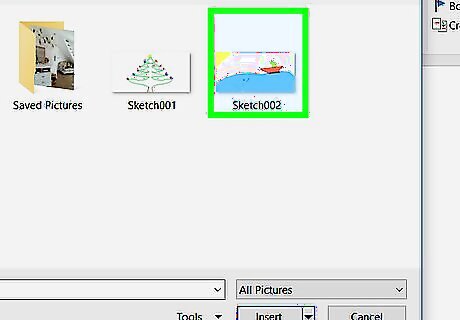
Select a photo. Click the photo that you want to use as the background for your gift certificate to do so. You may first have to click the photo's folder on the left side of the window to view it.
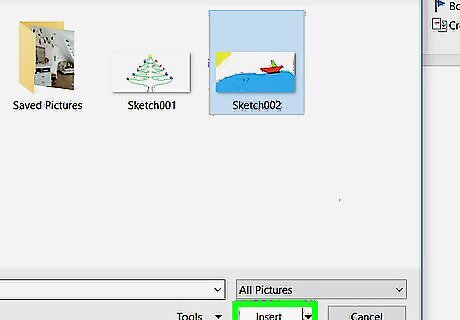
Click Insert or Open. It's in the bottom-right corner of the window. Doing so will insert the photo into the Word document.
Click the Insert tab again.
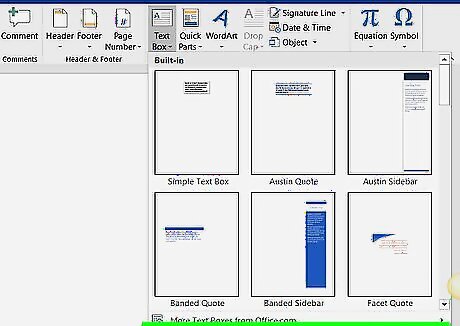
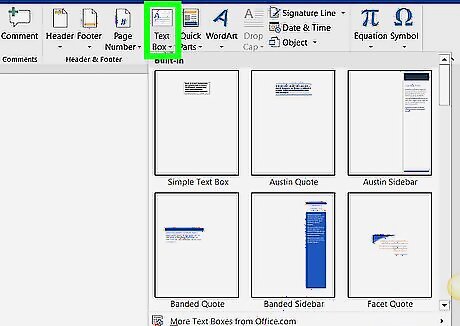
Click Text Box. You'll find this option on the right side of the Insert toolbar. A drop-down menu will appear.
Click Draw Text Box. It's in the drop-down menu.

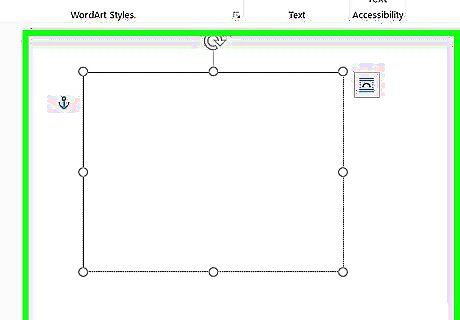
Create a text box. Click and drag your mouse across the place on the photo on which you want to place the gift certificate's text.

Enter your gift card's text. This section is up to you, though you'll usually want to include the following options: Name: Date: Amount:

Print your document. To do so: Click File in the upper-left corner of the window (Windows) or the screen (Mac). Click Print Enable color printing if possible. Adjust any other printer settings. Click Print
Decorate your gift certificate. This step is completely up to you, but some examples include adding ribbon or glitter, or gluing the certificate to a rigid piece of cardstock. You will most likely have to cut out your certificate if you don't want any white edges.


Comments
0 comment