views
X
Research source
Gathering Your Supplies
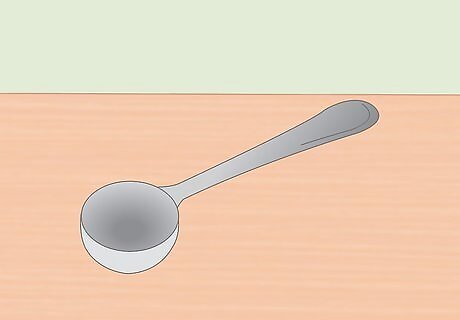
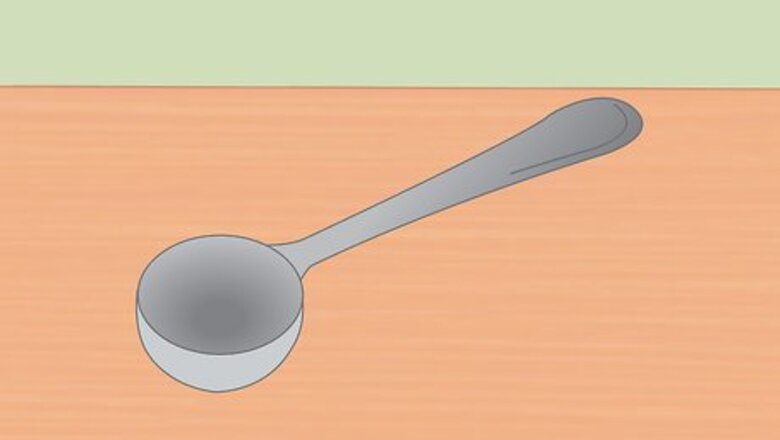
Find a stainless steel cup or scooper. Locate a stainless steel scooping cup that roughly fits your coffeemaker’s podholder. It’s okay if the scooper is not exactly the same size as the podholder. The scooper is just going to act as a mold for part of your pod.
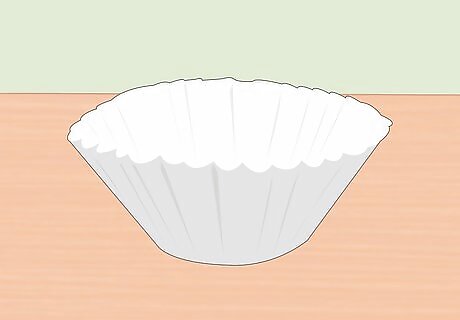
Get coffee filters. Buy some high quality coffee filters to make your pods. If you can locate thicker ones that resemble the material that makes up store-bought pods, then those will work better. If you can’t find them, try to find the thickest filters possible. You don’t want your pod turning upside down inside your coffee maker. Avoid thin and flimsy coffee filters. Avoid large filters. Don’t make your own filters at home, as household materials might include chemicals not suited for consumption.
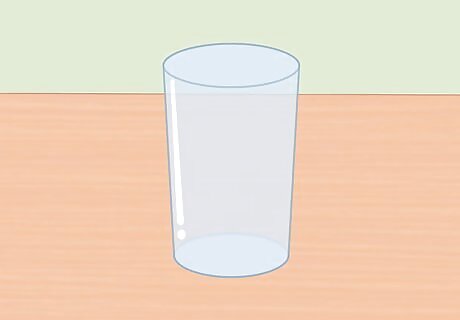
Find a small cylindrical object. This object needs to be small enough to fit into the stainless steel scooper. Any object will really work. You won’t be using this as part of your pod, but rather, it’ll be used to shape your coffee filters. Consider: Small glasses. Empty vitamin bottle. An old coffee pod. Small glass jars.
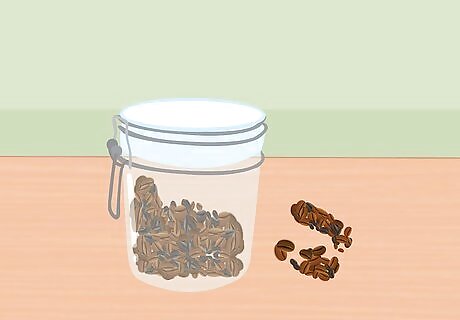
Choose a coffee or coffees. This is one of the best parts of the homemade coffee pod – you can pick whatever coffee you want. You can choose between storebought pre-ground coffee or coffee beans. Feel free to combine flavors. Feel free to combine caffeinated and decaffeinated. If you choose beans, make sure you grind them very finely. Add extra spices and extracts, if you want.
Consider your water. Expert coffee makers often comment upon how the quality of water helps determine the quality and taste of coffee. You should take this into account when getting ready to make your coffee pods. If the tap water in your home is has a strong smell or taste, consider the following: Use filtered water. Use bottled spring water. If you must use tap water, run the tap for a few seconds before gathering water for your coffee.
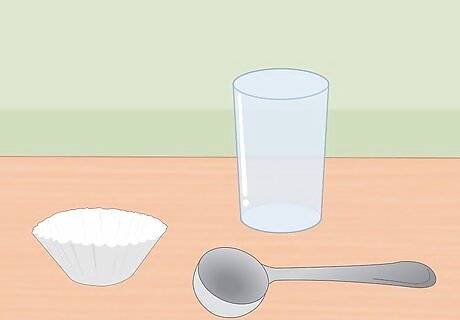
Complete a dry run. Before you get to podmaking, you should try everything out to see if it works without coffee. Take all of your supplies, including the scooper, the cylindrical object, and a filter, and see if they all fit together. This way, if you have some sort of equipment failure, there won’t be much of a mess to clean up. Place the scooper on a flat surface. Place the filter in the scooper. Place the cylindrical object into the filter. They should all fit snug.
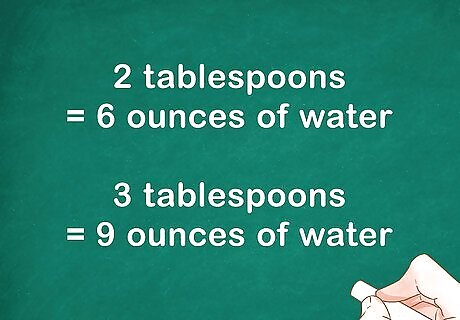
Measure your coffee out. How much you measure depends on a couple of factors, including the type of coffee, how much coffee you’d like to brew, and how strong you like your coffee. Consider the following: 2 tablespoons for 6 ounces of water (one cup of coffee). 3 tablespoons for 9 ounces of water (a large cup of coffee). Use more or less if you’d like your coffee weaker or stronger.
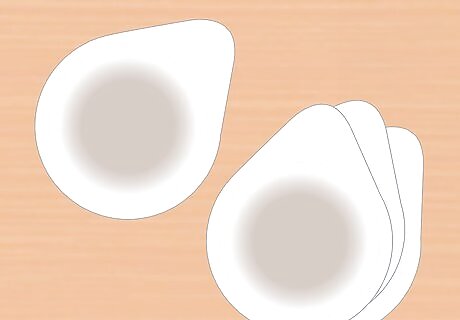
Decide how many pods you want to make. Making your own pods is the opportunity to save yourself a lot of money and time. Importantly, before you make your pods, you should decide how many you want to make. Plan ahead and make sure to have enough filters and coffee.
Preparing Your Pods
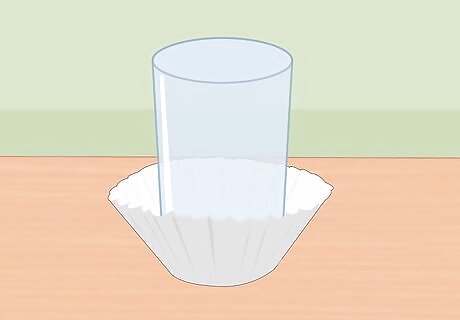
Sit your glass jar on top of the filter. Place your filter on a flat surface. Take your glass jar or cup and sit it directly on top of the filter. The bottom of the jar will sit where the coffee grinds will sit. Make sure there are no large wrinkles or creases in the bottom of the filter. The jar is used to give form to your filter. Make sure your filter does not have any holes in it.
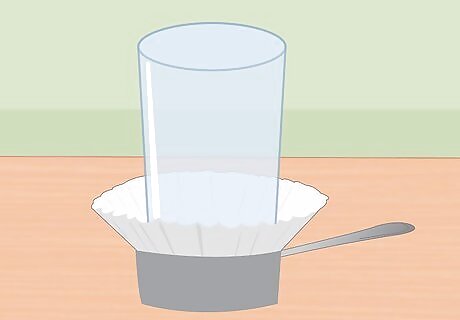
Place the glass jar and filter inside the steel measuring or scooping cup. Place your scooping cup next to the jar and filter on a flat surface. Carefully pick up the filter and jar and place them inside the scooping cup. Make sure there are no large wrinkles or creases when you place the filter in the cup. The coffee filter will be separating the jar from the steel cup. The sides of the filter will be up around the sides of the cylindrical object.
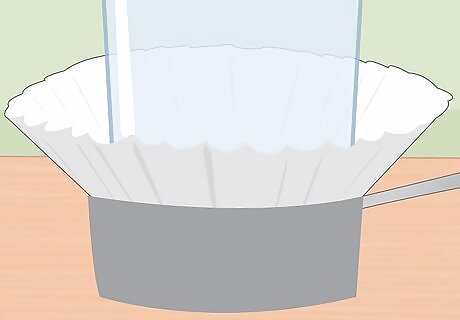
Make sure everything fits well. At this point, your steel scooping cup will be on the bottom, the filter will be next, and the jar will be inside the filter. It is very important that everything fits snugly and properly. It is also very important that there are not creases or folders on the bottom of the filter.
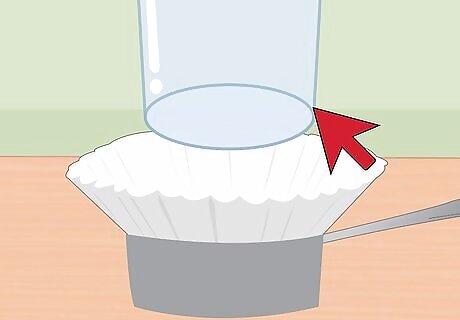
Slide the cylindrical object upward out of the coffee filter. Very gently and slowly, slide your jar upward out of the coffee filter. Make sure that your filter stays snugly in the steel cup and maintains its shape. When you are done, you should have the steel cup sitting on your surface and the filter sitting within it. The sides of the filter should look as if they are molded toward the cylindrical object that is no longer there.
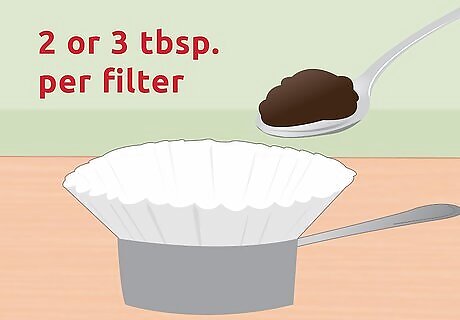
Fill the filter with coffee grinds. Take your pre-measured coffee grinds and fill your coffee filter. Make sure to fill it to your previously decided specifications and don’t over or under fill at the last minute. You should only use either 2 or 3 tablespoons per filter, depending on how much you want your pods to produce. Any more or less coffee might cause problems.
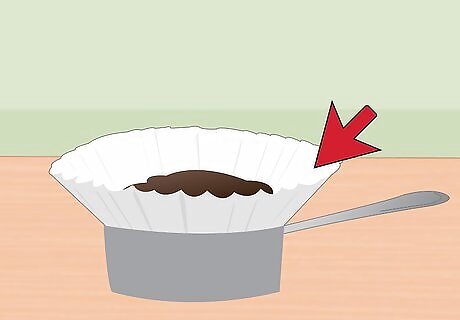
Close and fold the filter. Now that you’ve got your filter shaped and filled, you need to fold it closed. Fold it closed carefully. Try to make creases and fold it so the filter will stay closed. Consider the following: Do not use tape, glue, or any other sort of adhesive. Avoid household paperclips or staples. If you don’t think your fold will close, track down stainless steel, uncoated, clips that are appropriate to use when cooking.
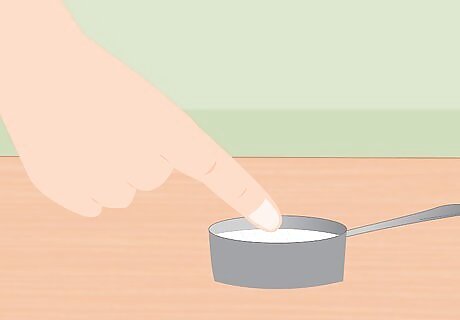
Press the filter down into the scooper. Now that you’ve closed the filter, use your hand to compact the filter into the stainless steel scooper. This will help hold the form of the pod and make it easier to handle. It will also lessen the chances of your folds coming undone and your coffee grounds spilling everywhere.
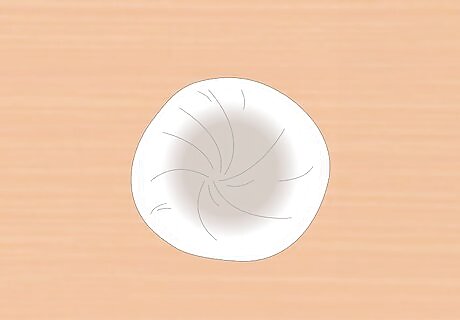
Remove and use. Now that you’ve folded and pressed down on your filter, you’ve got your first coffee pod! Remove it from the stainless steel scooper and pop it in your coffee maker. Press start, and enjoy!
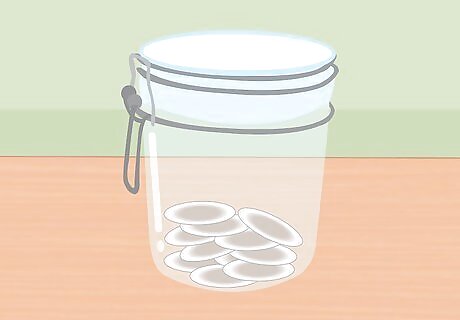
Store your pods. If you’ve made extra pods, you need to take care to store them properly. While store-bought pods can be stored out in the open, you need to put a little more effort into your home made pods. Consider the following: Store them in an airtight container. Store them in a dry, room temperature environment. If you want to store them in the refrigerator or freezer, make sure that they are indeed in an airtight container.


Comments
0 comment