
Using an ASCII Art Generator
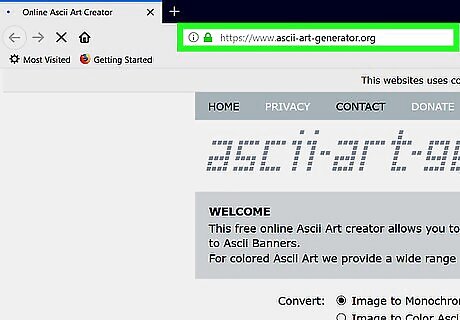
Open the ASCII Art Generator page. Go to https://www.ascii-art-generator.org/ in your computer's web browser. This website will allow you to turn any image on your computer into a text picture using special formatting.
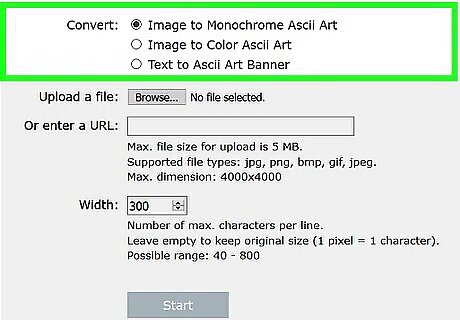
Select an image option. Check the box to the left of one of the following options in the "Convert" section of the page: Image to Monochrome Ascii Art — Creates a black-and-white ASCII picture. Image to Color Ascii Art — Creates a colored ASCII picture.
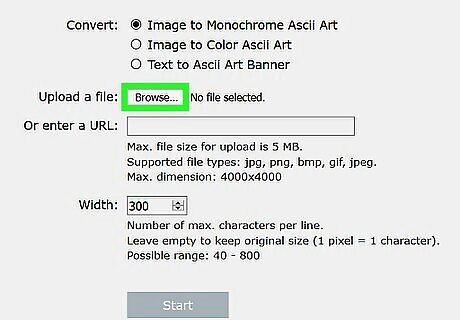
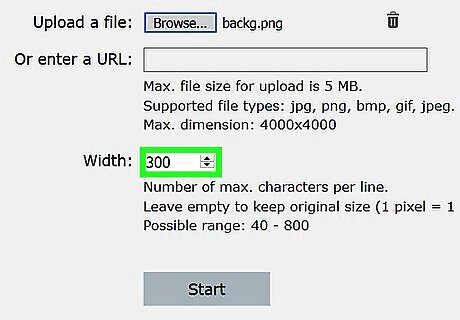
Click Choose file. You'll find this grey button near the top of the page. Doing so opens a File Explorer (Windows) or Finder (Mac) window. If you want to convert an online image into ASCII art instead, enter the address for the image in the "Or enter a URL" text box, then skip the next two steps.

Select a picture. Go to the location of the picture you want to turn into text, then click the picture.
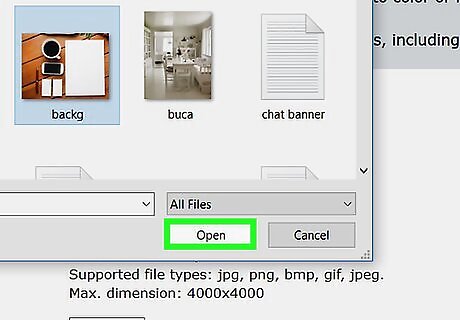
Click Open. It's in the bottom-right corner of the window. The picture will open in the ASCII editor's page.
Select an output format. If you're creating an "Image to Color" file, you'll need to specify your preferred file format by clicking the "Select output format" drop-down box and clicking one of the following options: UTF8 with CR — A file type with specifies line breaks and can be used with Windows and Mac text editors. UTF8 with CLRF (MS Windows) — A file type which specifies line breaks in text editors. Used for Windows computers. HTML with DIV and CSS or HTML with tables — Variants of an HTML file type which can be opened in your browser. Scalable Vector Graphics — An SVG file which can be opened in Adobe products and GIMP, as well as in your browser. Targa Image — A file type which can be opened in programs such as Photoshop, GIMP, and Paint.NET.
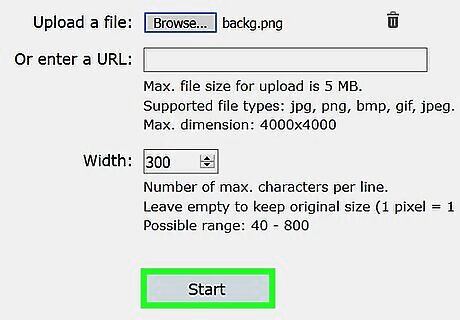
Click Start. It's at the bottom of the page. Doing so will prompt ASCII Art Generator to begin creating an text version of your picture.
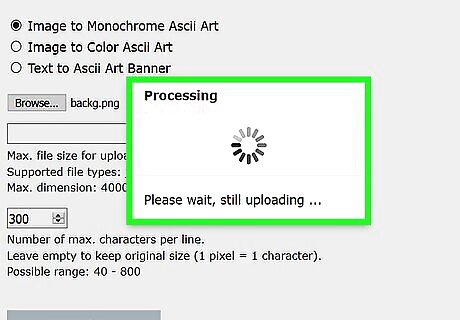
Wait for the image to render. Once you see your image appear in text form in the middle of the page, you can proceed.
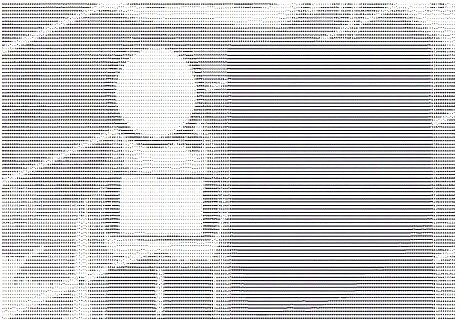
Download your image file. Click the linked file name to the right of the "Download result" heading near the top of the page.
Making ASCII Art in a Text Editor
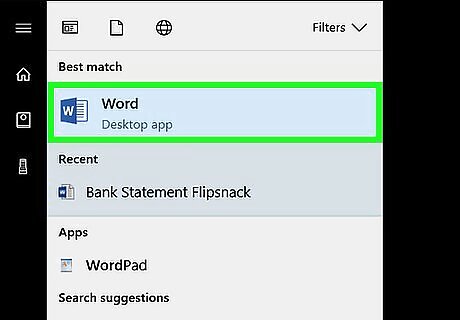
Open Microsoft Word. A rich-text editor such as Word is optimal for creating text pictures. If you're using a Mac, you can also use Pages for this step if you don't have Microsoft Word. If you want to use a simple text editor like Notepad or TextEdit, you'll have better luck creating simple keyboard art instead.
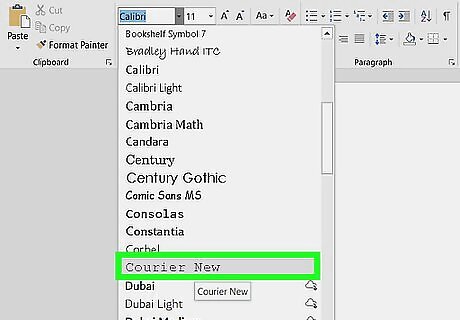
Select your font. You will want to pick a fixed-width font, such as Courier. Fixed width fonts will make it easier to design your pictures since each letter or symbol will be the same size as the rest.
Decide on a picture. If you would like to reproduce an image file, you can copy the image to the file and open a text box to type letters over the shape of the image. You can also try to make an image from scratch. When you are first getting started, it is easiest to try some simpler pictures. Once you learn more about how to shade and shape your pictures you can move on to more complex images.
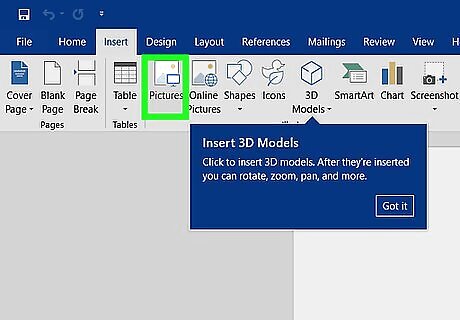
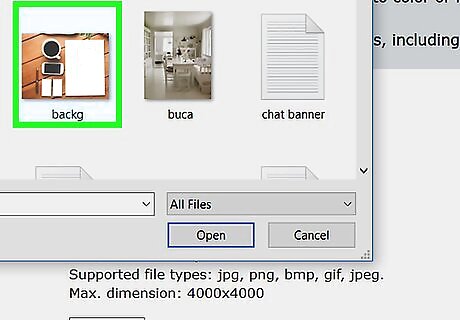
Add the image to the text editor. In Word, click the Insert tab, then click Pictures, select your picture, and click Insert or Choose, then click the picture, click Wrap Text, and click Behind Text in the drop-down menu. If you're using Pages on a Mac, just click and drag a photo into the Pages window.
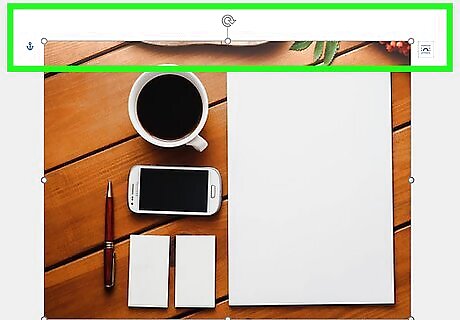
Resize your image. Click on the picture, then place your cursor on one of the corners and click and drag. The more complicated the picture is, the larger you’ll want it to be.
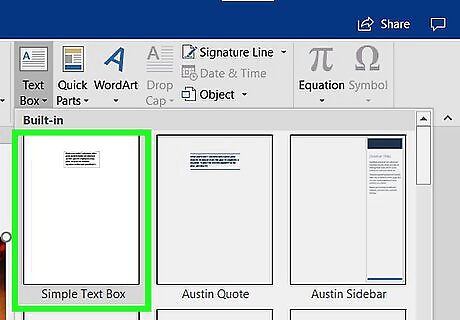
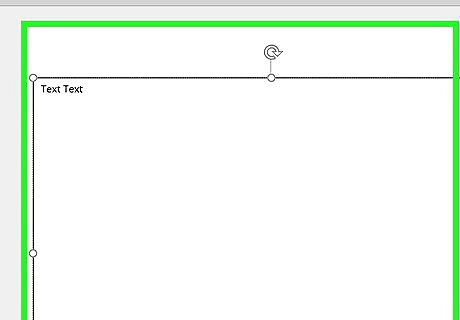
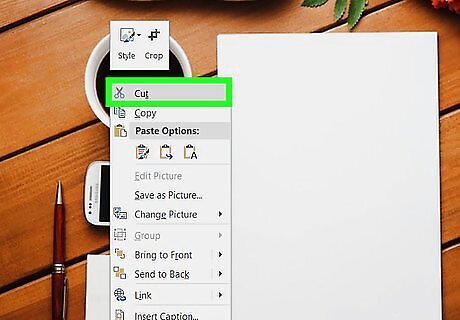
Insert a text box. Click your photo, click Insert, click Text Box, and click Simple Text Box to insert your text box on top of the photo, then right-click (or Control-click) the text box (not the text itself), click Format Shape..., click the Fill heading if it isn't expanded, and check the "No fill" box. If you're using Pages, click T, then drag the text box to hover over your image.
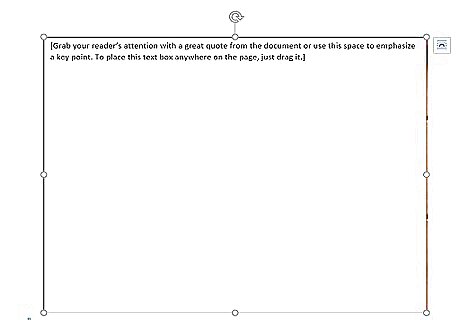
Resize your text box. Click and drag the corners of your text box until the text box is covering the photo. At this point, you're ready to begin adding text to your picture.
Type your text. With your text box arranged over the top of the area to which you want to add text, begin filling the spaces in which you want to use text. There are many way to style your image using letters and symbols in various ways. You might choose to make the text cover the entire background and change the colors to form your picture, or you might simply type letters over the shape of the image itself. The possibilities are endless. Decide what you want to say. You may choose to make your text spell something relevant to the image you are creating. For example, if you are making a picture of the Eiffel Tower, you might decide to use the letters P-A-R-I-S or F-R-A-N-C-E to create the shape.
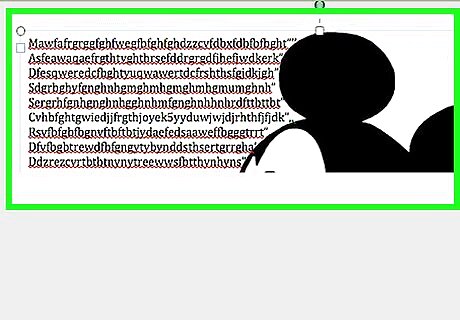
Leave white space blank. If your image has "white space" (e.g., space which is unoccupied by the photo's subject itself), use spaces instead of filling it in with letters.
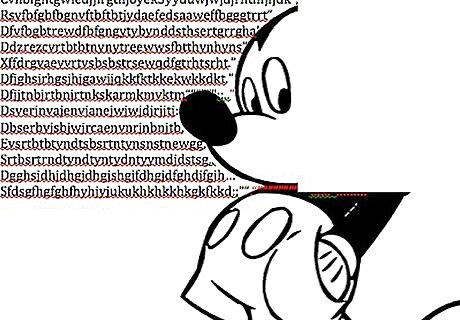
Design your art in various shades using solid art techniques. Some letters like M and W can make an area look darker when used repeatedly. Other characters like "." take up relatively little space. To form solid images, shape your design by using a combination of characters to create a silhouette. Use variations of "heavy" and "light" letters to create your shapes and refine the curves. Rounded letters (like "e" and "u") or symbols and punctuation can help shape curved areas of the image.
Shape your image using line art techniques. Line art is created by spacing letters and characters on the screen to draw just an outline of your image. The end result will be similar to solid art, but the spaces within the outline are typically left blank or other characters are added to create additional detail or characteristics. For example, you can use rounded shapes or zeroes to create eyes for your character.
Remove the picture when you're finished. Since the picture only acts as a stencil for your text, you can remove it once you've entered the text you need.


Comments
0 comment