views
Making Moss Paint
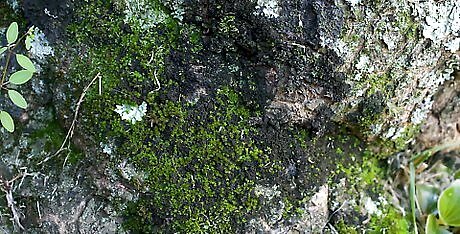
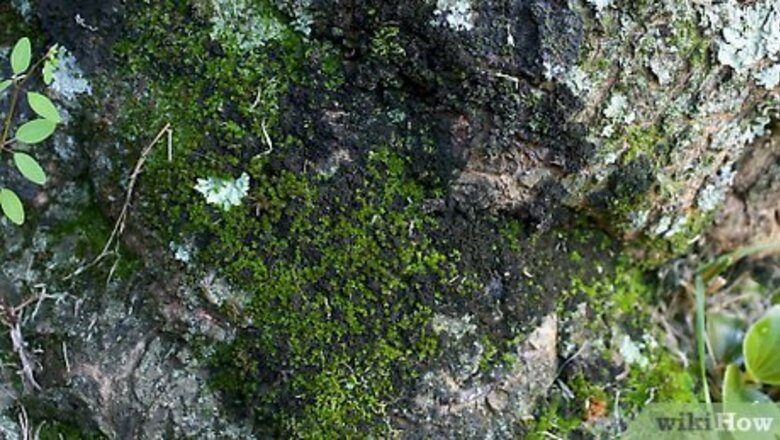
Gather at least 1 or 2 clumps of moss. Where you gather the moss is important because the kind that grows on trees won't necessarily do well on walls. Look to fences, pavement, damp brick walls, and cement walkways to harvest your moss. If you choose to buy moss, opt for the species called entodon or baby tooth because they grow best on concrete and other vertical surfaces. Moss from the woods doesn't work as well and should be left in the wild. You can buy moss from nurseries or online sources who grow it commercially. Avoid hypnum, moss, peat moss, and dried moss because these varieties either can’t be made into a paint or won’t grow well on vertical surfaces. If you don’t see moss growing anywhere in your area, the moss paint probably won't work in your climate.
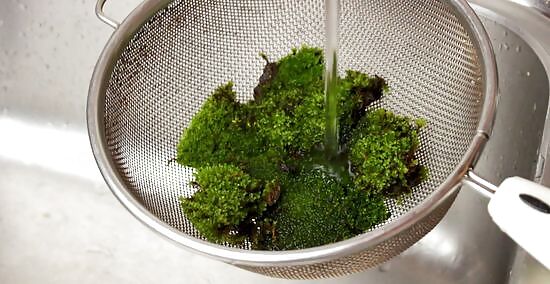
Wash the moss under cool running water. Wash away any small bits of dirt or debris from the moss and the roots. Massage it with your fingers to dislodge any bits stuck between leaves or roots. Use a colander to prevent losing bits of moss down the drain.
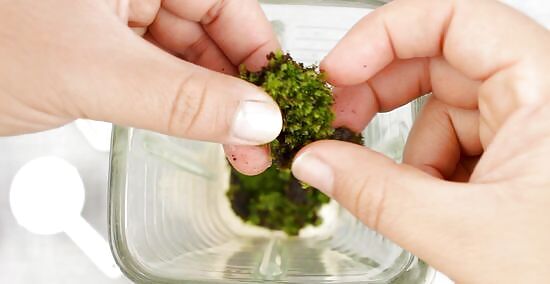
Break up the moss into smaller chunks and put it in the blender. Use your hands to tear the moss chunks into small bits. This will make it easier to blend with the other ingredients in your blender. Make sure your blender is large enough to accommodate the moss along with 4 cups (950 mL) of liquid ingredients. A blender that holds up to 8 cups (1,900 mL) is perfect.
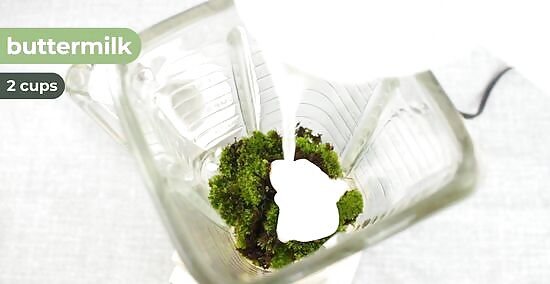
Add 2 cups (470 mL) of buttermilk and 2 cups (470 mL) of water. Add the two liquid ingredients into your blender on top of the moss. If you don’t have buttermilk, you can also use 2 cups (16 fl oz) of unflavored full-fat yogurt. 2 cups (470 mL) of beer can also work in place of water. Vegan yogurt is an environmentally-friendly alternative to regular yogurt. If you’re concerned about water usage, just be aware that almond-based yogurt requires lots of water to make.
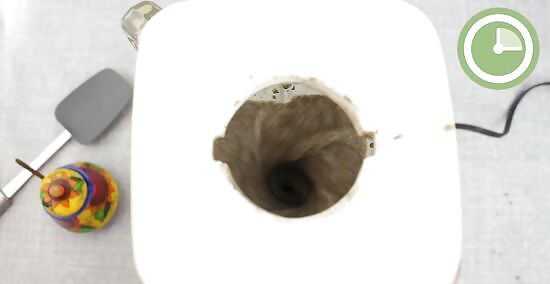
Add 1/2 tsp (2.5 g) of sugar and blend the mixture on medium speed. Make sure to put the lid on the blender before you blend it together. Blend it for up to 1 minute or until all the ingredients are incorporated. If you see any chunks of moss larger than a pea, keep blending. The goal is to get the moss paint looking like a thick milkshake.

Add corn syrup ⁄2 teaspoon (2.5 mL) at a time if the mixture is too runny. Use a wooden spoon or mixing tool to dip into the mixture, then hold the spoon vertically and see if the mixture lingers. If you notice dripping, add corn syrup ⁄2 teaspoon (2.5 mL) at a time until the consistency is thick enough to stay on a vertical surface. If the mixture is too thick, add water and re-blend it until it’s the right consistency.
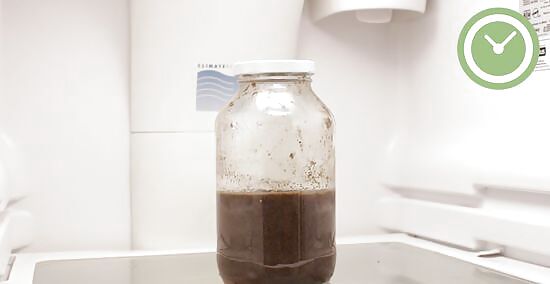
Refrigerate the paint in a sealed container for later use. If you’re not painting right away, transfer the mixture to a lidded container and store it in the refrigerator for up to 1 week. Just be sure to give it a stir before you use the refrigerated paint. If you’re using the moss paint right away, transfer it to a large bucket and get painting!
Applying Moss Paint to Walls
Choose a rough or porous surface that only gets partial sunlight. Moss won’t grow if it’s exposed to too much sunlight, so choose a wall that only gets partial sunlight (anywhere from 2 to 6 hours of sunlight a day is best). Moss grows best on porous surfaces such as bricks or other stones. This paint is very tasty to slugs. Start your painting well above ground level so your art doesn’t get eaten!
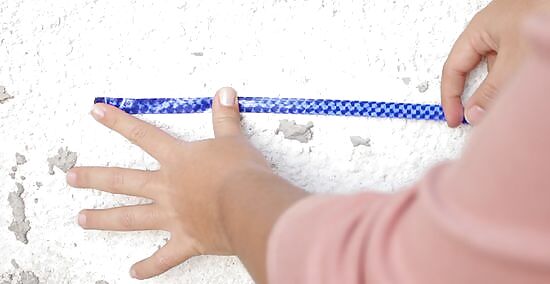
Put tape on the wall before you paint to create clean edges. If you’d like your graffiti to have clean edges, attach duct tape or heavy-duty painter’s tape to the wall before you paint. Keep in mind that the edges won’t be ruler-straight because of the way the moss will grow, but you can still create visible lines. Consider laying the tape in geometric designs for a subtractive, modern look. You can also create a moss frame by laying down 2 strips around the outer edges of your design, painting the middle area, and peeling them off.
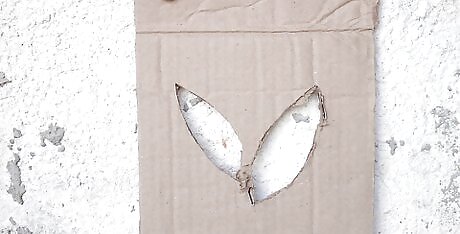
Use cardboard cutouts as stencils for intricate designs. Stencils are a great way to create clean, curved edges to your graffiti. Cut various shapes out of cardboard then hold the cardboard pieces against the wall while you paint along or inside the cutouts. Cardboard stencils will help you create clean lettering and familiar shapes. For example, use sharp scissors or an X-ACTO knife to cut out petals and a circle to create a flower. It may help to have a friend hold larger stencils for you while you paint. You can also try attaching it with duct tape. Note that using stencils isn’t as effective on walls with uneven or non-flat textures (like bricks, rock walls, or rough spackle). You can still use stencils but you’ll need to clean up the edges later on with a small paintbrush. If you already small have plastic stencils, feel free to use those for little details.
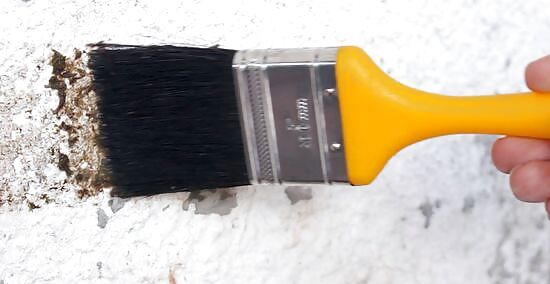
Use a paintbrush to apply the moss paint. Dip a paintbrush into the moss paint and get creative! Use a wide painter’s brush for large areas and medium or small slanted brushes for smaller, delicate details. Make sure to use clean brushes—any paint residue will kill the moss! If you’re using tape to create a design, wait about 30 minutes to 1 hour after painting for the paint to take hold before you peel off the tape.
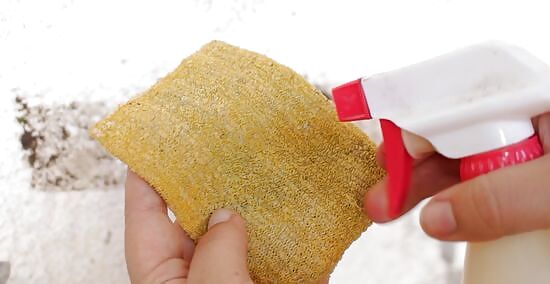
Remove sections of paint with lime juice. Keep a bottle of lime juice handy in case you want to clean up any messy edges of your design. Pour the lime juice onto a rag or sponge and wipe down the section you want to remove. If necessary, use a stainless steel paint or clay scraper to scrape away any residue. Keep a bucket of water and a clean rag handy to clean off your scraping tool after each wipe. Alternatively, you can fill a spray bottle with lime juice and spray it on the wall that way. You’ll still need to use a rag to wipe the paint away. If you don’t have a paint or clay scraping tool, you can use a stainless steel spatula or dull butterknife. You can also take a subtractive approach to your art by slathering on a big square of moss paint and removing sections with lime juice and a towel, sponge, or scraping tool.
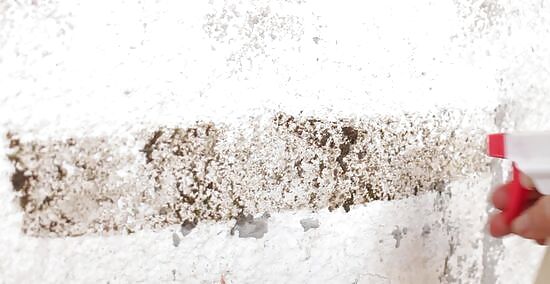
Water the moss every other day for the first 2 to 4 weeks to help it grow. Fill a spray bottle with water and spray the moss every other day. Spray the entire mural at first and, after a few weeks, focus more on areas that appear to be dry or under-grown. If you notice any places where the paint is uneven feel free to add another layer of fresh moss paint. Spraying the moss with water is especially important if you live in a dry environment.
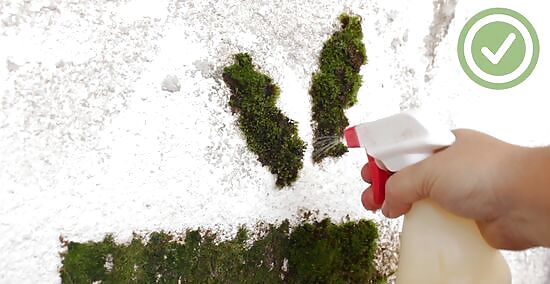
Check your moss graffiti for growth or dryness each week and water it. Depending on your climate, it may take a month for moss to grow. If possible, check back every week and spritz it with water to help it thrive. Once it starts to grow (after 4 to 6 weeks), you won’t need to water it. If you notice slight imperfections to your piece, spray it with lime juice to kill the moss and then wipe it away. Your moss graffiti will last for as long as the climate conditions allow. If your area stays humid all year, it should last for a long time! But if you live in an area that goes from humid to dry very quickly or with the change of seasons, it probably won’t survive through the dry season. Spring and fall are great times to grow moss because there’s more moisture in the air.





Comments
0 comment