views
Manually creating LRC files
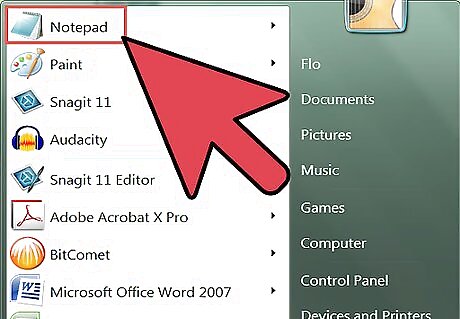
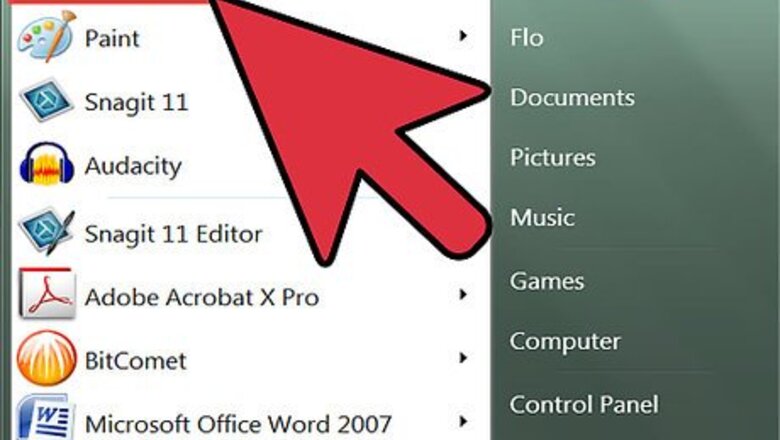
Open a text editor. Any basic text editor, such as Notepad for Windows or TextEdit for Mac OS X will work. LRC files are essentially text files with specific codes inserted.
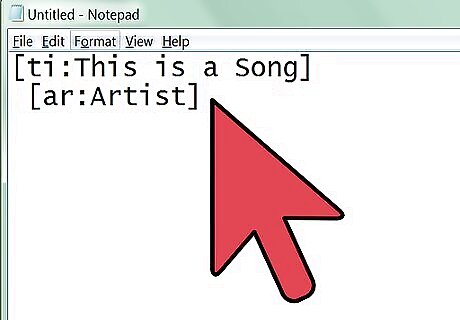
Enter the artists and song information. At the top of your LRC file, you should include the song name, artists, and album. You will need to use special codes to enter these so that the player can recognize them. Add the song title. Put it between square brackets and add ti: before it. A song called "This is a Song" would be formatted as [ti:This is a Song]. The song title should be the first line of your LRC file. Add the name of the artist. This is formatted the same way as the Song Title, except with the code ar: before it. An artist named "Artist" would be formatted as [ar:Artist] Add the name of the album. Like the Artists and Song Title entry, this should be placed in brackets. The album code is al: before the album name. An album called “Album” would be formatted as [al:Album] Add any additional information. You can add your name to the LRC file by using the code [by:Your Name], and you can add the song’s composer by using the tag [au:Author] . Not all players can read this extra information.
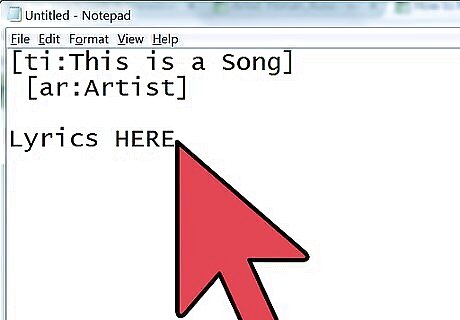
Add the lyrics. You can either type in the lyrics yourself, or copy the text from a lyrics website. Enter all of the lyrics into the file, with each line of lyrics on a new line in the text document.
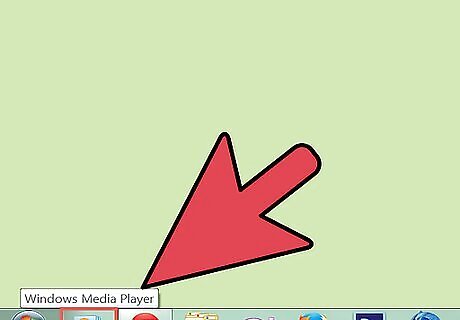
Open the song in a media player. You will need to find the time that each lyric is sung or spoken, so you will need to open the song in a player that you can start and stop as you please. Your media player should also allow you to see the playback time in hundredths of seconds.
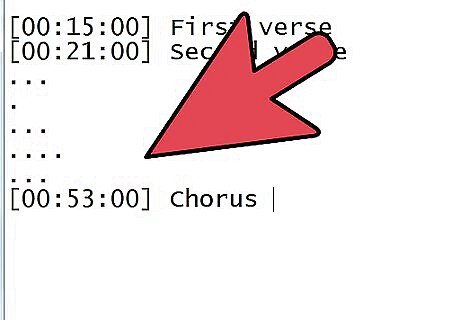
Start adding timestamps. Play the song, and pause it each time a line of lyrics starts. Make note of the time in the player, and place your cursor at the front of the appropriate line in the LRC file. Enter the time in square brackets. The format for time is broken into three sections: minute, second, and hundredths of a second. For a lyric that starts at 1 minute, 32 seconds, and 45 hundredths of a second, the tag would look like [01:32:45] OR [01:32.45]. Most players will only be able to display up to 95 characters per timestamp. If you have a long line of lyrics, you may need to separate it with another timestamp. If you want each word to appear when it is sung, you will need to create a separate timestamp for each word in the song. Hundredths of a second can be omitted, resulting in a tag that looks like [01:32]. Sometimes lyrics repeat themselves throughout the song, especially choruses. You can add a different time tag right next to the original one so that you don't have to type it twice. For example: [01:26.03][01:56.24]”Chorus lyrics”.
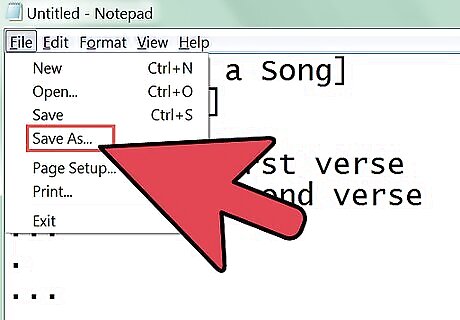
Save the file as an LRC file. Once you have your timestamps all completed, you can save the file as an LRC file and test it out. Click File and select Save As. The file name must be the exact same as the filename of the song. Change the extension to .lrc. To do this, click the “Save as type” dropdown menu and select All Files. Change the extension of the file from .txt to .lrc.
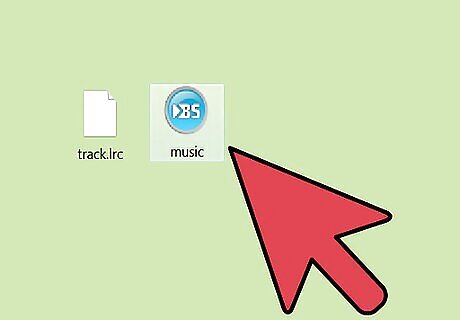
Place the LRC file in the same location as the music file. In order for the player to load the file, it must be located in the same directory as the music file. This is true for both MP3 players and media players on your computer.
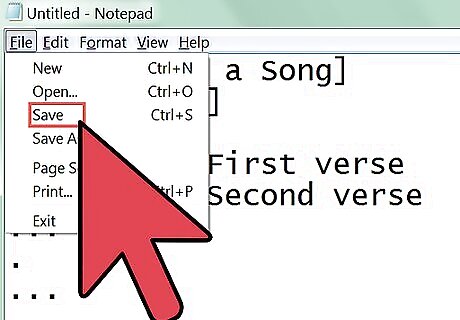
Adjust your file. Once you have tested your file, make any adjustments necessary to the timing so that the lyrics appear at exactly the right time.
Creating LRC files using a music player plugin
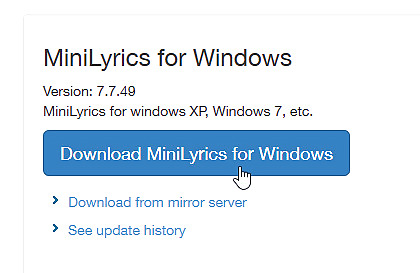
Download and install the MiniLyrics plugin. It will assist you in synchronizing the lyrics. Navigate to the download page of MiniLyrics. Click the download button Run the installer. It will guide you through the installation of MiniLyrics.
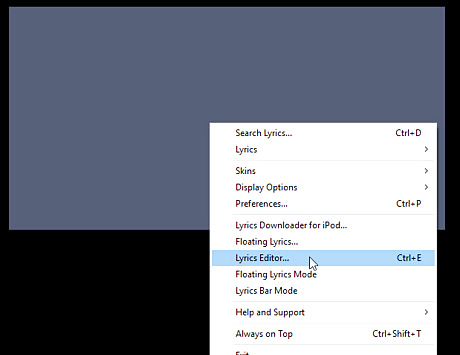
Open your favorite music player. The MiniLyrics window should show up. If it does not, try another music player like Windows Media Player, iTunes, VLC, Winamp or Foobar2000. Right click the window and select 'Lyrics editor...'.
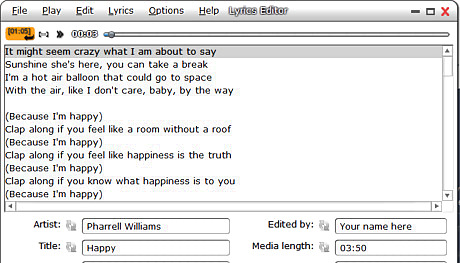
Type or paste the lyrics of the song. Make sure to remove any annotations like 'Chorus' or '[x2]'. Fill in the song details.
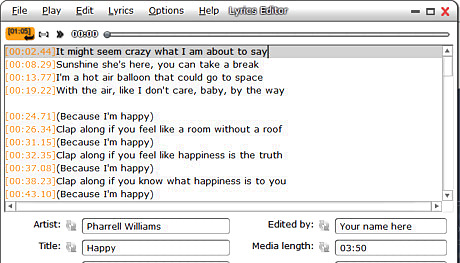
Start playing the song. When the lyric starts to be sung, click the orange button. You can also hit F7. Do this for every lyric until each one has a timecode before it.
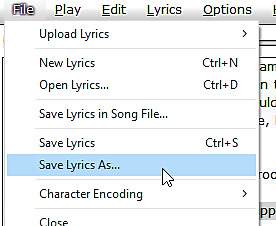
After your lyrics are synchronized, click 'File', then 'Save as...'. Pick a location for the .lrc file and your .lrc file will be saved there.Minilyrics_editor_saveas.png





Comments
0 comment