
views
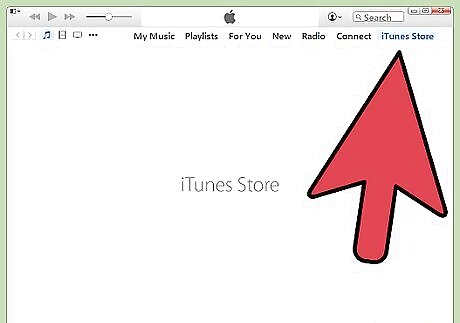
Pick a song for which you want to make a video. You need to have a copy of the song already on your computer in order to make your video. If you do not have the music file, you can buy it or download it online.
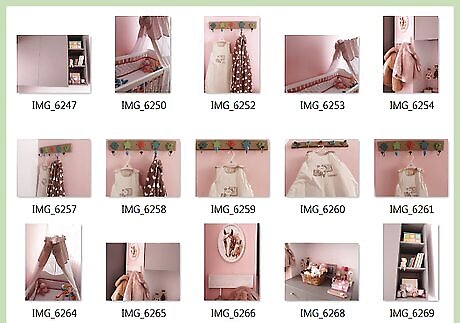
Determine what kinds of pictures you want to include. Common pictures include album artwork, shots of the band playing music, hanging out, and at live shows, and images that relate to the words currently being sung. You can even choose to put lyrics up as they're sung in certain moments. There is no wrong series of pictures to put up, but you should think about what the song says to you and how you want to portray it. The most popular videos have photos that fit seamlessly with the music being played. Think of a theme or story in advance that you want to tell. You can use pictures from your own life or those found online. Know, however, that it is illegal to profit off of someone else's work, so you cannot charge people for the music video unless the pictures and song are all your own. You can choose different images that tell a story and has a beginning, middle and end and map out those pictures in a stop motion concept.

Download all of the photos into a dedicated folder. Make a folder labeled "Music Video" on your desktop. As you find photos, pull them into this folder. If everything is in the same place to begin with, your life will be much easier in the future. Good places to find photos include: Stock photography sites. Your own collections. Online image searches. The musician's bio or photo page.
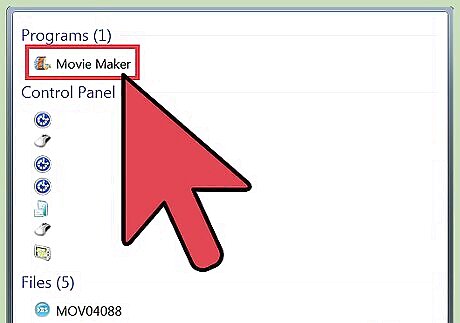
Open a video editing program and import your song. You can use almost any video editing software you want, from Adobe, Windows MovieMaker and iMovie, to Avid and Final Cut, as these videos are simple and can be handled by most software. You can even use the most recent version of Powerpoint on Open Office, which can save presentations as movies. Click and drag your song into the timeline to determine the length of your video.
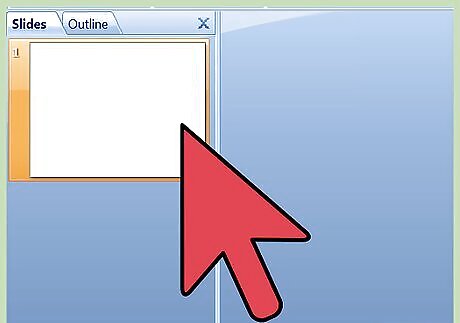
Click and drag all of your photos onto the timeline next to the song. This process is slightly different for each program, but you should end up with each photo end to end on your editing timeline. The first shot should be lined up with the start of the song. Usually you can click and drag the files right from your folder into the editing program. If this doesn't work, try "File" → "Import," then find the photos. Click and drag them after importing into the video work station.
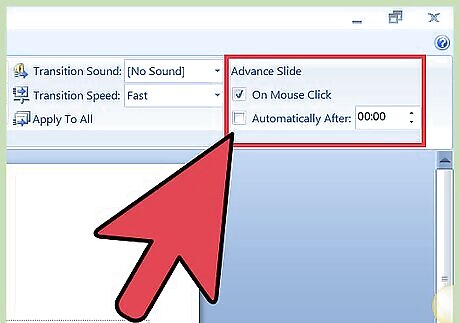
Divide the number of seconds in the song by the number of photos you have to determine how long each shot should be. To determine the number of seconds, simply multiply 60 by the number of minutes in the song, then add the leftover seconds. Therefore, a 2:40 long song would be 160 seconds long (60x2=120, + 40 = 160). Divide this number by your photos to determine the total length of each shot. For example, if you had 80 photos for a 160 second song, you'd need each photo to last for two seconds to fit the whole video. If you want some photos to go longer than others, you can simply use this as a guideline. Simply start with the appropriate number of seconds per photo, then adjust individual photos by hand.
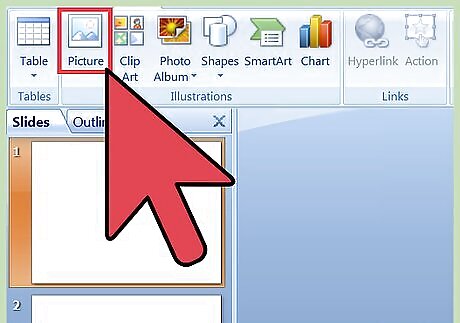
Highlight all of your photos and set the length to fit your video. Click on all the photos by either dragging and highlighting, or Shift+Click. Right click on them and choose, "Set Length of Clips." Choose right amount of time for your video, depending on what you tested earlier. It may not be labeled as "Set Length of Clips," but it will be similar. Some other possibilities are: "Duration," "Clip Length," or "Clip Timing." Some programs, like iMovie, let you change the duration of all stills, by default, in "Preferences." Simply set "Duration of Stills" to your desired length.
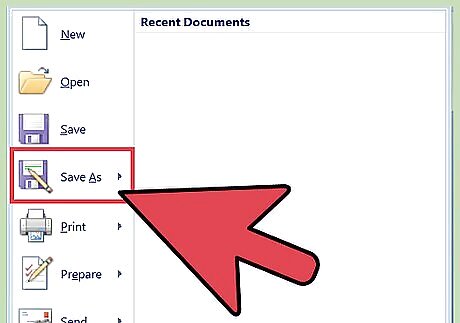
Save your final video as an MP4 or MOV file. Once you've finished your video, click on Save As or Export and choose and MP4 or MOV (Quicktime) file. These are the easiest to get onto YouTube, and they will not take up a lot of space on your computer. Exporting is when you take the video project and convert it into a full movie. If you don't get an option for MP4 under "Save As," you'll likely need to export.

Upload the video on YouTube. You'll need to make an account. From their you can click on "Upload" to put your video up on the internet for all to see. Choose a good thumbnail of the song or band to help viewers find you, and be sure to name the song and artist in the title. YouTube has strict copyright laws, and if you are not the rights owner of a song, there is a chance that your video will be taken down. You do, however, have a few strikes before losing YouTube privileges.


Comments
0 comment