views
Making a Basic Pencil Holder
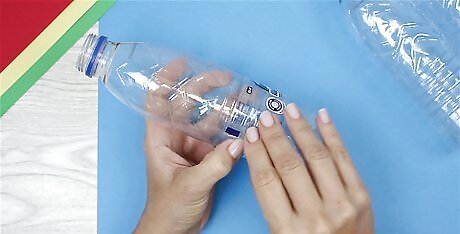
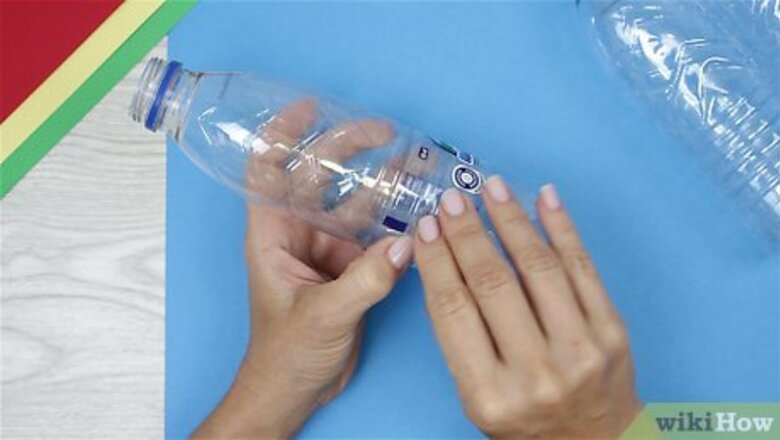
Take the label off of a plastic bottle. The bottle can be any size, shape, or color you want. If you can't find a plastic water bottle, use a plastic soda bottle instead.
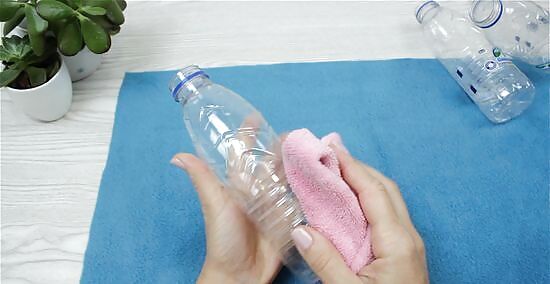
Rinse the bottle using soap and water. Use a dish scrubbing brush to scrub any leftover glue off. Once the bottle is clean, lightly pat it dry with a towel. If there is any glue left from the label, wipe it off using a cotton ball soaked in rubbing alcohol.
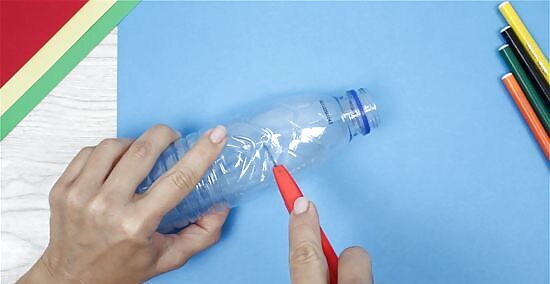
Cut top part off the bottle with box cutter. Don't worry about being too exact; you will be trimming the bottle down shorter in the next step. It might be a good idea to cut it a little bit taller than you think you might need it. If you are a child, ask an adult to help you with this step.
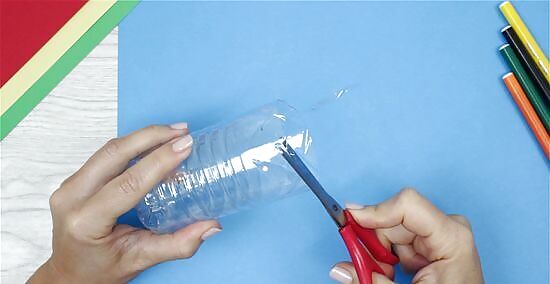
Use scissors to even out the top. Keep trimming until you get the height you want, and there are no jagged lines left. Try to make the bottle no shorter than half the height of a standard pen or pencil. If your water bottle has "ribs," use the grooves as a guideline.
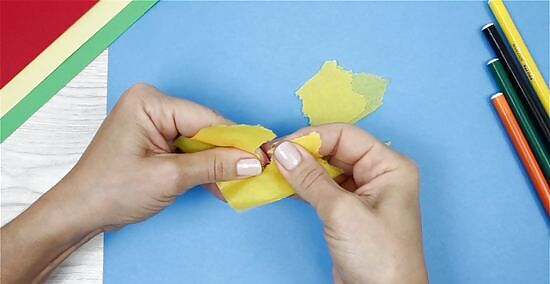
Tear some tissue paper into small pieces. Aim to make them about 1 inch (2.54 centimeters). Don't cut the tissue paper, however. The jagged edges will give you a smoother finish. They will also make the papers easier to apply.
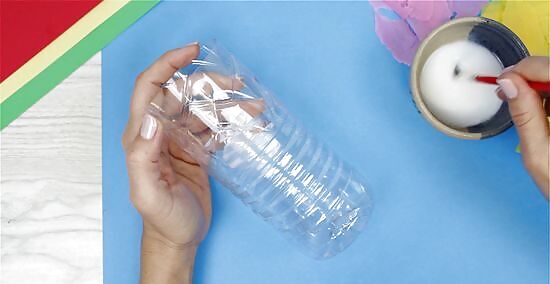
Apply white school glue onto the bottle with a brush. You can use a flat paintbrush or a foam brush. Keep the bottle steady by sticking your hand inside of it. This way, your hands won't get messy.
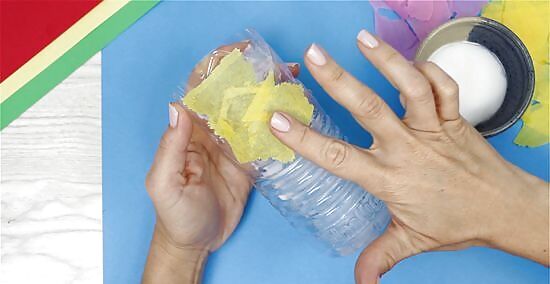
Stick the tissue papers on it. Overlap the papers slightly so that there are no gaps, and smooth them down using your fingers or a paintbrush to get rid of any bubbles. When you get to the top, fold the papers over the rim and onto the inside of the bottle. This will give you a neater finish.
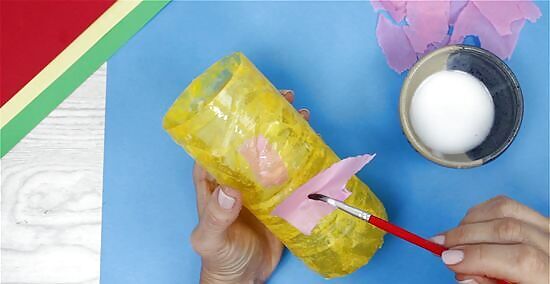
Let the glue dry, and add a second layer if desired. Once the bottle is dry, you can continue decorating it, or you can add a second layer of tissue paper. This second layer can be the same color, or it can be a different color to create a tie-dye effect. After you have applied your second layer and let it dry, you can "seal" your work by painting another layer of glue on top of it.
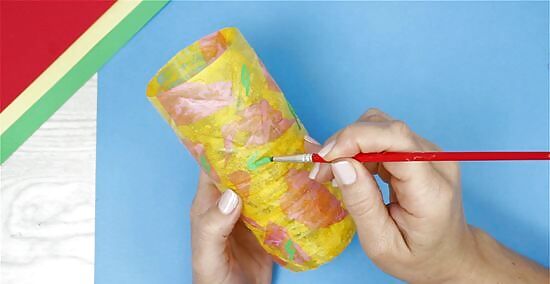
Decorate the bottle further using paint, markers, or stickers. Once the bottle is completely dry, add some more color to it using some stickers, markers, or paint. You can even decorate it with glitter glue pens! If you want to use lighter colors, try paint pens. They will show up much better than regular markers, which are translucent.
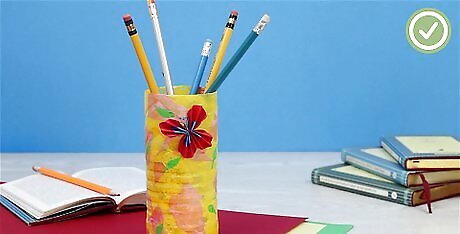
Finished.
Making a Pencil Caddy
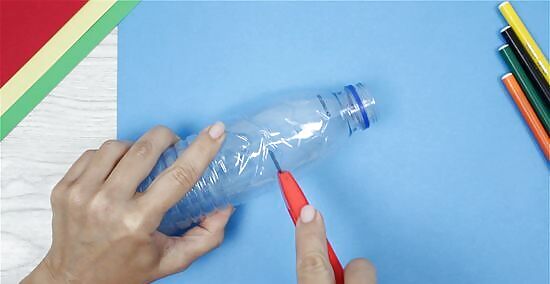
Cut down 7 water bottles, with one of them being taller than the rest. The first 6 water bottles should all be the same height. The 7th bottle should be cut 1inch (2.54 centimeters) taller. Make sure all bottles are the same size and shape. A pencil caddy is ideal for those who have a lot of different pencils, and like to keep organized. They are also perfect for keeping pencils, colored pencils, crayons, and pens all separate.
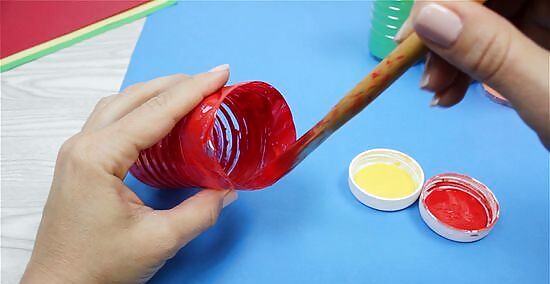
Decorate the bottles. You can decorate it however you want, skip bulky embellishments like buttons and gems. If you want to add bulky embellishments, such as buttons or gem stones, wait until after you have assembled the caddy. A quick and simple decorating idea is to paint the bottles different colors, or decorate them with stickers.
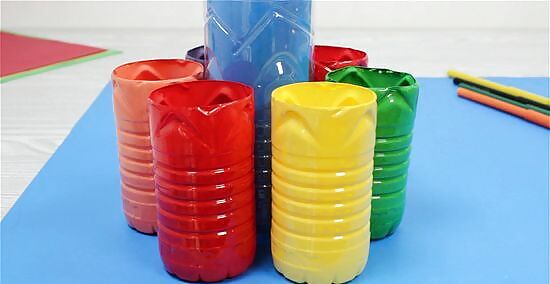
Arrange the shorter bottles around the taller one. All shorter bottles should be touching the taller one. When you look down on them, you should see a design sort of like a flower.
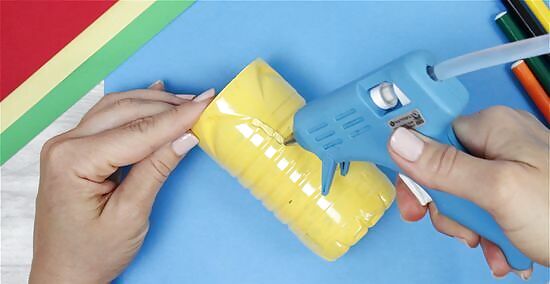
Pull out the first bottle and draw a vertical line of hot glue down the side. Make sure that the glue is going all the way from the top edge to the bottom. For extra holding powder, make the line squiggly.
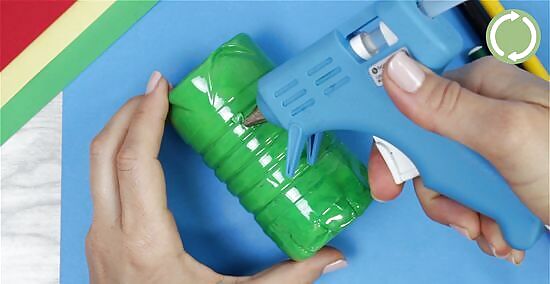
Quickly replace the bottle, and press it gently against the taller bottle. Make sure that you are pressing the glue part against the taller bottle. Repeat for the rest of the bottles, until they are all glued against the taller one.
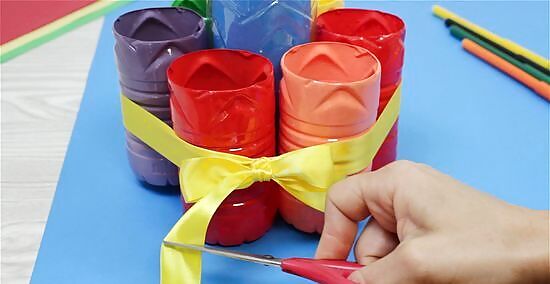
Wrap a piece of ribbon or colorful tape around the middle of the bottle bundle. You can glue the ends down, or tie them off into a pretty bow.
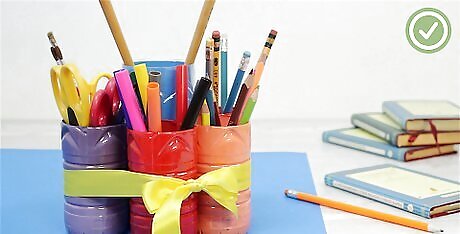
Consider decorating the caddy further. You can glue down plastic rhinestones, buttons, or even draw on it using glitter glue. If you'd like to make a base for the caddy, glue it down onto a cardboard disk or cake stand.
Decorating the Bottle in Other Ways
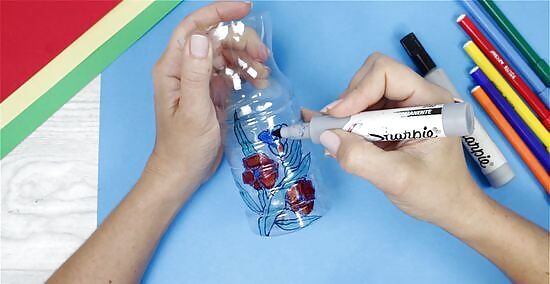
Color a blank bottle with permanent markers for something quick and easy. If you don't want to use tissue paper, you can simply draw on your bottle with permanent markers. This will give you a translucent, stained glass effect. If you make a mistake, dip a q-tip in rubbing alcohol, and "erase" the mistake. Wipe the area dry, and continue drawing.
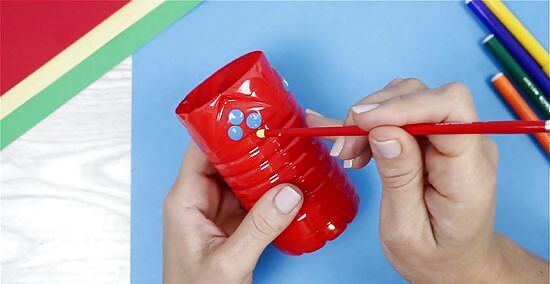
Paint the bottle using acrylic paint or spray paint for something colorful. To make the paint stick better, consider buffing the entire bottle using a fine grit sand paper. Paint the entire bottle a solid color first, wait for the paint to dry, then add details, such as flowers.
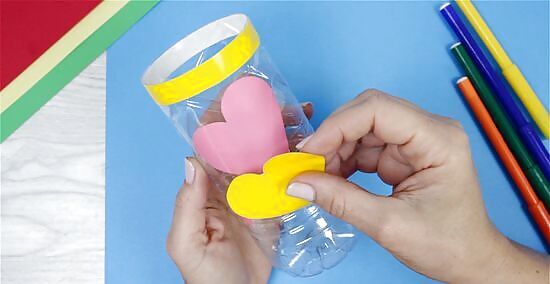
Decorate a blank or painted bottle with stickers for something simple. If you don't have a lot of supplies on hand, you can always decorate the bottle with stickers. For example, you could paint a bottle dark blue or purple, wait for the paint to dry, then cover it with silver or gold star stickers.
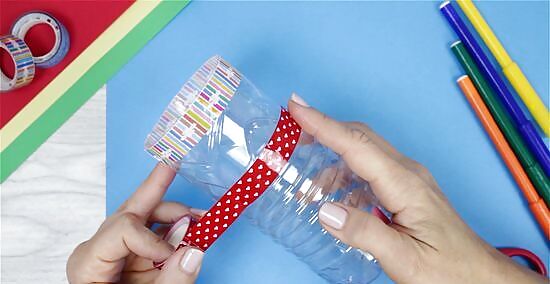
Wrap duct tape or colored/washi tape around the bottle for a durable pattern. Unroll about 1 inch (2.54 centimeters) of tape, and press it down on the bottle, right against the bottom edge. Keeping the roll of tape close to the bottle, start winding the tape around the bottle. When you come back to where you started, overlap the tape by ½ inch (1.27 centimeters) and snip the tape off. Start your next row just above the first one; you can also overlap the rows a little. If the tape extends over the top of the bottle, fold it inwards, inside the bottle.
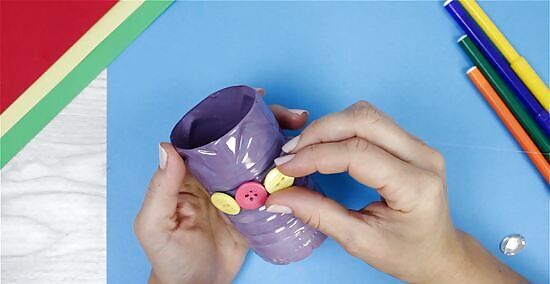
Hot glue colorful buttons, gems, or rhinestones for a pop of color. You can cover the entire bottle, or just small portions of it, with buttons, gems, or rhinestones. Make sure that you focus most of your design on the bottom however; if you glue too many things towards the top, your pencil holder will fall over. For a more colorful pencil holder, paint it or cover it with tissue paper maché first.
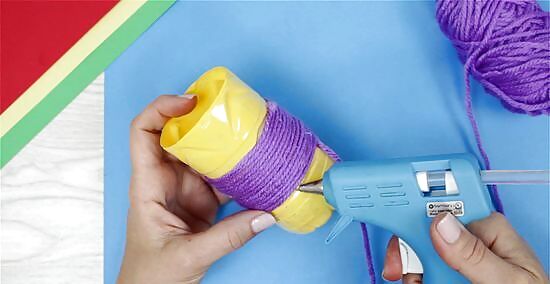
Cover the bottle with yarn or twine. Draw a line of glue along the top rim, and press the string down onto it. Start wrapping the string around the bottle. adding a line of glue every few inches/centimeters. When you reach the bottom of the bottle, draw another line of glue, and press the end of the string into it.
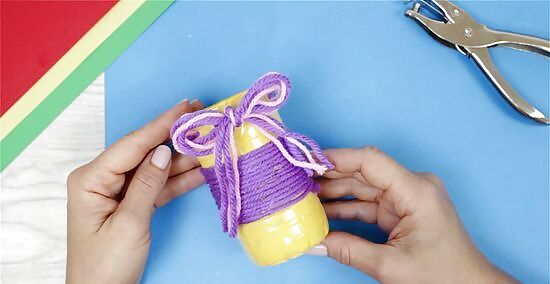
Punch holes along the rim, then weave colorful yarn through the holes. Use a hole punch to poke holes ½ inch (1.27 centimeters) apart along the rim. Thread some yarn through a yarn needle, and use the needle to weave the yarn in and out of the holes. This will give you a more colorful rim.
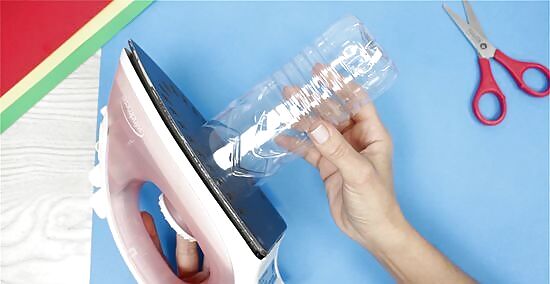
If your bottle is made from PET or PETE plastic, use an iron to give it a nice rim. You will need to do this just after you have cut the bottle, but before you decorate it. To tell whether or not your bottle is made out of PET or PETE plastic, turn it upside down and look at the bottom. If there is a recycling symbol with a 1 inside it, it's PET/PETE plastic. Turn on your iron and make sure the steam setting is turned off. Consider wrapping a sheet of fabric or tin foil over the bottom of the iron to keep it clean. Press the bottle, cut-side-down against the bottom of the iron. Every couple of seconds, lift the bottle to see the progress. As the plastic warms up, it will start to curl in on itself, creating a neat rim. Turn the iron off and let the bottle cool before you start decorating it.









Comments
0 comment