views
Creating the Basic Helmet
Cut out a section of poster board that’s 10 by 28 in (25 by 71 cm) long. This will be the section of your helmet that wraps around your face and head. Lay the poster board flat on the table and use a ruler to mark a rectangle that’s 10 in (25 cm) wide and 28 in (71 cm) long. Use scissors to cut out this section of poster board. Don't worry if the rectangle section is too long, you can trim it later on. Purchase poster board from your local craft or big box store.
Apply paint to the poster board if you’re not adding additional layers. If your helmet is just going to be made of poster board, feel free to paint it a solid color like silver or gold. Use spray paint for a quick application, or use a paint brush and acrylic paints to paint the helmet section using even strokes. Use two coats to ensure the poster board is fully covered. Let the paint dry completely before continuing to work with the poster board. This should take 1-2 hours.
Fold the poster board in half crosswise. Fold the poster board horizontally instead of vertically so that it opens like a book. With the poster board folded in half, its new dimensions should be 10 in (25 cm) by 14 in (36 cm). Once the poster board has an even crease, unfold it and lay it flat again.
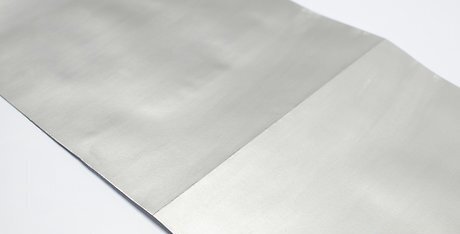
Attach additional material to the helmet if desired. If you’re putting foam or colored paper on your helmet to make it textured or colorful, use an adhesive like glue or tape to attach the material to the poster board. Make sure you don’t cover up the fold you just created, lining up the paper or foam with the fold before attaching it. Flip the poster board over so that any excess foam or paper is visible, cutting it off using scissors so the poster board and additional materials are in line with each other.
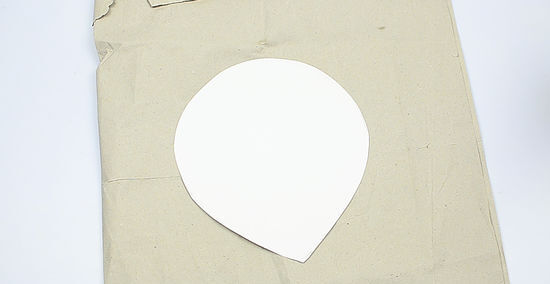
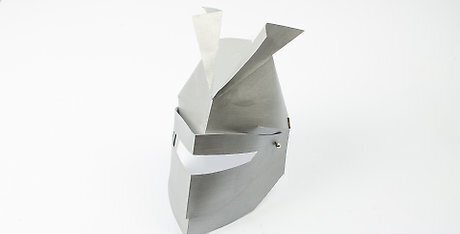
Form the top of the helmet in the shape of a teardrop. The top of the helmet is made by drawing a circle slightly larger than your head onto a piece of poster board (and any other materials you’re using with the poster board). Once the circle is drawn, make a dot a few inches away from the circle, connecting it to the circle using a ruler so that the shape now resembles a teardrop. You can find templates online for the top of the helmet to make creating it easier. Consider creating a double layer of poster board to make the top sturdier. Use a plate to help you draw a perfect circle, if desired.
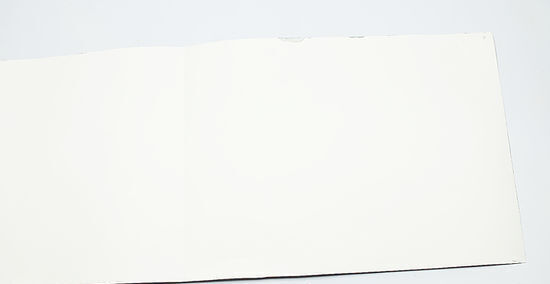
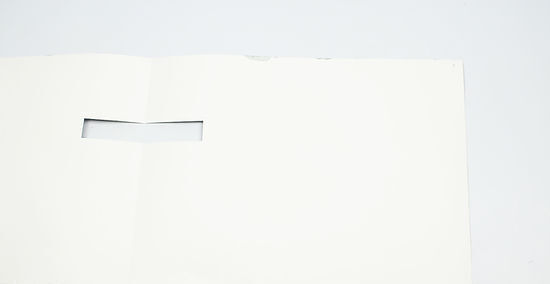
Create a slit in the helmet for the eyes. Hold the rectangle section of the helmet up to your face with the fold at your nose, figuring out where the eyes would go. Measure a rectangle that’s roughly 5 in (13 cm) wide and 4 in (10 cm) high—this will be your eye slit. Use scissors or a precision blade to remove the eye portion from the large rectangle. Make sure the center of your eye slit is lined up with the fold in the helmet.
Tape the sides of the helmet together so it’s whole. Join the two ends of the rectangle together, putting it on your head or the other person’s head to see where you’ll need to attach it. Use tape or a stapler to hold the two ends together. To hide the tape, put it on the inside of the helmet. Masking tape or duct tape works best.
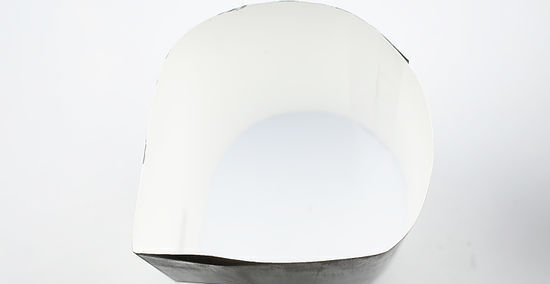
Slide the top section into the helmet to attach it. Rest the sides of the helmet on the table so it’s sitting up straight. Slide the top section of the helmet into the sides, lining the tip of the teardrop shape with the fold in the rectangle. Push it down until the top of the helmet is touching the table. This will make it easy to hot glue or tape the two pieces together from the inside. If the top section is too big to fit into the helmet’s sides, trim it using scissors. If the top section is too small for the helmet's sides, you can either redo it and make it larger, or use a thick tape to attach it to the helmet's sides anyway. Be careful if you’re using hot glue, making sure not to touch the metal tip of the glue gun.
Adding Embellishments
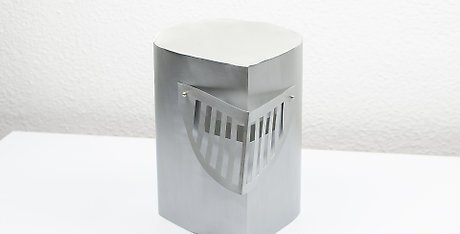
Create a visor for your helmet for a movable portion. Draw your visor in any shape you’d like, making sure it has slits wide enough for you to see out of. Make your visor at least 5 in (13 cm) long so it covers the entire eye slit already cut out in your helmet, and fasten it to your helmet using paper fasteners. Look online for visor templates that you just print and cut out, if desired.
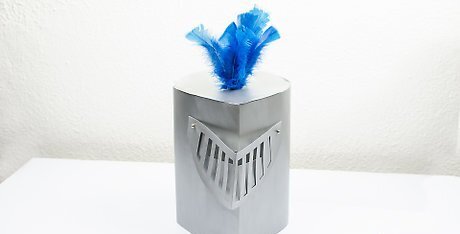
Add a feather to your helmet to create a plume. Choose a feather that’s long and large in any color you’d like. Create a hole in the top of your helmet, picking a spot near the edge of the helmet so that it doesn’t poke the person who’s wearing it in the head. Use a knife or sharp pen to form the hole before sticking the feather inside and gluing it in place. Feel free to add more than one feather to the helmet, or glue or tape several feathers together to create a larger plume. You can find feathers at your local craft or big box store.
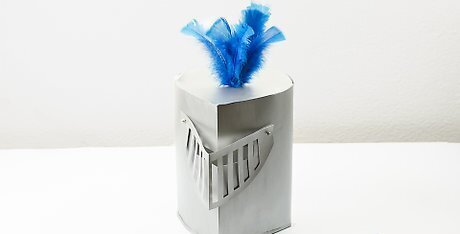
Cut strips of craft foam to add detail along the edges of your helmet. Measure strips of craft foam to be roughly 1 in (2.5 cm) thick. Cut each strip out and use glue to attach the strips around the edges of the helmet. This makes the helmet look more official and detailed. Use colored craft foam to give your helmet more personality, or paint your foam gold or silver to match your helmet.
Draw a coat of arms or another object on your helmet to personalize it. Use a marker to draw designs on your helmet or a symbol such as a coat of arms. Look online for inspiration for different coats of arms to draw and draw them in pencil first, if possible, in case you mess up and need to erase. Use a black marker to add details to your helmet, or use lots of different colors to make your helmet stand out. Pencil may not show up on foam, but you can always print out a template of something you'd like to draw and trace it using pen.







Comments
0 comment