views
Making the Tip
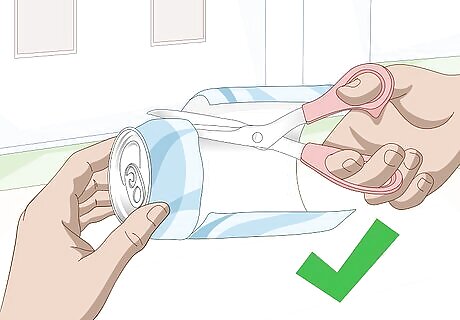
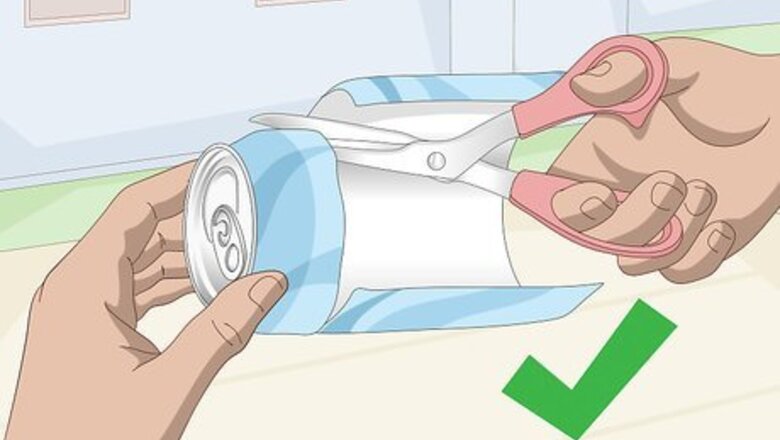
Cut apart a soda can to get a flat sheet. Use a craft blade to slice the top and bottom off of a soda can. Use a pair of scissors to cut the tube open to form a flat sheet. Make sure that the soda can is clean. You can clean the metal before or after you cut it.
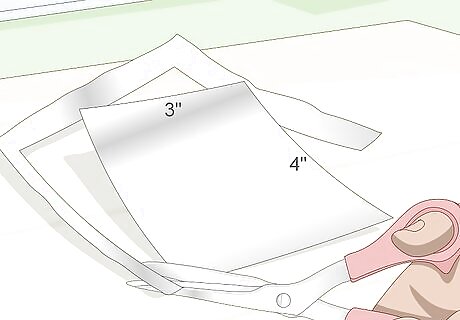
Cut a rectangle out of the sheet. The rectangle needs to be about 3 inches (7.62 centimeters) tall and 4 inches (10.16 centimeters) wide. Sketch the rectangle out using a ruler and permanent marker first, then cut it using a pair of scissors.
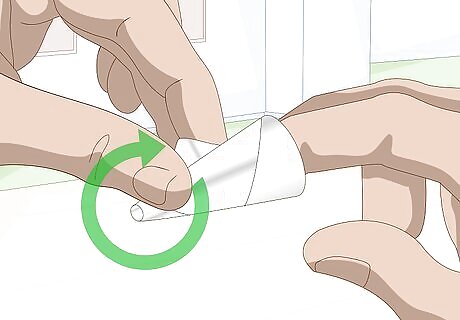
Twist the rectangle into a cone. Hold the rectangle horizontally. Roll the bottom left corner towards the top right corner to form a cone. Make sure that the cone has a small opening at the tip. If you can't get a small opening at the tip, slice the tip off with a craft blade, then use a pen or pencil to shape the opening into a round hole.
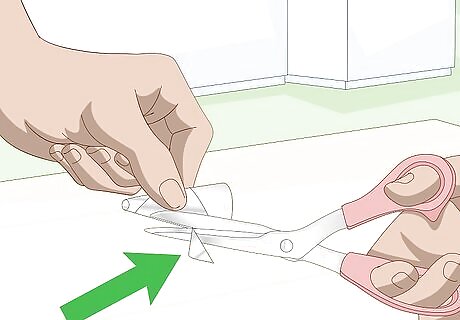
Cut the side flap down. When you look at the cone, there will be a flap of metal on the side that ends in a point. Use a pair of scissors to trim the corner down so that it is a straight edge instead. This will make it easier to tape down.
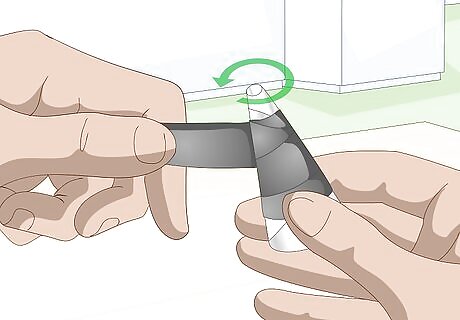
Tape the cone together. Wrap a piece of electrical tape around the middle and bottom of the cone. Start wrapping around where you cut the flap, and finish at the bottom. Don't wrap too close to the tip, or the tape will burn when you go to heat up the glue gun.
Making the Handle
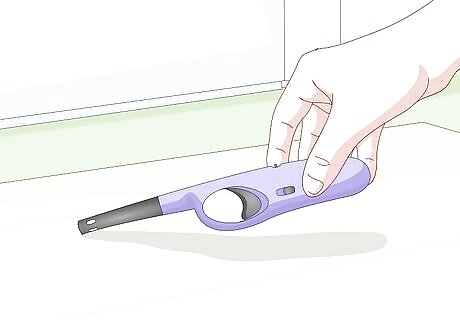
Get a candle lighter. You can find these alongside the candles in most stores. They look like regular lighters, but with a trigger and a stick at the end. Try to get the kind with a firm stick, and not the flexible kind. If you absolutely can't find a stick lighter, you can use a regular one. It will be more awkward to hold and use, however.
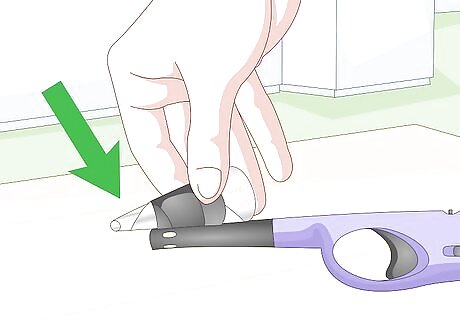
Place the cone alongside the stick. Set the lighter down so that it is parallel, with the trigger pointing down. Position the cone alongside the stick, so that it is on top. The tip should be extending just past the tip of the stick. This way, when you ignite the lighter, the flame will heat up the glue and cause it to melt. Do not place the cone over the tip of the stick, like a hat. If you are using a regular lighter, place it on the side edge—the same side that the flame comes out of.
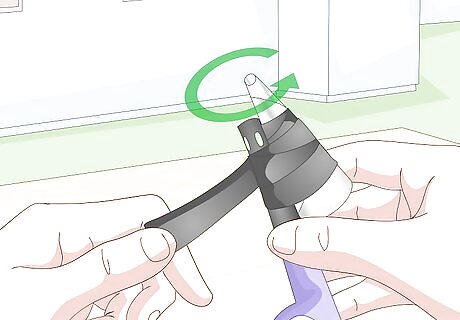
Secure the cone with tape. Place a piece of tape halfway inside the cone. Press the other end of the tape onto the stick itself. If you need to, wrap another piece of tape around the bottom of the cone and the stick.
Using the Hot Glue Gun
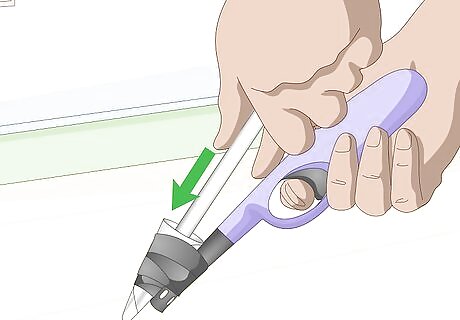
Insert a hot glue stick into the cone. Keep pushing it until the glue stick is as deep as it can go. Hold it steady, if you need to. Try to glue the thinner kind of hot glue stick rather than the thicker kind.
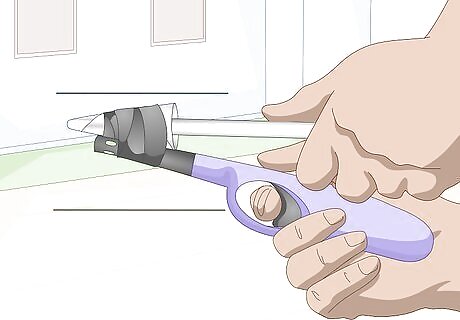
Hold the lighter parallel to the table. Make sure that the top/length side of the cone is facing upwards, towards the ceiling.
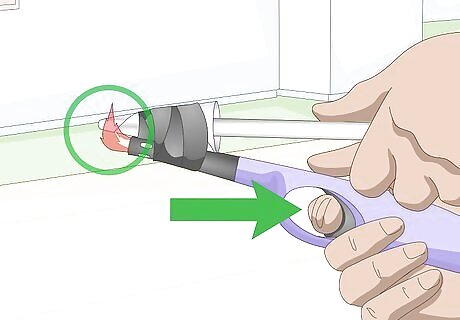
Ignite the lighter and let the glue heat up. Hold the trigger for a few moments until glue starts to come out of the nozzle.
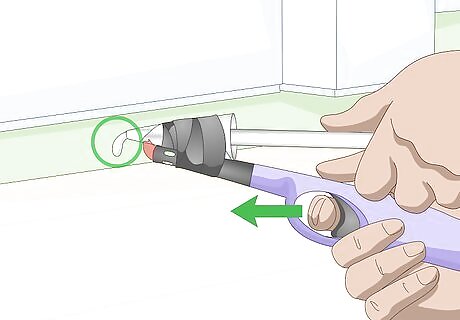
Release the trigger. Once you see glue coming out of the tip, release the trigger and extinguish the flame. Your hot glue gun is now ready to use.
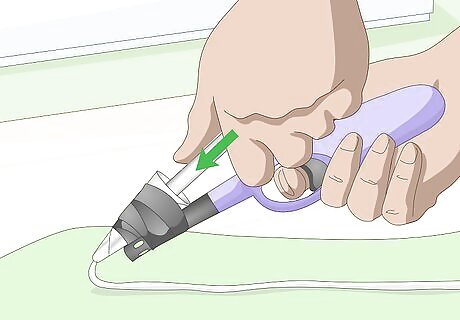
Use the hot glue gun. Working quickly, make a line of hot glue wherever you need the glue to go. Gently push the glue stick into the nozzle to help force the glue out. At some point, you may need to heat the glue up again by igniting the lighter.


Comments
0 comment