
Creating a Classic Glitter Jar
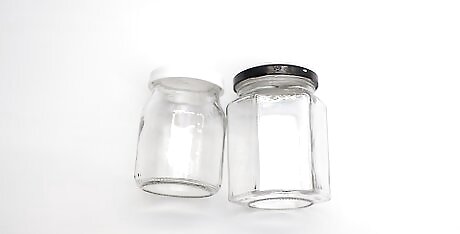
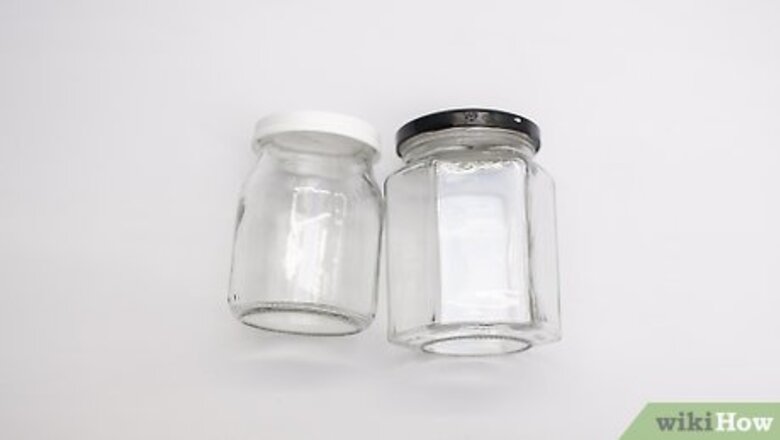
Prep clear jars or bottles by cleaning them and removing any labels. Whether you’re using glass or plastic containers, clean them inside and out with warm, soapy water and remove any labels. Use a mason jar, recycled salsa container, empty water bottle, jam jar, or any other container you like (as long as they have a secure lid). Part of the fun and beauty of glitter jars is that you can make them in lots of different containers, and they can be as big or as small as you like! Plastic bottles are a great idea for young kids who might be more likely to accidentally drop or throw them.
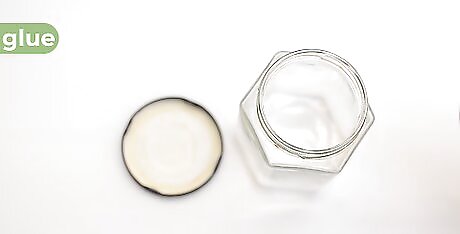
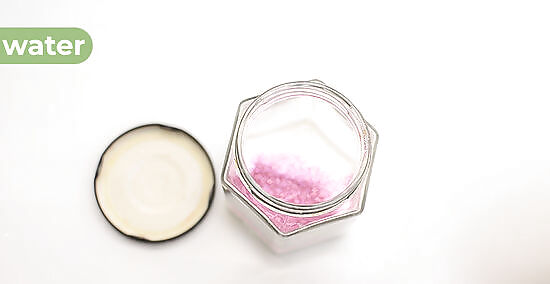
Fill your jar 1/4 of the way full with glue. Use clear glue if you’d like to add your own glitter, or use a specialty glitter glue—they come in many different colors and can be found at craft stores. Add more glue for a glitter jar that’ll take longer to settle, or less glue for a faster-settling option. It’ll take about 4 minutes for a 16 oz (450 g) jar filled 1/4 of the way with glue to settle after it’s been shaken. Feel free to use colored glues for a different effect. Pink, purple, blue, and green are all popular options you can find at the craft store.
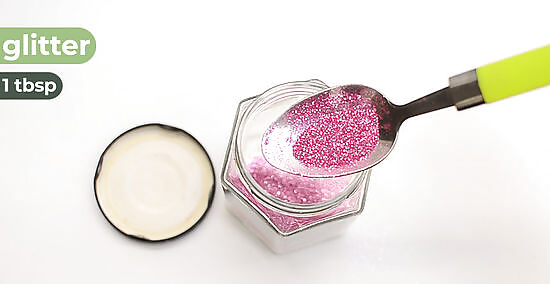
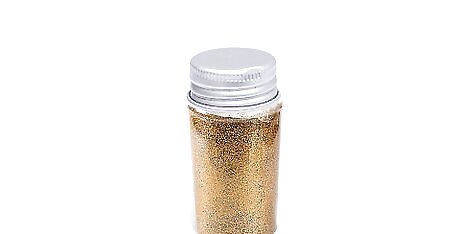
Funnel 1 tablespoon (9 grams) of glitter into each container. If you’re using a container with a small top, like a water bottle, use a funnel to get the glitter inside. If you’re using a container with a wide top, just spoon or squeeze the glitter directly into it. Search your local craft store to find glitter—you can use multi-colored glitter, glitter shapes, or anything else that catches your eye. If you’re working with kids, set the containers on top of baking sheets to catch any spilled glitter. Clean up wayward glitter with a damp paper towel or your vacuum cleaner attachments.
Fill the containers to the top with warm water. Use water that is warm to the touch, but not so hot that you can’t hold your hand in it. Slowly add the water to each container so as to not accidentally overflow them. Stop once the water is as close to the top as you can get it without spilling. Warm water will mix better with the glue than cold water would. Some sites recommend using distilled water so that there are no minerals in it, which they say can cause mold to form in the jars over time.
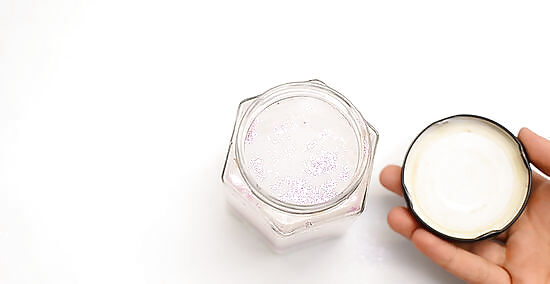
Seal the lids on the containers securely. If you want, use a hot-glue gun to line the lip of the containers, and then tighten the lids for some extra-staying power. If you don’t have a hot-glue gun, simply screw on the lid as tightly as you can. If you’re crafting with kids, secure their lids for them to make sure they’re on tightly.
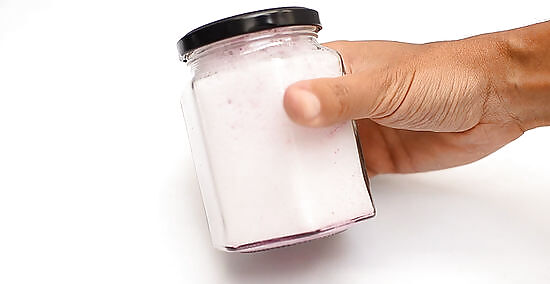
Shake the containers to disperse the glue and glitter, and enjoy! The first time you use the glitter jar, shake it up really well until all the glue from the bottom of the jar mixes with the glitter. After shaking it, set the container down and watch as the glitter swirls around and eventually drifts back down to the bottom. Glitter jars are great to keep at home for you or your kids, and they’re great road trip companions for kids who get restless.
Making Personalized Glitter Jars
Make a mini glitter jar for travel. Use the same steps as you would to make a regular-sized glitter jar, but substitute the large container for a small one. Jam jars or even recycled glass spice containers make nice travel-sized glitter jars. Bring them with you when you travel or take a road trip. If you have kids, keep a mini glitter jar in your bag to give to them during long waits at the doctor’s office or while you’re out running errands.
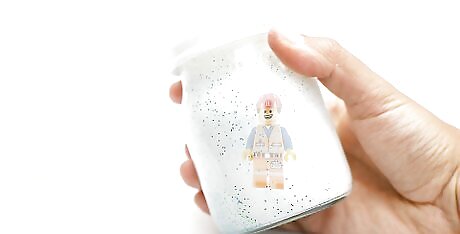
Add a LEGO character to your glitter jar for a focusing effect. If you have a kid who loves LEGOs, have them pick out a favorite character to add to their glitter jar. When they shake up the jar, they’ll focus on finding the character amidst all the swirling glitter. Make sure to use a character that your child won’t mind not having available to play with, or use one that you have a duplicate of. Once it’s in the glitter jar, it’ll be difficult to get it back out again.
Create a glow-in-the-dark glitter jar to keep kids calm at bedtime. Assemble the glitter jar like you normally would, but add in 1 to 2 tablespoons (15 to 30 mL) of glow-in-the-dark paint. This is a great jar to give to kids who have a hard time calming their minds or settling down in bed. Shake it up, put it on their bedside table, and let them watch the glowing glitter as it settles back down. Add in a handful of glow-in-the-dark stars for an extra-special touch.
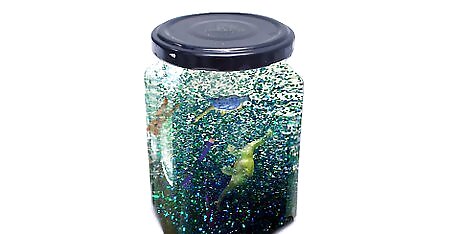
Fill glitter jars with small figurines or beads to play the I-Spy game. Use animals, objects, or figurines and add as many of them to the glitter jar as you’d like. Keep a list of the objects so you know what’s inside the jar. When your kid uses the glitter jar, challenge them to find a specific object out of all the other items. For younger kids, use larger objects. For older kids, use smaller objects to make the game more challenging.
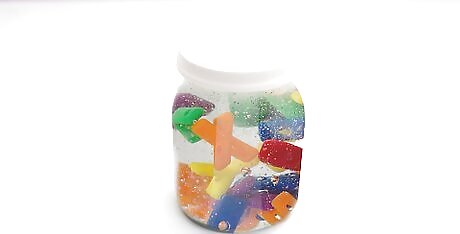
Help kids learn their letters with an alphabet glitter jar. Add small, plastic letters to your glitter jar. Use clear glue and half the glitter you normally would so that the letters are easier to see. Ask your child to find specific letters, or have them try and spell out words from the letters they can see to help build their language skills. You can buy small bead letters from craft stores, or get larger letters from toy stores or online. Include just the letters from your kid’s name, or the letters to spell out a special message for an even more personalized jar.


Comments
0 comment