
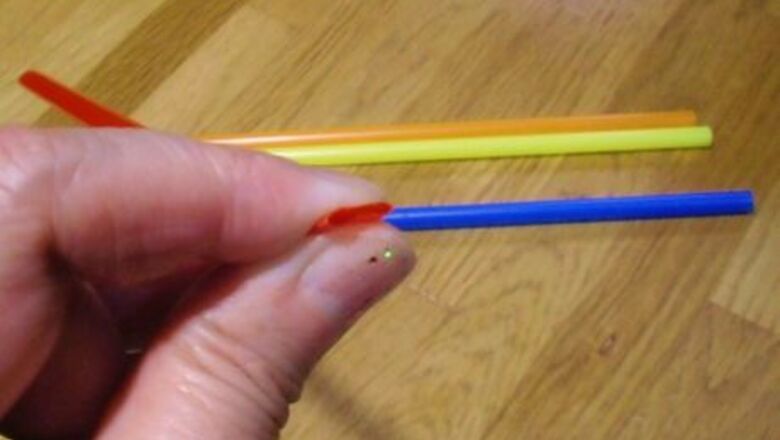
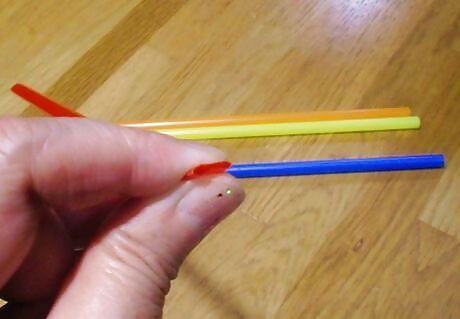
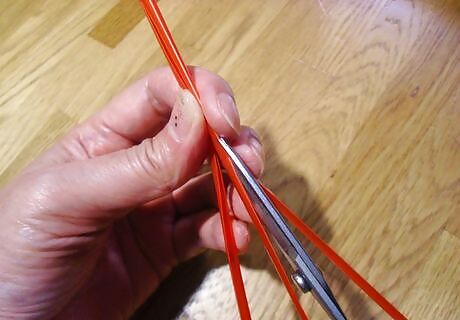
Flatten the straw between a finger and thumb, as shown in the image.
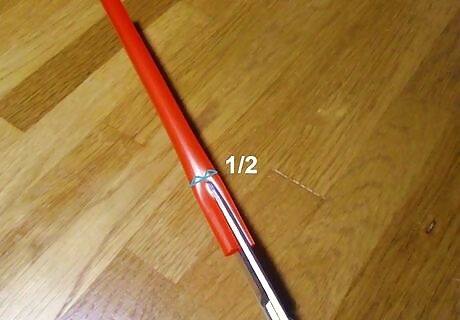
Cut down the middle of the flattened straw, lengthwise.
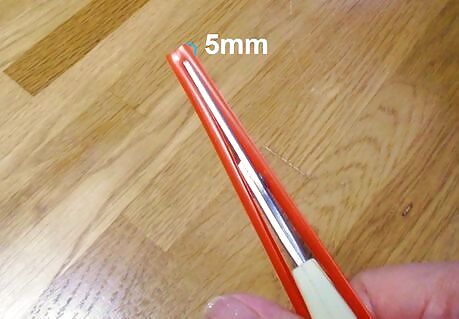
Leave the last 5mm (0.19") uncut, as shown in the image.
Repeat the cutting process on the same straw three times. Cut the remaining three lengths at even distances between each former cut length.
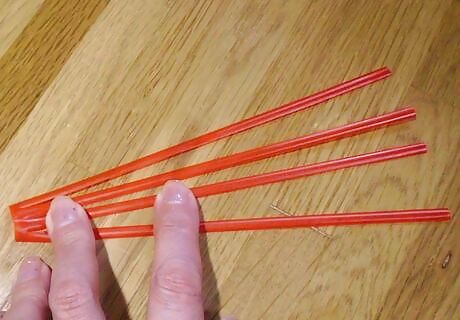
This is how the end result will appear.
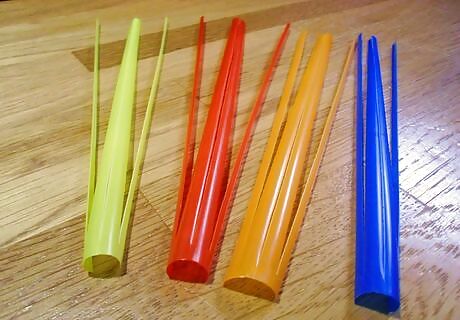
Create three more straws in the same fashion. Use a differently colored straw for each of the four straws.
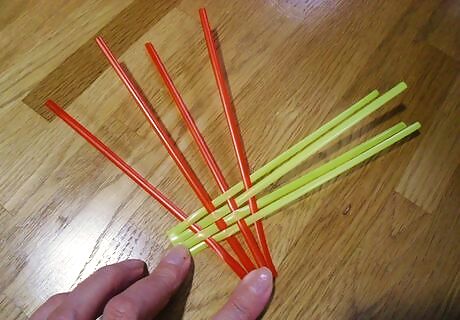
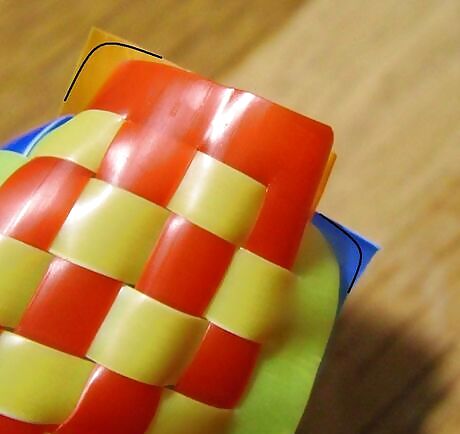
Weave the first two straw colors together. Follow exactly the method shown in the image.
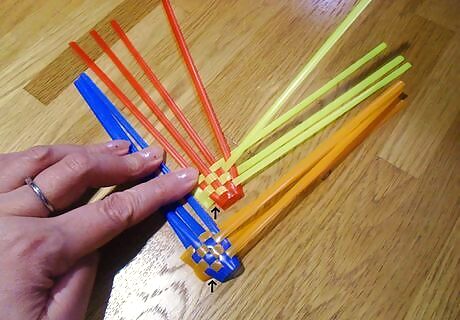
Weave the other two colors the same way. Be sure to push down the woven pieces to make the two straws sit flush at the point that the arrow is showing.
[[Image:Ssack9_762.JPG|center]Turn the straws to their "inner" side. Hold them together as shown in the image.
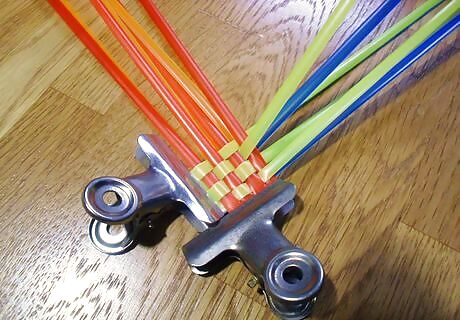
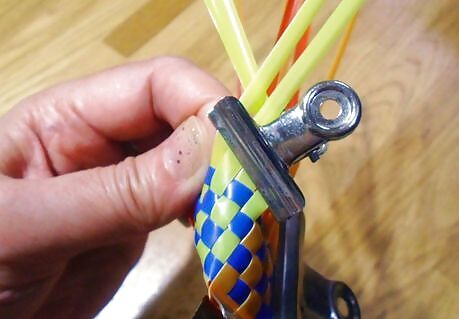
Use spring clips to hold the two pieces in place together.
Begin weaving the yellow straw from one piece with the blue straw from the other piece. At this stage, you are now joining both pieces together to start forming the blade sheath.
This is how the weaving will start to appear.
Hold the weaving together using another clip. This will prevent your efforts from unraveling as you continue weaving the next part.
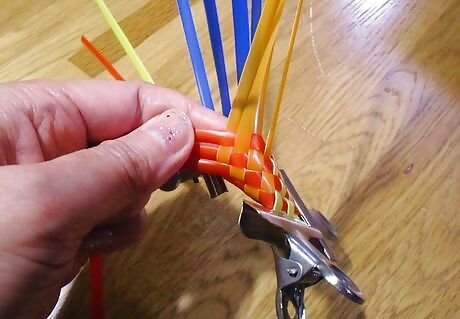
Weave the red straw from one side and the orange straw from the other side. Do this in exactly the same manner as the previous weaving of the yellow and blue straws.
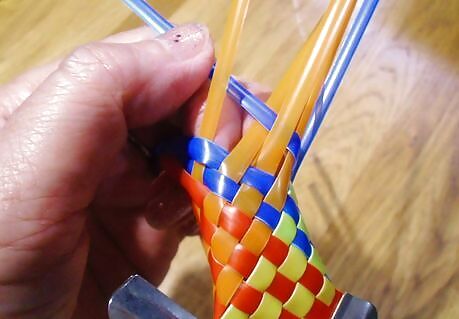
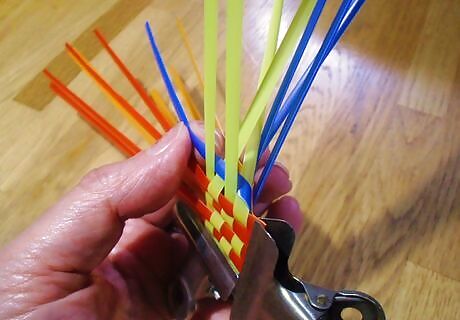
Continue weaving the colors together. Keep everything slanted at a right angle as you weave (as shown in the images). Ssack17_906.JPGKeep the clips in place so that the sheath stays intact as you work on it.

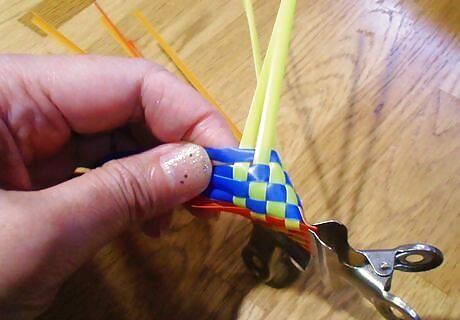
Continue weaving until you reach the "top" of the sheath.
Hold the end together using another clip.
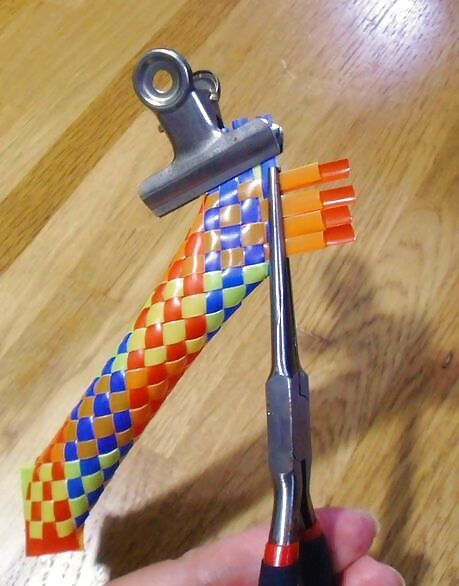
Use pliers or scissors to cut off the excess pieces that cannot be woven into the sheath.
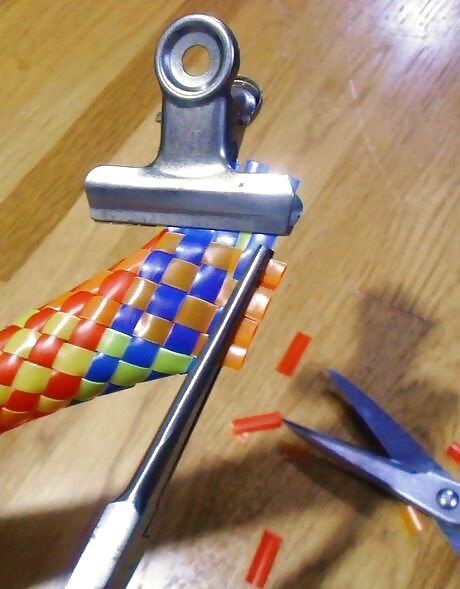
Cut as closely as possible to ensure a neat finish.
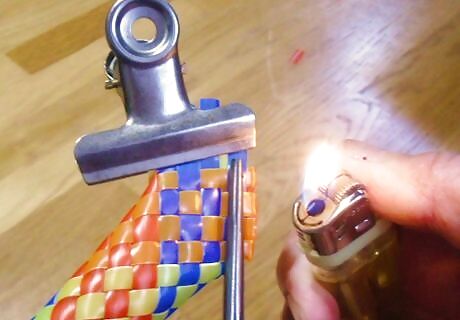
Use a lighter to gently seal the end in place. Do this with great care; you don't want to melt your work.
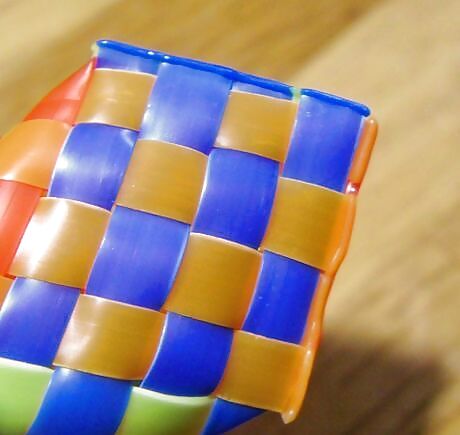
The finished neat end, sealed off.
Remove the clips from the other end of the sheath. Cut the corner roundly.
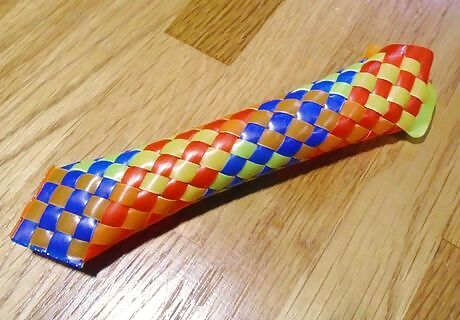
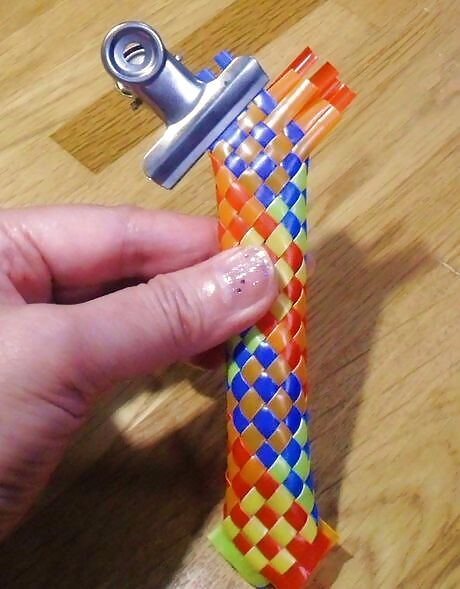
This is the finished sheath.
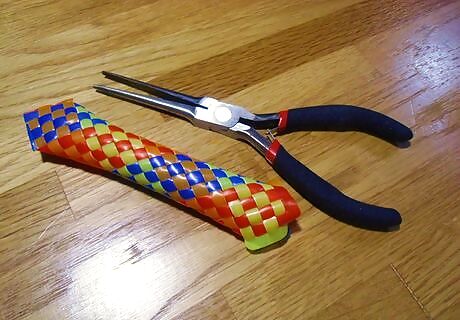
Alongside the pliers (see the length works well).
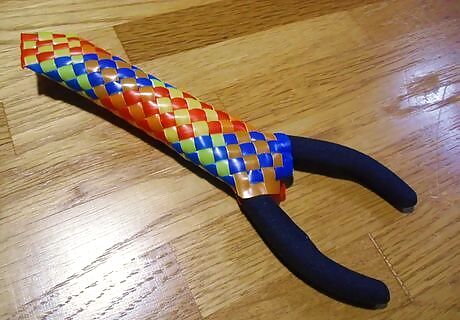
With pliers inserted. Be dismayed that this sheath only works for dull instruments. Anything sharp will cut through this like a hot knife through butter.


Comments
0 comment