views
Measuring and Buying Quarter Rounds
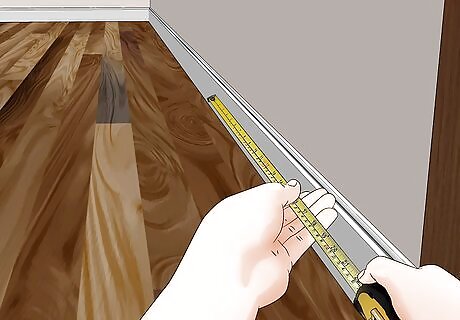
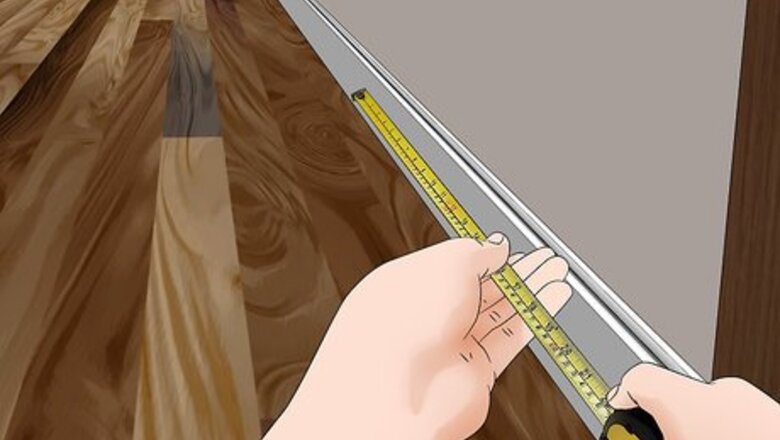
Measure your wall space with a tape measure. Every room needs different lengths of molding, so record as many measurements as you can before attempting an installation. Measure along the bottom of every wall. Draw an outline of the room on paper, noting the length of each wall.
Choose the molding material. It should match the flooring or match the baseboards.
Buy bare wood quarter round and stain it to match hardwood floors. You could also buy primed quarter round, which is flat white, and paint it with semi-gloss paint to match the baseboard. You must use this paint to paint over the nails, which will be covered with caulk.
Paint primed quarter round to complement other flooring types. It should be painted before installation, with a semi-gloss paint, for improved durability and appearance. Also, you will need to use that paint to paint over the caulk where you put in the nails.
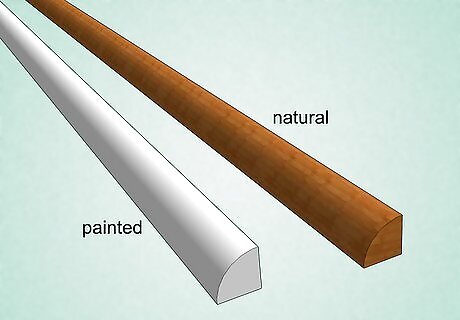
Painting the molding has an advantage over staining it. If it is painted, you can fill the cracks between it and the wall, and between the pieces, with then caulk and paint the caulk. You may also see quarter round made from synthetic material like plastic. These types of molding are about the same as any basic, white molding but are a little more prone to shattering during installation.
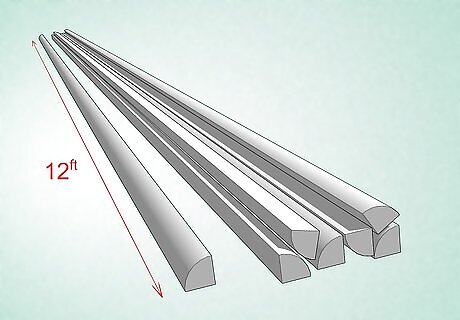
Buy long pieces of molding that fit over your walls. Quarter round molding comes in whole pieces from 6 to 12 ft (1.8 to 3.7 m) in length. Try to use a single piece to mount to a wall. This way there will be no joints, which can open up when the humidity changes and the pieces shrink. The larger pieces of quarter round molding are often difficult to transport and maneuver. In addition, if your wall is longer than the molding available, you will need to join shorter pieces together. This isn't too hard, so don't worry about using shorter pieces if you need to. Quarter round molding is typically about ⁄4 in (1.9 cm) wide. Keep in mind that thinner pieces may not cover large gaps.
Cutting the Quarter Rounds

Put on safety gear and work in a ventilated area. You will need to saw the molding so it fits perfectly around your room's corners. While operating a saw, wear earplugs or earmuffs to block out some of the noise. Also, wear a dust mask or respirator and work outdoors to eliminate dust. Use a good pair of goggles or a facemask to protect you from any shards that may break off of the quarter rounds. If you have to work indoors, open nearby doors and windows. Vacuum up any leftover dust when you're done. Avoid long-sleeved clothing and jewelry that can get caught in the saw blade.
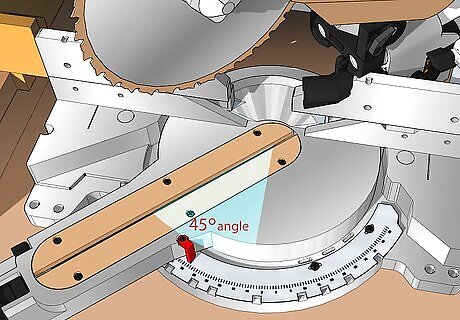
Set a miter saw to a 45° angle. If you have never used a miter saw before, you use the degree markings on the saw's base to make consistent angled cuts. Set the saw on a stable surface, then rotate the blade to the 45° mark on the left or right side of its base. Cutting the quarter rounds at opposite 45° angles makes them fit together like the corner of a picture frame. Using a miter saw is the easiest way to make the cuts and may produce better-looking results. Also, you may need to cut off very thin slices to make the pieces fit, and this almost requires a miter saw. They can be rented at tool rental shops. If you don't have a miter saw, use a hand saw, holding the molding in place with a miter box. These guide the saw to make a perfect 45° angle. Keep in mind these are a little tougher to use for cutting corners, since you need to carefully cut the wood at the proper angle by hand.
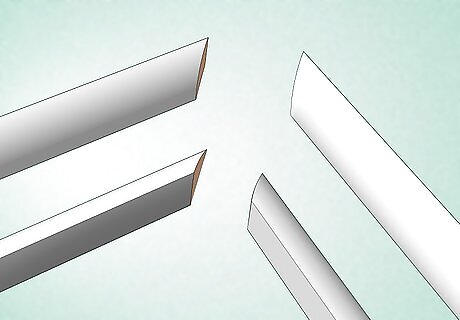
Cut quarter round pieces at a 45° angle to form joints. Use this type of cut to form corner joints wherever walls meet. Make 45° cuts on the ends of 2 different molding pieces. If you're using a miter saw, doing this is easy. After making the first cut, turn the blade around to the 45° mark on the opposite side of the saw's base, then cut the second quarter round. For other types of saws and miter boxes, cut the quarter round pieces by hand. A hack saw will make neater cuts than saws with large teeth. Measure carefully, then reduce the quarter rounds down to size until they fit well together.
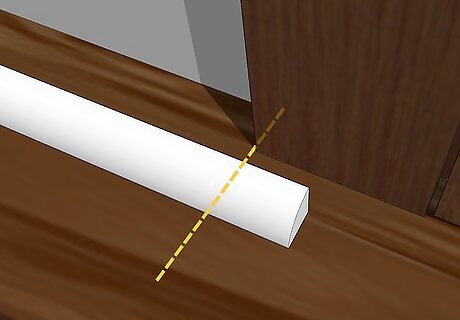
Saw longer molding so it fits over shorter walls. Not all rooms are perfectly rectangular. Sometimes you have to cut smaller pieces of molding to fit shorter walls or work around door frames. Double-check the wall measurements, then carefully cut the quarter round to the size you need. To ensure you get an accurate measurement, place the quarter round on the wall. Mark it with a pencil to create guidelines. To join quarter round pieces on a long wall, simply make 45° cuts like you would for a corner.
Mounting Quarter Rounds
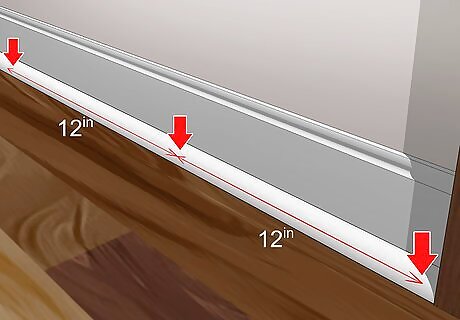
Mark spots for nails every 12 in (30 cm) along the quarter rounds. Start at the corners and measure along the length of each piece of molding. Using a pencil, make the marks along the middle of each quarter round. This can be a little tedious, but it ensures the quarter rounds fit neatly and properly. Do not make marks close to ends; the nails could crack the the molding. Mark spots on short pieces near their centers because you may need to bend down the molding before nailing it.
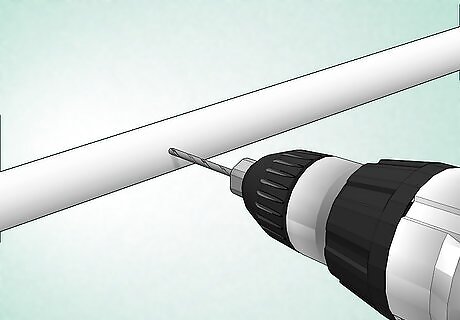
Drill a pilot hole at every spot where you will drive in a nail if using a hammer. Pilot holes help you to guide the nails in accurately at the angle you choose. If the quarter round is hardwood, such as oak, pilot holes will help prevent it from cracking. Use a drill bit that is slightly smaller than the nails, a ⁄16 in (0.16 cm) drill bit is best. Drill the pilot holes downward at 30° to 45° angles. Don't drill the holes into the baseboard.Install Quarter Round Step 9.jpg
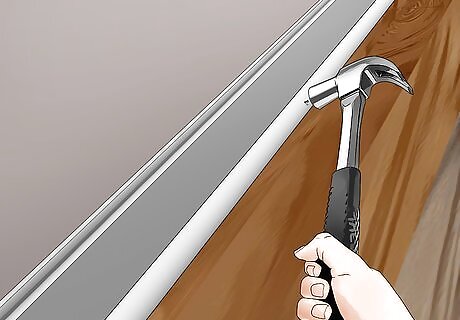
Nail on the quarter round. Use 1.5 in (3.8 cm) finishing nails. Press the molding downward to rest on the floor everywhere, bending it if necessary, and hammer the nails through the pilot holes into the baseboard. Install Quarter Round Step 10.jpg
Use a nail gun with a compressor if one is available, instead of hammering. This is much quicker than hammering, creates better looking work, and is done without drilling pilot holes. It is very easy, so you can put in more nails. Use 18 gage, 1 1/4" (3.2cm) nails. Set the force level to drive the nails slightly below the surface, so you can fill the holes with caulk or wood putty.
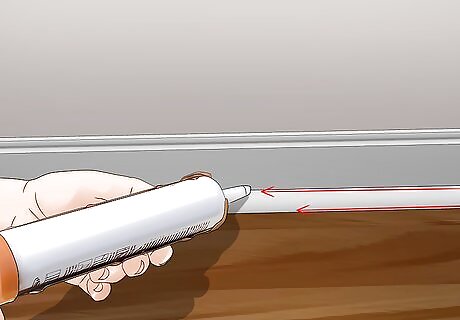
Fill in the gaps around the quarter rounds with a caulk gun. Slice the tip off a canister of an adhesive caulking. Load the canister into the gun, then hold the gun's nozzle slightly above the top edge of the quarter round. While pressing the trigger gently, spread a bead of caulk along the top edge of each piece of molding. Normally you don't need to caulk between the molding and the floor. Also, identify spaces between 2 pieces of molding, such as at the corners. Fill these spaces in with some caulk. If you plan on painting or staining the quarter rounds, choose a paintable acrylic-latex caulk. Some silicone versions are also designed to be paintable. Even if you didn't make the perfect cuts when joining pieces together, a little bit of caulk can make your quarter rounds look professional.
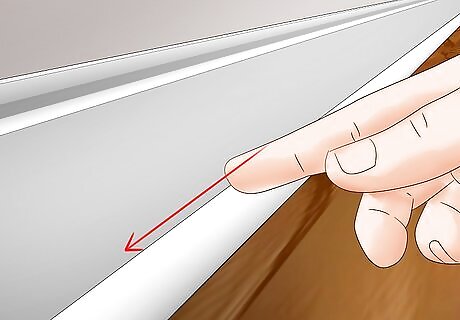
Press the caulk into the gaps with your finger. Run your finger around the tops of the quarter rounds to push the caulk down behind them. Do the same with any gaps between individual pieces as well. Try to make the caulk look as even and hidden as possible. When you're done, wipe up the excess with a damp rag. For unpainted wood quarter rounds, you can use wood putty instead of caulk to fill in gaps Caulk isn't dangerous to touch, but remember to wash your hands before touching your mouth or eyes.
Touching up Quarter Rounds
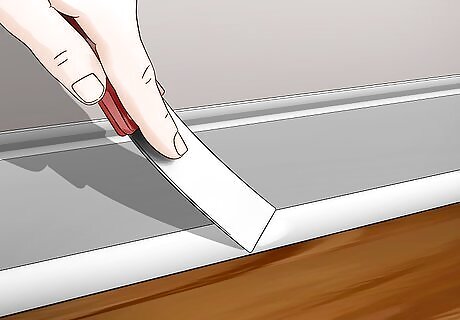
Spread a dab of wood putty to cover up nails. Wood putty comes in small containers or tubes. To apply it, all you have to do is pick up a small amount of putty with your finger, then press it onto the nail heads. Rub the putty to smooth it out and hide the nails. Choose a colored putty that matches the color of the quarter round, especially if you don't plan on painting or staining them afterwards.
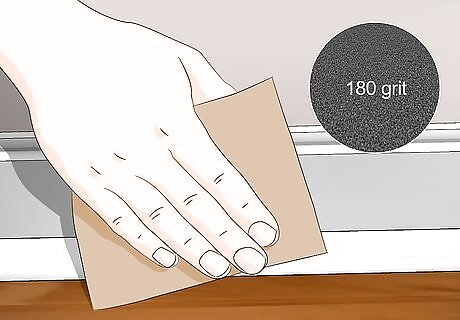
Use 180-grit sandpaper to smooth out caulk and filler. Apply light pressure when sanding the quarter rounds to avoid scratching them. Go over the treated areas to blend them into the quarter rounds. Touch them and look at them from a distance to make sure are well-blended. When you're done, wipe the quarter rounds with a damp rag to remove any debris. Sanding quarter rounds also roughs them up a little, preparing them to receive a new coat of paint or stain. If you plan on painting or staining, consider sanding all of the quarter rounds.
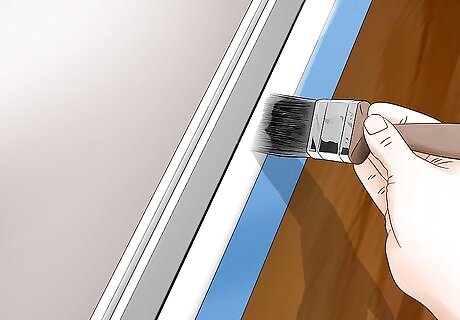
Paint the quarter rounds with a semi-gloss paint. Match the paint color to the color of the baseboards behind the quarter rounds. Before opening the can of paint, protect the walls and floor by laying blue painter's tape around each quarter round. Then, brush paint over the quarter rounds until they look clean and well-coated. Most paints take at least 4 hours to dry before you can improve the finish with a second layer. Acrylic-latex paints are usually the best choice for quarter rounds. Some oil-based paints also stand out well on floor molding. Most experts use semi-gloss paint, which makes quarter rounds bright and easy to clean. Glossy paints are available, but they often make quarter rounds stand out from the walls too much. If you plan on painting over wood quarter rounds, make sure your paint is designed to adhere to wood trim.
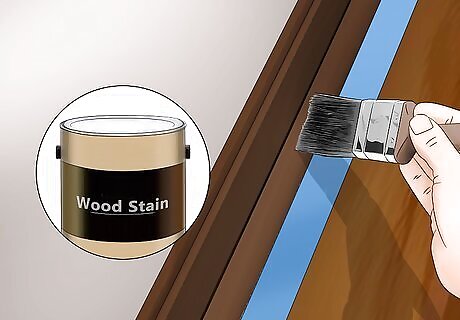
Apply a wood stain for a natural natural look. Match the color of the staining product to the floor and any wood trim in the room. To apply the stainer, spread it over the quarter rounds with a brush or rag. Wipe off the excess stain with a rag, then wait about 15 minutes before applying another coating. Continue doing this until the wood reaches the correct color. There are many different types of staining products available. Oil and water-based stainers are the most common. Oil-based stains are easier to use and penetrate deeper, but water-based products tend to stain more evenly. A lot of staining products take up to 24 hours to fully dry, so keep everyone away from the quarter rounds until then.


Comments
0 comment