views
- When you connect your webcam to your PC or Mac's USB port, its drivers will install automatically.
- While you won't need to install software to use your Logitech cam with your favorite apps, you can install Logitech Capture for added features.
- If you're connecting your webcam to a laptop that already has a built-in camera, you may need to select your Logitech camera when joining calls or recording video.
Using Windows
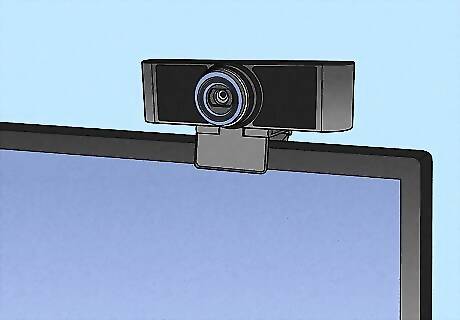
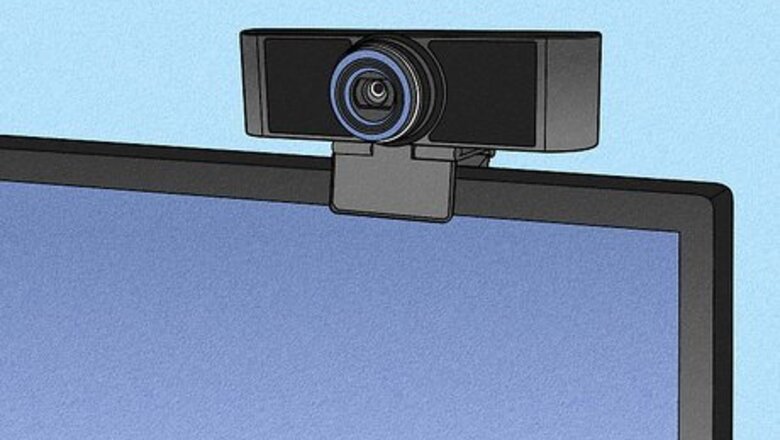
Place your Logitech webcam in the desired position. Depending on your model, you may be able to screw your webcam's base onto a tripod, hook it over the top of your monitor, or fold it into a triangular shape to place on a flat surface. If your webcam has a shutter, slide it open after placing it in the desired position. If you're using Windows 11, Windows 10, or Windows 8, there's no need to install software or drivers to get your webcam working. If you're using Windows 7, go to Logitech's Webcams support site, click your webcam model, and download the software for your PC.
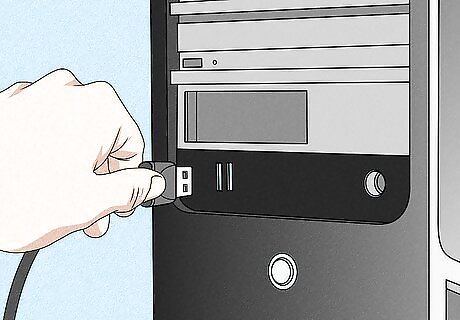
Plug your webcam's USB cable into an available USB port. You'll often find an available USB port on the side of your laptop, or on the front or back of your desktop computer. Once Windows recognizes that the webcam is plugged in, the drivers will automatically install. Depending on your model, you may have to connect your webcam to a USB-A port (the rectangular kind) or a USB-C port (the oval port). If your webcam has a USB-C connector and you don't have a USB-C port on your PC, you can use a USB-C to USB-A adapter.
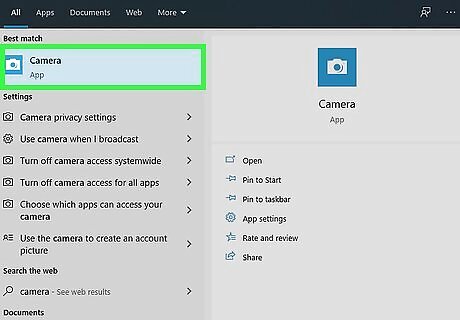
Open the Camera app. To do this quickly, open the Windows search bar by clicking the Start menu or magnifying glass at the bottom-left corner of the screen, type camera, and then click Camera in the search results. You should see yourself on the screen. If you're using a laptop that also has a built-in webcam, the Camera app may default to your built-in cam. To switch cameras, just click the camera switch button at the top-right corner (the camera with curved arrows).
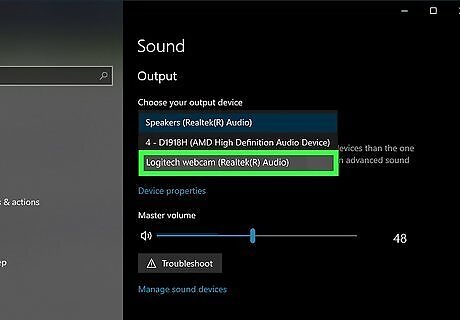
Set up your camera's microphone for use on video calls and more. Most Logitech webcams come with a built-in microphone so you won't need to use a separate one. To make sure your webcam's microphone is used on video calls and in recordings, follow these steps: Open the Start menu and select Settings (the gear icon). Click System. Click Sound. On Windows 10, click the drop-down menu under the "Input" header and select your Logitech webcam. On Windows 11, select your webcam microphone under the "Input" heading.
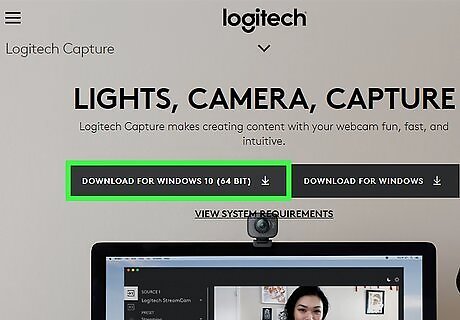
Install Logitech software (optional). Though software is not required to use your Logitech webcam in your favorite apps, Logitech offers various optional software to help improve your experience. Logitech Capture is handy if you want use Logitech's camera filters, place text over a web stream, apply transitions to video, and record from multiple webcams at once. You can download it from https://www.logitech.com/en-roeu/product/capture. Logi Tune contains enhancements specifically for video calls and conferencing, including headset integration and the ability to frame your face during meetings. You can download it from https://support.logi.com/hc/en-gb/articles/360025141734-Logi-Tune. Logitech G HUB offers customization options for all Logitech webcams and gaming products, including headsets and gaming mice. If you want to manage all of your Logitech gaming and video products in one app, you can download it from https://www.logitechg.com/en-us/innovation/g-hub.html.
Using a Mac
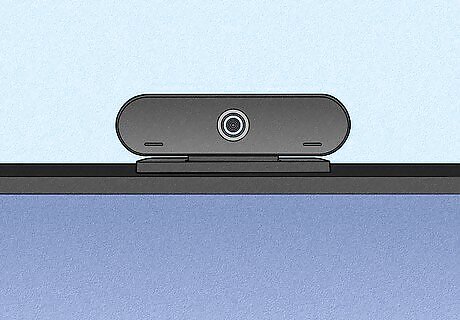
Place your Logitech webcam in the desired position. Depending on your model, you may be able to screw your webcam's base onto a tripod, hook it over the top of your monitor, or fold it into a triangular shape to place on a flat surface. You won't need to install any software to get your Logitech webcam running on your Mac. If you have an Apple Pro Display XDR monitor and 4K Pro Magnetic Webcam, you can attach the included magnetic mount to the monitor, which allows you to adjust the camera angle up to 90 degrees.
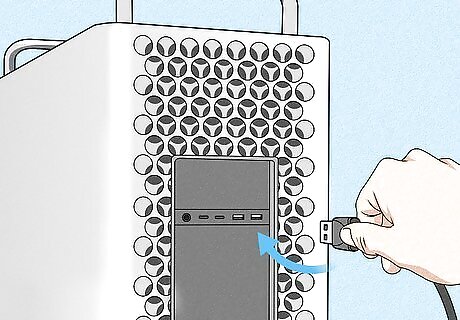
Plug your webcam's USB cable into an available USB port. You'll often find an available USB port on the side of your laptop, or on the front or back of your desktop computer. Once your Mac recognizes that the webcam is plugged in, the drivers will install automatically. Many Logitech webcams have USB-A connectors, but some have USB-C connectors. Since some MacBook models no longer have USB-A ports, you'll need a USB-A to USB-C connector to set up your webcam. If your webcam has a privacy shutter (such as the Brio models), slide it open now.
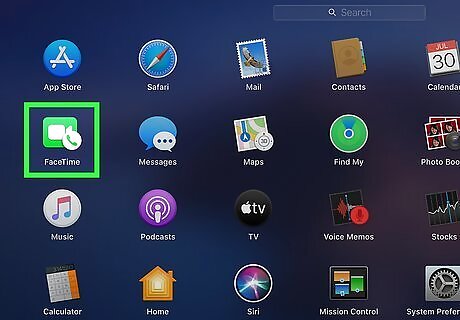
Test your camera using Facetime. To make sure your camera was installed properly, open Launchpad and click Facetime. You should see yourself on the screen. If you don't see yourself, click the Video menu at the top of the screen, and then click your Logitech camera in the "Camera" section of the menu. If you have a built-in webcam but want to use your Logitech webcam in video chats, live streams, and other apps, you may have to select your Logitech webcam in the desired application's Video or Camera settings each time you stream or record.
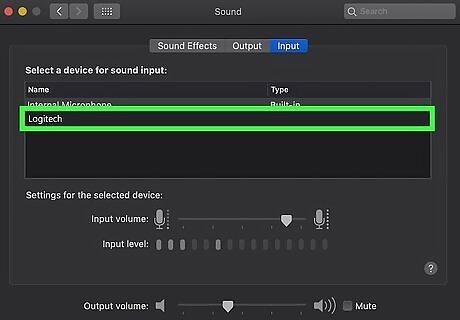
Set up your webcam's built-in microphone. Most Logitech webcams come with built-in microphones. To make sure your Mac knows to use your Logitech camera's microphone while recording or streaming, follow these steps: Click the Apple menu at the top-left corner of the screen and select System Preferences. Click the Sound icon (the speaker). Select your Logitech camera in the list.
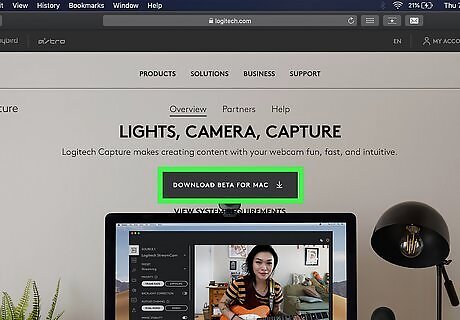
Install Logitech camera software (optional). Though software is not required to use your Logitech webcam in your favorite apps, Logitech offers various optional software to help improve your experience. Logitech Capture is handy if you want use Logitech's camera filters, place text over a web stream, apply transitions to video, and record from multiple webcams at once. You can download it from https://www.logitech.com/en-roeu/product/capture. Logi Tune contains enhancements specifically for video calls and conferencing, including headset integration and the ability to frame your face during meetings. You can download it from https://support.logi.com/hc/en-gb/articles/360025141734-Logi-Tune. Logitech G HUB offers customization options for all Logitech webcams and gaming products, including headsets and gaming mice. If you want to manage all of your Logitech gaming and video products in one app, you can download it from https://www.logitechg.com/en-us/innovation/g-hub.html.
Troubleshooting
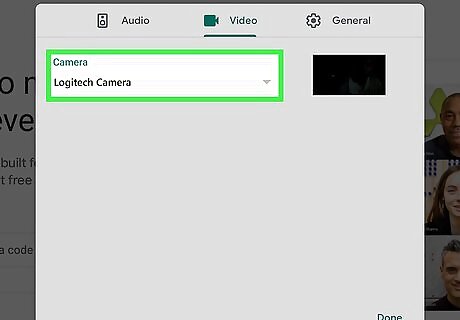
Make sure you've selected your Logitech Webcam in your streaming or recording app. If you're using an app or website to video chat with your Logitech cam (or trying to record) and you aren't seeing yourself on the camera, the software or website may be trying to use your built-in webcam. Look for a Settings or Video option in the app you're using and select your Logitech camera as your camera. For example, if you're using Zoom, click your profile photo, select Settings, click the Video tab, and then select your Logitech camera from the "Camera" menu. If you're using Google Meet, click the three dots, select the gear icon, and go to Video > Camera. Select your Logitech camera and click the X.
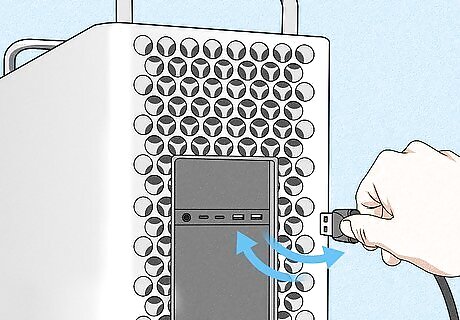
Try plugging the webcam into another open port if the webcam fails to work. If your webcam's built-in LED light doesn't illuminate when you're testing your camera in the Windows Camera app or FaceTime, you may have a faulty USB port. Try another port, and make sure you're not plugging the camera into a USB hub or a port on a monitor.
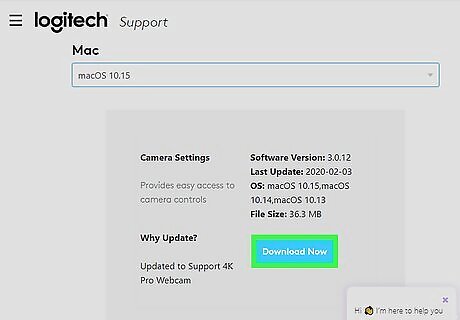
Install updated drivers and firmware from Logitech's website. If you're experiencing other issues with your webcam, Logitech may have issued a fix available for download. To check for updates: Go to https://support.logi.com/hc/en-us/categories/360001764493-Webcams-and-Camera-Systems in a browser. Click your webcam model. If you're not sure of the model, you'll find it on the tag near the USB connector. Click Downloads on the left side of the page. Select your operating system if prompted. Download any recent software available for the camera by clicking Download Now. Double-click the downloaded file and follow the on-screen instructions to install.




Comments
0 comment