views
Framing Your Picture
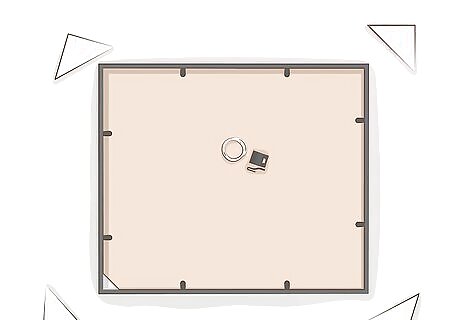
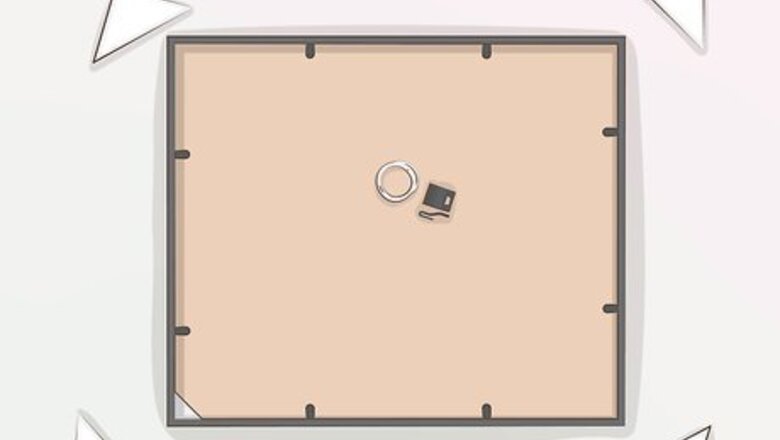
Unbox your frame and study the included components. After taking your new Ribba frame out of its packaging, take a moment to familiarize yourself with its various parts and accessories. In addition to the frame itself, you’ll find a small plastic bag containing the mounting hardware you'll use to hang the frame once you’ve put a picture inside. The mounting hardware for a Ribba frame includes 2 slide-on retention clips and a length of metal wire. IKEA’s Ribba frames are available in both square and rectangular shapes in a wide range of dimensions.
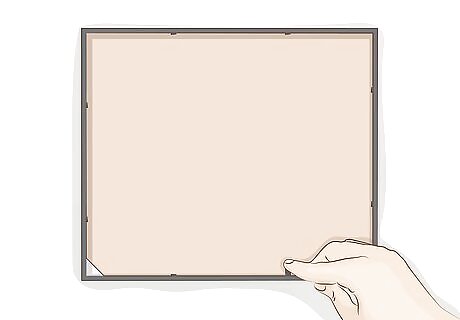
Bend up the tabs on the backside of the frame. Carefully turn the frame over on its face and identify the metal tabs securing the backing board. Lift up on the tabs until they rest against the inside edge of the frame. This will allow you to remove the backing board and mat and insert your picture. Each side of the frame will have 1-2 flexible metal tabs, depending on the size you selected. These tabs are responsible for holding the backing in place.
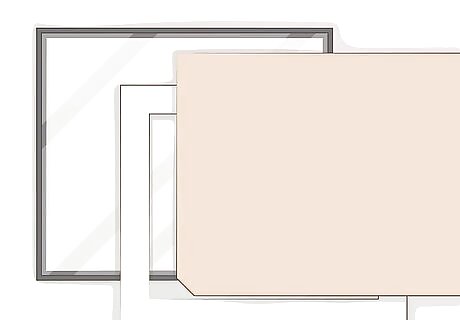
Remove the fiberboard backing and mat. Slip the backing out of the open frame, followed by the precut white mat. Set both pieces aside on a clean, dry surface. Leave the protective plastic pane in place. Be careful not to apply any pressure to the frame itself. Doing so could crack the plastic pane. Avoid bending or otherwise damaging the paper mat, as any defects may be visible in the finished picture.
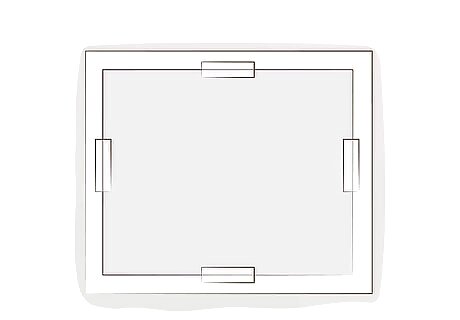
Arrange your picture inside the mat if desired. Set the mat on your work surface so that the front side is facing down. Place your photo or artwork inside the opening, peeking at the display side to make sure its framed the way you want it. When you’re satisfied with the position of your picture, use 4 strips of tape to attach it to the back of the mat. You may also decide not to use the mat if your picture is big enough to fill the entire frame by itself. The mats that come with Ribba frames are already measured and cut for optimum presentation, which saves you the trouble of having to modify them yourself.
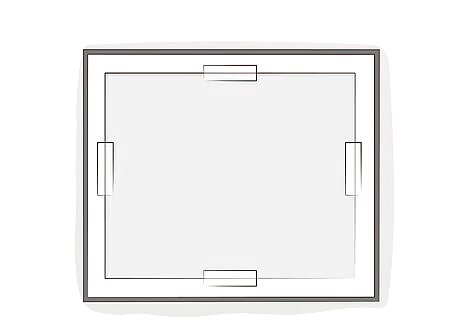
Return the matted picture to the frame. Insert the picture face-down into the frame. If you’re working with a rectangular frame, make sure the picture is oriented correctly for the way it’s matted. If you’re using a square frame, you won’t need to worry about how the picture is positioned. Watch the corners of the mat while you’re putting it back in. They could crease if they happen to get caught on the edge of the frame.Tip: Photos and artwork matted in a landscape style should sit horizontally inside rectangular frames, while portrait-style pieces will go in vertically.
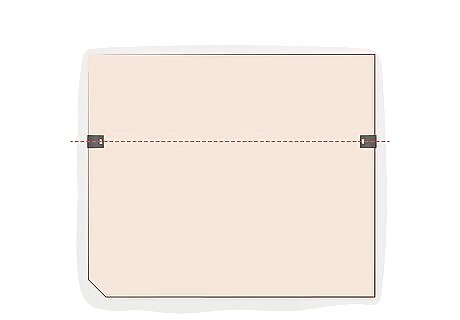
Slide the included mounting clips onto either side of the backing board. These are designed to slip over the outer edges of the backing. In order to ensure that your picture hangs nice and straight, it’s important to position the clips directly across from one another at or above the midline of the frame. A level can come handy for confirming that your mounting clips mirror one another perfectly.
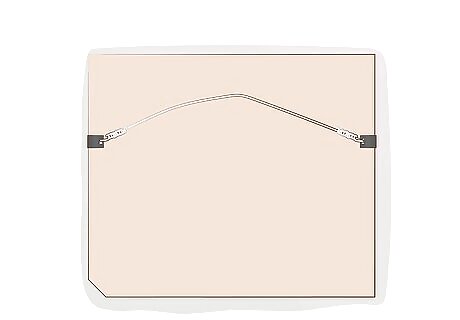
Twist the ends of the metal wire around the mounting clips. Unroll the wire and thread one end through the hole in the center of the the first clip. Pull the wire taut and wrap the loose end tightly around the remaining length. Repeat this process on the opposite side to prepare the frame for mounting. If you end up with excess wire after rigging up both sides of the frame, snip it off with a pair of wire cutters. You can also leave a little slack in the wire, if you prefer. This will cause it to “slouch,” making it hang lower but seat more securely on the nail.
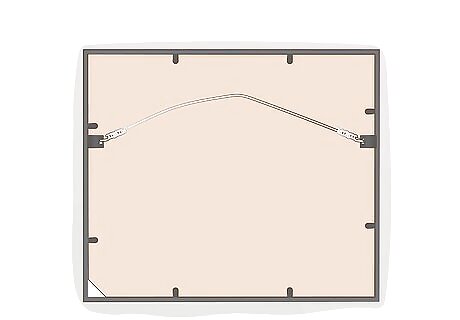
Reinstall the backing. Fit the backing board into the frame on top of the picture, then push down the metal tabs on the backside to hold the plastic pane, mat, picture, and backing together. Your picture is now framed and ready for its new home on your wall! Double-check that you’ve bent each tab back down completely before proceeding—the last thing you want is for the backing to come off accidentally after you’ve finished hanging your picture.
Mounting the Frame on the Wall
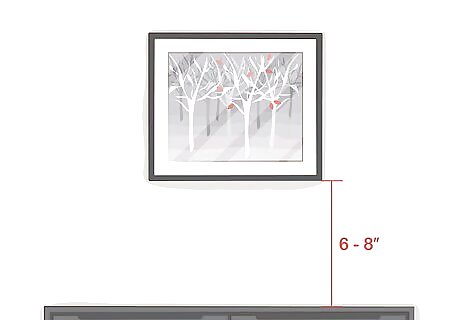
Decide where you want your picture to go. Pick a spot on the wall where your picture will be plainly visible in its new frame. Hold the frame up in different places to get a sense of how it will look, keeping in mind that it will likely hang slightly lower once it’s resting on a nail. For the best presentation, make sure there’s at least as much wall space on all sides of the picture as the width of the frame. If you're putting your picture over a couch, table, or other piece of furniture, make sure it's hanging at least 6–8 inches (15–20 cm) above the top of the item.
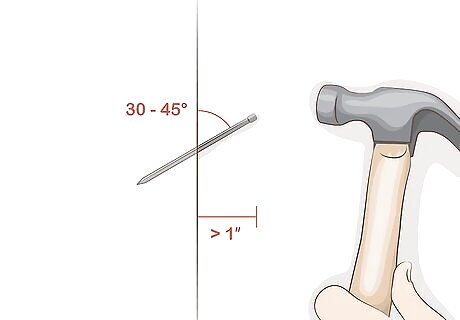
Drive a 2 in (5.1 cm) finishing nail into the wall at the desired height. Tap the nail in gently at a downward angle of 30-45 degrees. The back of a Ribba frame is roughly 1 inch (2.5 cm) deep, so be sure to leave more than 1 inch (2.5 cm) of the nail exposed to simplify the mounting process as much as possible. Fold a sticky note up from the bottom and press it to the wall directly underneath where you’ll be nailing to catch loose dust and debris. An angled nail will be able to support much more weight than one driven straight into the wall.Tip: Experts recommended displaying single pieces about 60 inches (150 cm) from the floor on center to put them right at eye level.
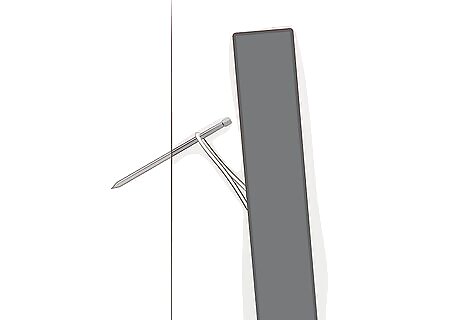
Hang the picture using the wire on the backside. Slip the central section of the wire over the nail head. Step back and eyeball the picture to ensure that it’s straight and level. You can then make whatever adjustments you think are necessary to get it right where you want it. If your picture looks like it’s hanging too low on one side, just nudge the picture over to that side on the wire to bring it up. Don’t let go of the picture until you’re certain that it’s secure on the nail.
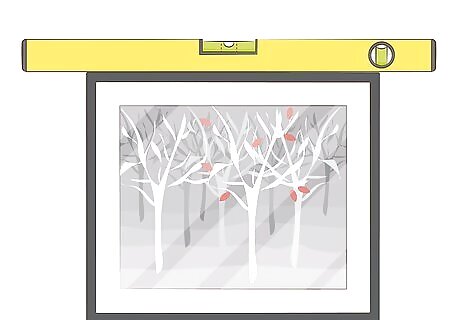
Use a level to confirm that your picture is nice and straight. Set the level down gently along the top of the frame. If you're using a conventional level, the bubble should be centered between the two lines of the viewing chamber. If you're working with a laser level, hold the tool on the wall adjacent to the picture at a 180-degree angle and adjust the top of the frame until it's in line with the light beam. Be careful not to accidentally knock the frame out of alignment while you're setting up your level.
Hanging Multiple Frames
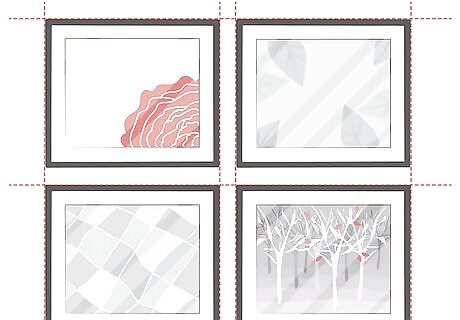
Arrange your frames into neat rows. Mount your pictures down the length of the wall, making sure the top edges of the frames are aligned. For an off-kilter look that's still symmetrically pleasing, you can also trying centering smaller frames with the vertical edges of larger ones. When working with frames of various sizes, position your largest pieces towards the bottom lefthand side of the display area to create a more natural visual balance. If you plan on hanging other pieces above or below your row of pictures, take some time to consider the best way to group them all together visually. For instance, grids are very popular at the moment.
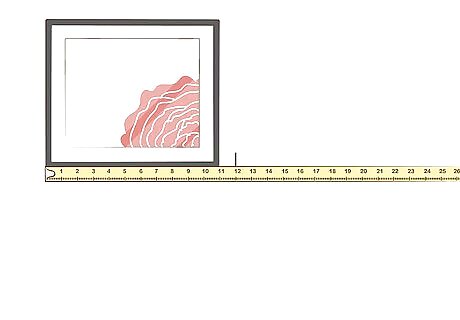
Space your frames with the aid of a tape measure. After hanging your first piece, decide how much space you want to leave between it and your next frame. Extend your tape measure along the wall from the outer edge of the frame that's already in place. Use a pencil or strip of tape to mark the distance and make it clear where you next frame will go. Taking the time to check the placement of your frames with a tape measure can help you ensure that your pictures are evenly spaced the first time, preventing you from having to make annoying micro-adjustments or take them down and start over.

Mount multiple frames quickly using a paint stirrer and screw. Force a screw (any size will do) through the end of a wooden paint stirrer and hang the picture on the screw temporarily while you’re deciding where to put it. Move the paint stirrer around until you’re satisfied with the picture’s position, then tap the screw to make a tiny mark on the wall. This mark will indicate where you’ll drive the nail. Hanging pictures from the screw before choosing a spot for them will account for inconsistencies in wire length, making it possible to line up rows of same-sized frames quickly and with minimal error.Tip: Attempting to maneuver the picture and paint stirrer at the same time may be tricky. Have another person lend you a hand if possible.
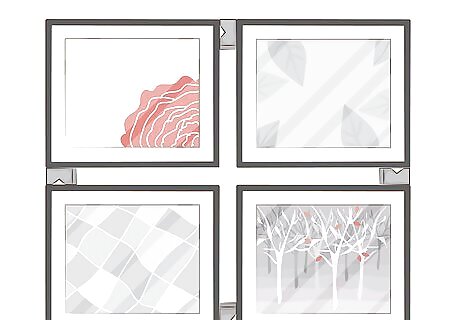
Use your frame’s cardboard corner protectors as makeshift spacers. The corner pieces that Ribba frames are packaged with can double as an easy spacing aid for gallery walls. Once you’re done hanging your first picture, turn a corner protector sideways so that it’s the same width as the frame’s face, hold it up to the outside edge of the frame, and mark the far end with a pencil. With this simple yet clever method, you’ll end up with just the right amount of space between all of the pictures with no need to measure each gap individually.



Comments
0 comment