views
Drives Larger Than 32 GB
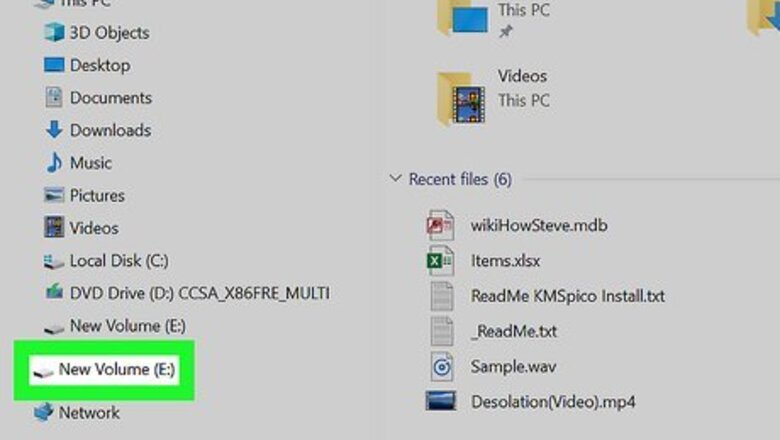
Connect your external hard drive to your PC. If you haven't already done so, use a USB cable to connect your external hard drive to an available USB port on your PC. If the drive is larger than 2 TB, you can't format it as FAT32. If your goal is to make the drive compatible with as many operating systems as possible, use the exFAT file system instead. If you're using a laptop, make sure it's plugged into a reliable power source. Formatting the drive can take about an hour, depending on the drive's size and speed.
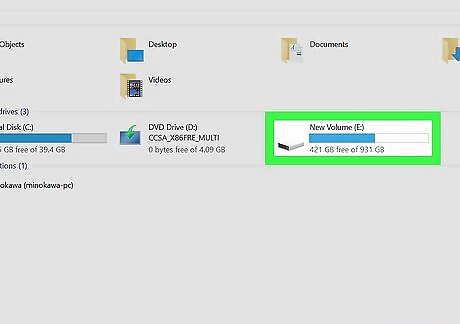
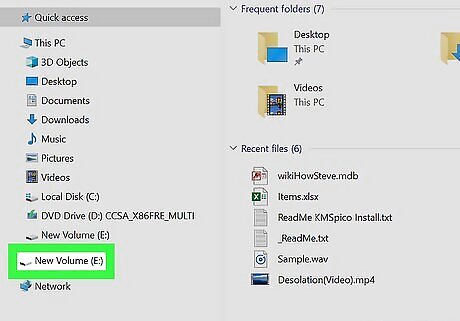
Find the drive letter of the external hard drive. To format the drive, you'll need to know which letter represents it on your PC. Here's how: Press Windows key + E to open File Explorer. Double-click This PC in the left panel. Now look at the right panel under "Devices and drives." Each connected drive has a letter, such as C: or D:. Make note of the one assigned to your external hard drive.
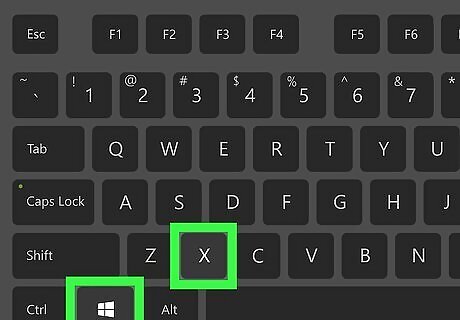
Press ⊞ Win+X. This opens the Windows Power User menu.
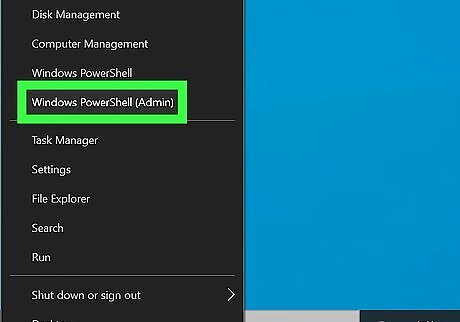
Click Command Prompt (Admin). This opens an administrator-level command prompt. If you see PowerShell (Admin) instead, click that. The commands will be the same whether you're using Command Prompt or PowerShell.
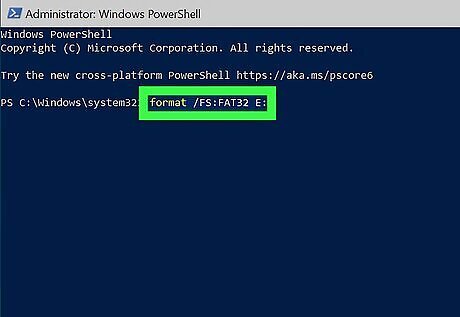
Type the format command at the prompt. You'll need to replace the "X" with the correct letter of your external hard drive. Here's the command: format /FS:FAT32 X: For example, if your external hard drive is E:, you'd type format /FS:FAT32 E:
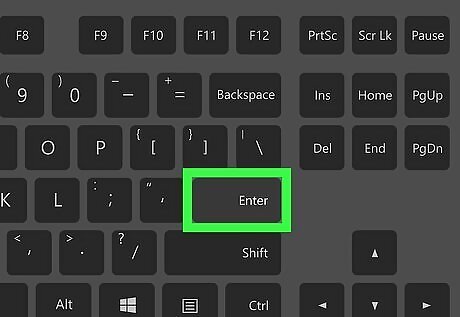
Press ↵ Enter to run the command. You'll see a message that says all of the data on the drive will be lost. This is required for formatting the drive.
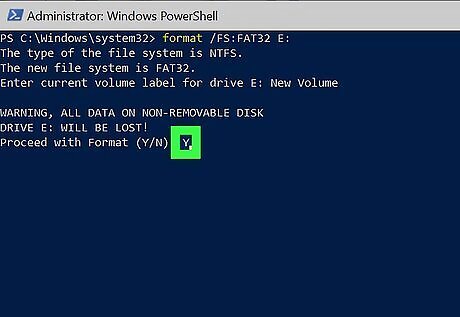
Press the Y key and then press ↵ Enter. Windows will now format the drive as FAT32.
Drives Smaller Than 32 GB
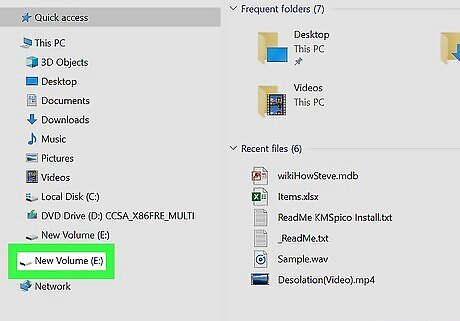
Connect your external hard drive to your PC. If you haven't already done so, use a USB cable to connect your external hard drive to an available USB port on your PC. This method should work as long as your external hard drive is smaller than 32 GB.
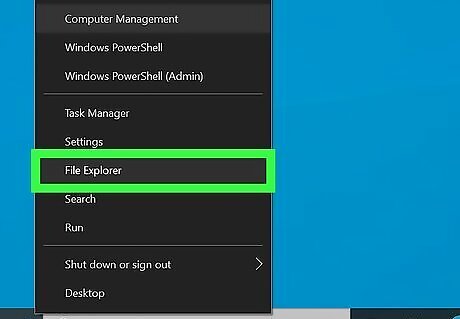
Right-click the Windows menu and select File Explorer. You can also open File Explorer by pressing Windows key + E.
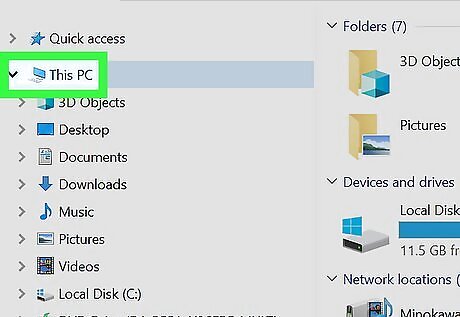
Double-click This PC. It's in the left panel.
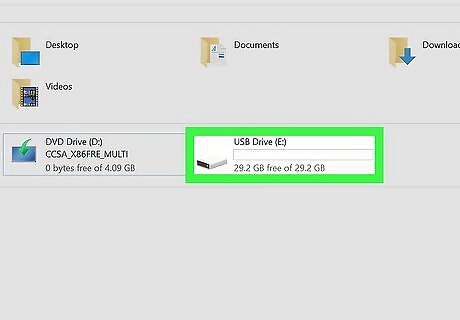
Right-click the external hard drive. It'll be in the right panel. A menu will expand.
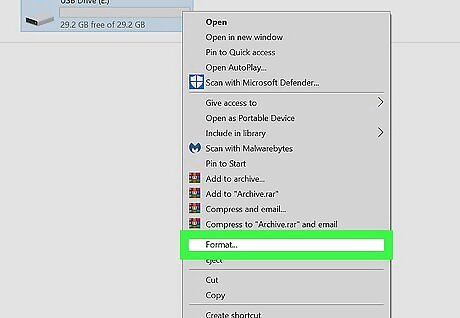
Click Format on the menu. This opens the "Format" dialog, which is a small window containing some formatting tools.
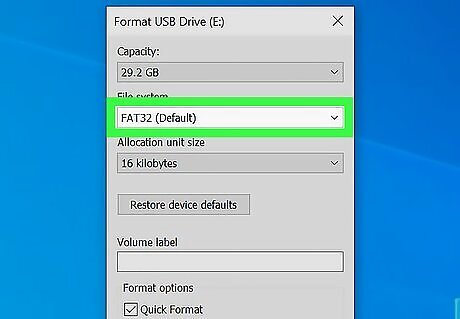
Select FAT32 from the "File system" menu. This option will only appear if the drive is smaller than 32 GB. If you don't see this option and the drive is smaller than 32 GB, try the Drives Larger Than 32 GB method instead.
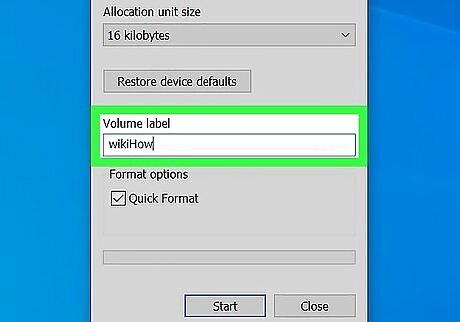
Enter a name for the drive in "Volume label." You can keep the default name or change it if you'd like. This is just how the drive shows up when connected to the computer.
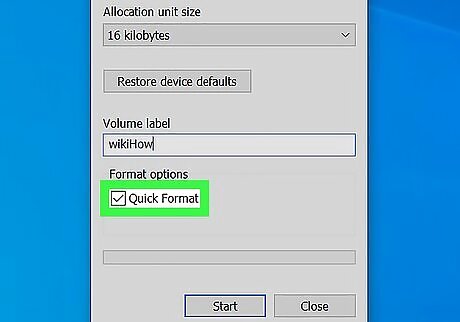
Check the box next to "Quick format." This drastically speeds up the formatting process. The only reason you might want to avoid using quick scan is if you're getting rid of the external hard drive and worried that someone with amazing tech skills will be able to access your deleted data. Since you're formatting as FAT32, it's safe to assume you have a reason to still use the drive!
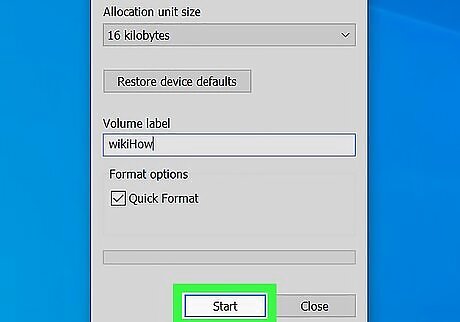
Click Start to start formatting. When the formatting is complete, you'll see a message that tells you so.
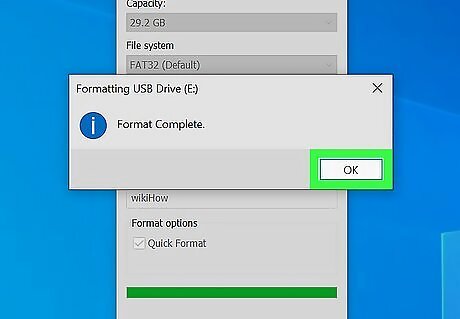
Click OK to close the window. Your external hard drive is now formatted in the FAT32 format.







Comments
0 comment