views
Removing the Old Ballast
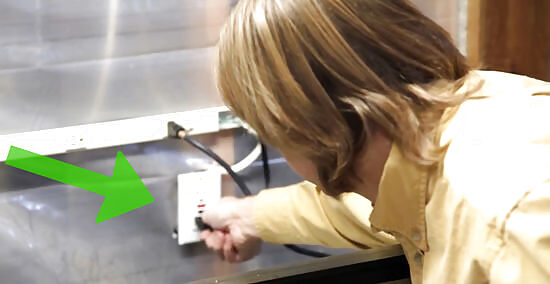
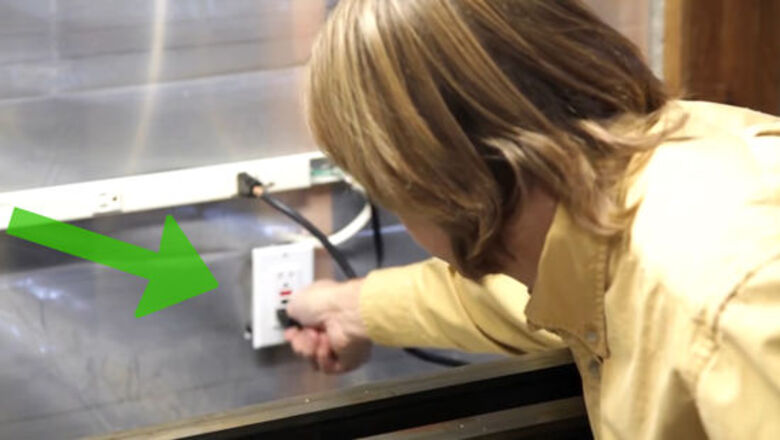
Unplug the unit or flip the breaker off if it is directly plugged into the wall. If the light is permanently connected to power, shut off the breaker. Do not disassemble the unit without disconnecting power.
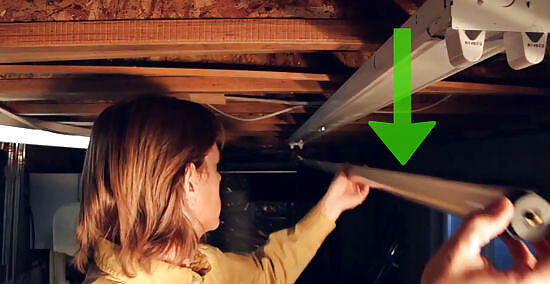
Remove fluorescent tubes and set safely aside. Make sure you don't break them! You can put them off to the side.
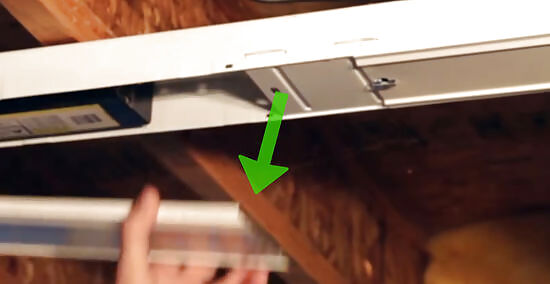
Remove the cover plate that was hiding above the bulbs. The plate is usually screwed or clipped in, and easily removed. Make sure you save any screws or clips in a little pile for re-assembly.
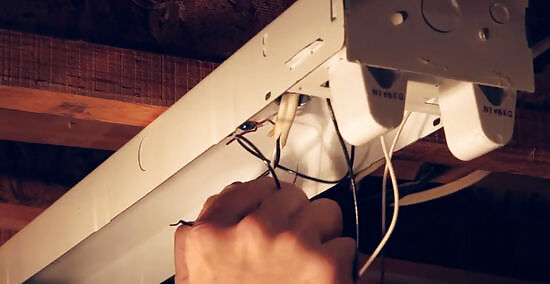
Unhook all wires attached to the ballast. The ballast is the heavy metal block with several wires coming out of it. Disconnect the wires from power connection and from the contacts at the ends of the unit. Some units you cannot unwire, so you'll have to cut the wires and use wire nuts for re-assembly. If the wires don't come off, snip them. If you have to snip wires, take a few pictures first so you can be assured you'll re-attach everything correctly. Caution: If the power has been on the light, the ballast will likely be very hot.
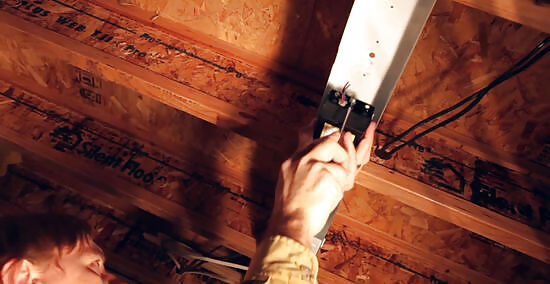
Remove the ballast. It is usually screwed into the light fixture on the sides. As always, make sure you save all screws for later. Some ballasts fit into metal grooves, also called tabs, to take some of the weight off the screws. Note how your particular ballast is installed before removing to make replacement easier.
Installing a New Ballast
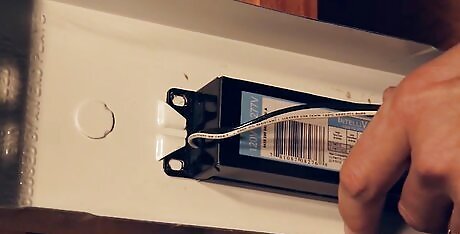
Buy a new electronic ballast suitable for the wattage of your lamp, using the one you removed as a guide. Almost all ballasts sold today are electronic, and they can range from $12-$200 USD, depending on your light. Use the old ballast to determine the exact wattage of your new one. Ballasts can be found at most major hardware stores. When buying, you'll need to know your light’s wattage, the number of bulbs it has, and the wiring system on the old ballast. Make sure your light fixture isn’t using LED bulbs since they do not use ballasts. Check that the bulbs you’re using are compatible with the ballasts you buy. Magnetic ballasts are not sold anymore, so you may need to change the type of bulb.
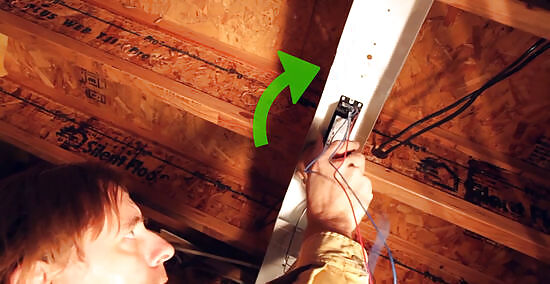
Screw the new ballast into the unit. Before you get into the wiring, securely mount the ballast to the fixture.
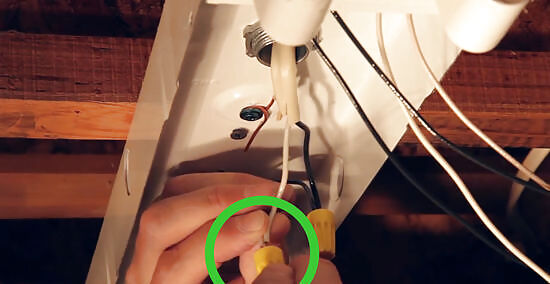
Re-connect the wires by following the manual with your particular ballast. Be sure you've connected the color-coded wires to the proper terminals and to the power connection. Check it again. You really want to get this right the first time. If the wires clip right in, then this should be easy. For older models, you may have to do some basic wiring. To do so: Cut wires to appropriate length Strip ⁄2 inch (1.3 cm) of sheathing from the wires. Group the matching wires from ballast to light according to your ballast's manual Feed both ends of matching wire (one from the ballast, one from the light) into the wire nut. Twist the nut clockwise to combine the wires, making sure the nut is very tight. Give the nut a slight tug to make sure everything is secure.
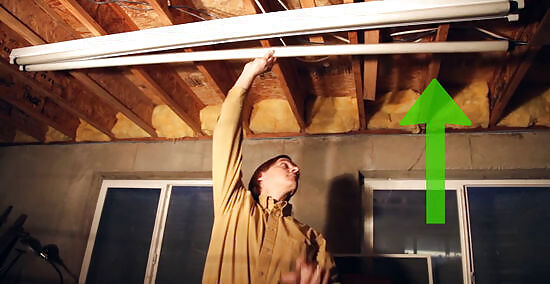
Replace the cover and tubes, then flip the light on to check. Fluorescent lights really only have two parts -- the tube and the ballast. This means a new ballast is really the only repair you'll need to make to fix a humming bulb. If you have flickering or continued issues, check the sockets or wire connections. A bad or loose connection may be the culprit. If you have electronic ballasts, check the ground wire. Finally, try replacing the light. They are cheap and easy to swap out.


Comments
0 comment