views
Measuring for Recessed Roller Blinds
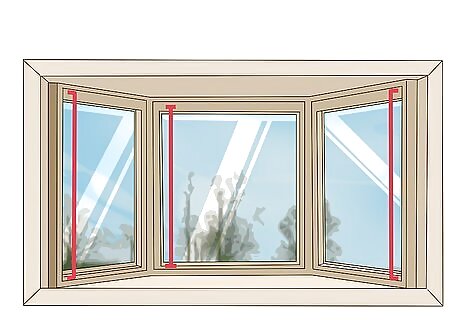
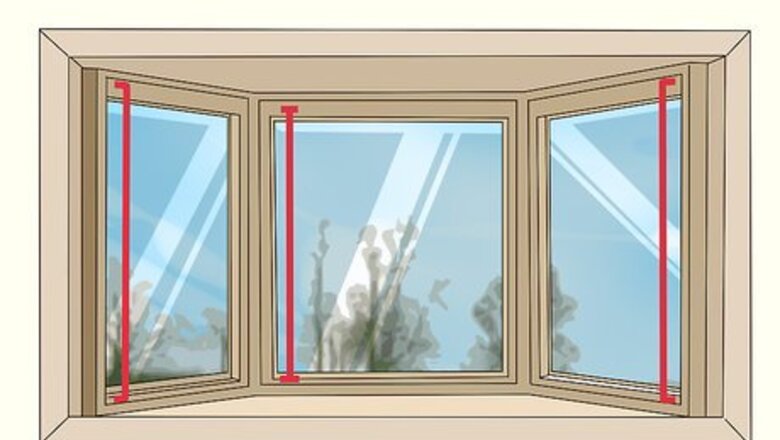
Measure the depths of your window frames on all sides. If the windows in your bay have deep insets all the way around — for instance, if you have three picture windows — you may want your blinds to be recessed into the frames. However, roller blinds require fairly substantial brackets. Before considering recessed blinds, measure the depths from the front face of the window frame to the horizontal rails and vertical stiles — the thin strips of trim that hold the window glass in place. Take several measurements for each window in your bay, and use the smallest measurement as your point of reference. These measurements are only a few inches/centimeters, so either a ruler or tape measure will work. You may need a ladder for taller bays, though.
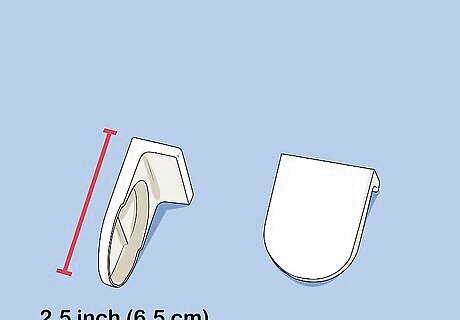
Compare your measurements to the depths of available brackets. If your windows have a minimum 2.5 inch (roughly 6.5 cm) inset, for instance, compare the bracket depths for various roller blind manufacturers and models. If you can find a model you like that is no larger than 2.5 inches, you can consider using recessed roller blinds. You should be able to find this information on the packaging for the blinds, or when ordering online. Ask a sales associate or contact the manufacturer if necessary.
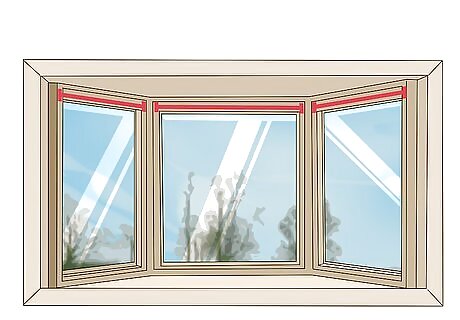
Measure the width of each window you'll be adding blinds to. Measure from the inset on the left side to the inset on the right side near the top of each window, where the bracket will be installed. Also measure near the middle and bottom of each window, in case your window frame is not perfectly square. Use the smallest width measurement you get for each window, then subtract ⅜ of an inch (1 cm) to be on the safe side. Use these measurements when ordering custom roller blinds, or if you're looking for the closest fit amongst in-stock blinds. Recessed blinds are a good choice for either box (right-angle) or angled bay windows. They're easy to measure for and install, they are unobtrusive, and they don't conceal the window frames (if you'd like to showcase them).
Measuring for Face-Fix Blinds in a Box Bay
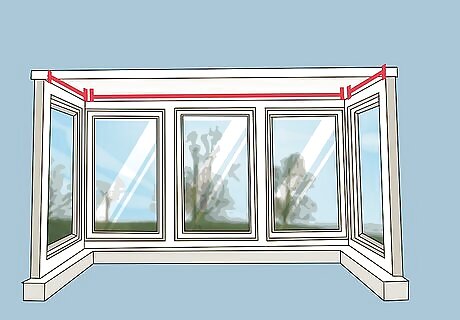
Measure the width of the back window from corner to corner. A box bay window has two side panels that meet at 90 degree corners with the back panel. Stretch your tape measure across the back window panel from corner to corner at the panel's top, middle, and bottom, making sure to keep the tape level. Record the smallest measurement you get and subtract ⅜ of an inch (1 cm) for some extra “wiggle room.” “Face-fix” simply means that the blind brackets will be attached on the front face of the window frame, and will normally conceal both the frame and the glass.
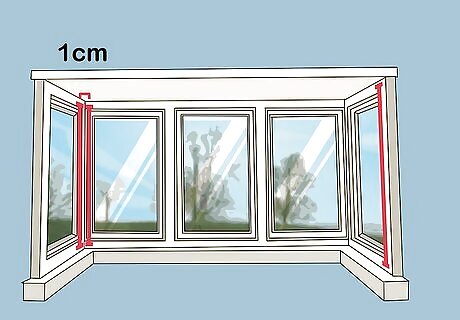
Measure both side panels from their corners to the edges of their frames. As with the back panel, take 3 horizontal measurements for each of the side window panels. Use the smallest measurement for each panel as your guide. Then, subtract ⅜ of an inch (1 cm) for your “wiggle room.”
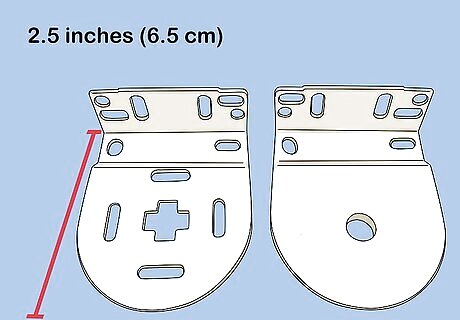
Confirm the depth of the roller blind brackets you'll be using. Before you buy or order blinds, contact the manufacturer or refer to the packaging to get the precise dimensions of the brackets. You need to know the depth in particular in order to get the proper width measurements for all of your blinds. For example, your brackets might be 2.5 inches (about 6.5 cm) deep.
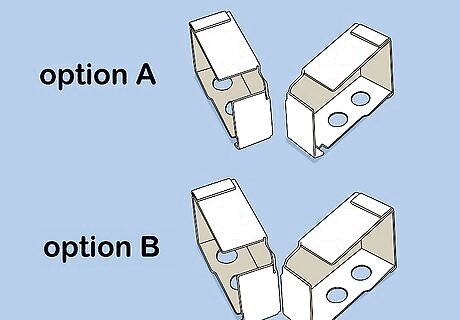
Choose which measurement(s) you want to subtract your bracket depth from. Your back blind can span from corner to corner (call this Option A), in which case you need to subtract the bracket depth (e.g., 2.5 inches) from both of the side panel measurements. Or, the side blinds can span from corner to frame edge (Option B), in which case you need to subtract the bracket depth twice (e.g., 5 inches) from the back panel measurement. When pulled down, either the side blinds will slightly overlap the back blind at the corners (Option A), or the back blind will overlap the side blinds a bit (Option B). To avoid any overlap, you can subtract 5 inches (for example) from the back panel and 2.5 inches from each of the side panels. But your measurements and installation will need to be extra precise to limit gaps in blind coverage.
Measuring for Face-Fix Blinds in an Angled Bay
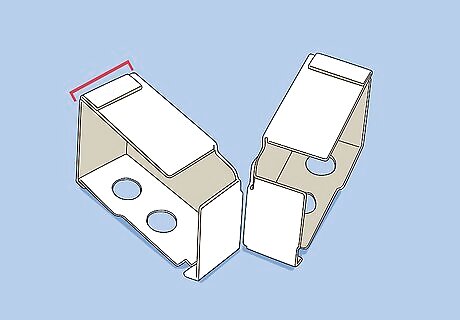
Determine the depth of the blind brackets you'll use. Before you even begin measuring an angled bay for face-fix blinds, you need to know what kind of brackets you'll be using. Contact manufacturers or check packaging to get the proper depth measurement (e.g., 2.5 inches or 6.5 cm) for the roller blind type you decide on.
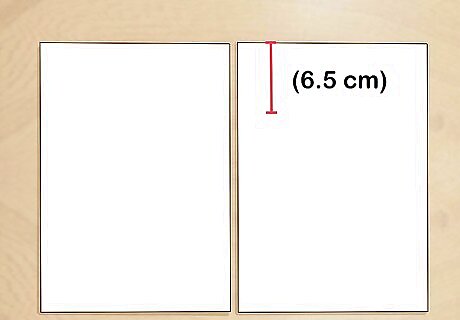
Transfer the bracket depth to two sheets of paper. Grab two sheets of copier paper and place them side-by-side. Using the depth measurement for your brackets, measure that same amount (e.g., 6.5 cm) down from the top right corner of the left sheet (call this “Sheet A”) and the top left corner of the right sheet (“Sheet B”). Mark each spot with a pencil or pen.
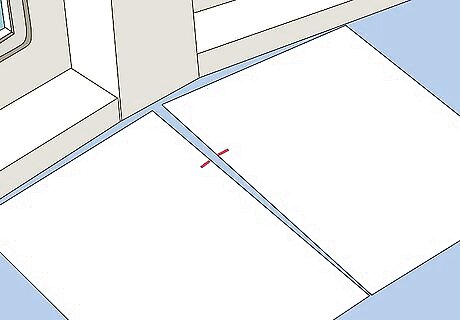
Lay the papers on the bay ledge, up against adjoining window frames. If your bay has three sides, for instance, slide the top of “Sheet A” against the left side window frame and the top of “Sheet B” against the back window frame. Keeping each sheet's top side up against its window's frame, slide them both toward the intersecting corner until the two markings on the paper meet. Then, mark this intersecting point on the ledge itself. Bay windows usually have large bottom ledges, but you can cut down the paper's size or use scraps of cardboard instead if you have a small ledge.
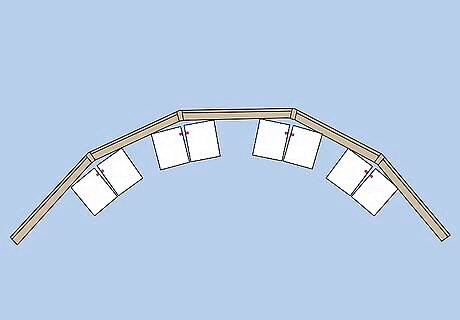
Slide the two papers together at all other window corners in your bay. If your angled bay has 3 sides, you'll repeat this process for the back window and the right side window. If it has 5 sides, you'll repeat it 3 more times for the remaining corners. Keep marking each intersecting point on the bay's ledge as well.
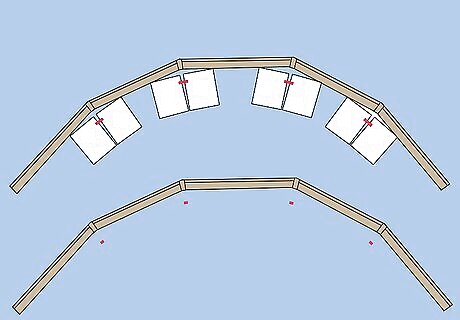
Mark the locations for the outermost brackets on the ledge. On both the far left and far right sides of the bay, decide where on the window frames you want the outer edges of the two outermost window brackets to rest. Use “Paper A” and “Paper B” or a tape measure to account for the bracket depth, and mark the corresponding locations on the ledge.
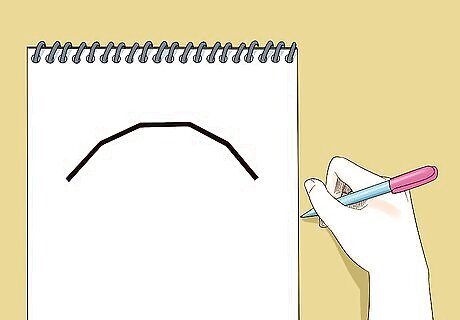
Sketch out a diagram and label your markings. Create a basic diagram of the bay from an overhead perspective. On the diagram, label each of the points you just made on the bay ledge. For a 3-sided bay, the far left point could be “a,” the left-center corner “b,” the right-center corner “c,” and the far right point “d.” A 3-sided bay sketch will look like this: / ̄\
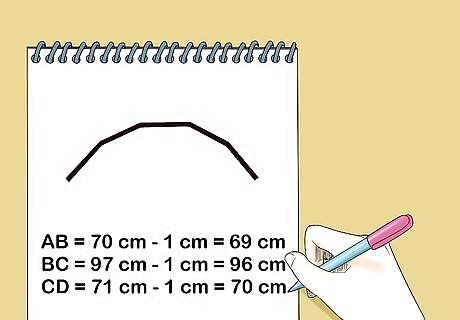
Measure between the markings on the ledge and record your findings. Based on the 3-sided window from above, you'd measure between “a” and “b,” “b” and “c,” and “c” and “d.” These measurements will be the widths of the roller blinds you'll order — but first subtract 1 cm (or ⅜ of an inch) from each to be on the safe side. For instance: “ab” = 70 cm - 1 cm = 69 cm. This is the width for the left-side roller blind. “bc” = 97 cm - 1 cm = 96 cm. This is the width for the center roller blind. “cd” = 71 cm - 1 cm = 70 cm. This is the width for the right-side roller blind.
Buying and Installing Your Roller Blinds
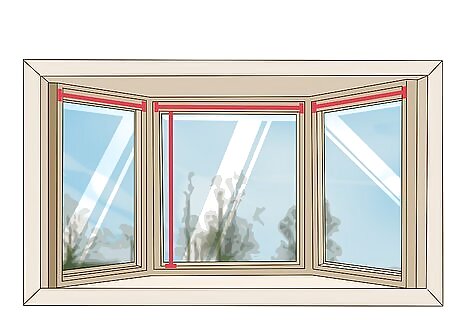
Measure for length before ordering or buying blinds. After you've done all the work to establish the correct blind widths, don't forget about measuring your windows from top to bottom as well! Measure each window from top to bottom at the center, left side, and right side, and use the longest measurement as your guide. If necessary, order blinds that are slightly longer than this in length — for instance, if your measurement is 67 cm and your can only order either 65 cm or 70 cm, go with 70 cm.
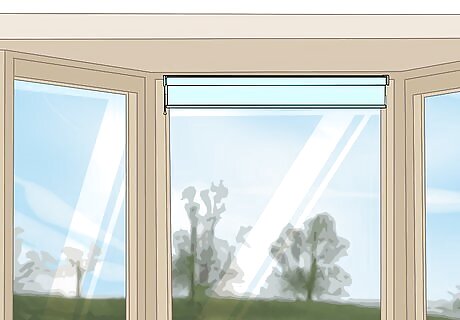
Test-fit the blinds before installing them. Before attaching the brackets to the window frame, clip them onto the ends of the roller blind and hold it up in position over the window. Make sure it fits according to the existing spacing and/or the markings you made while measuring or cut blinds to fit properly.
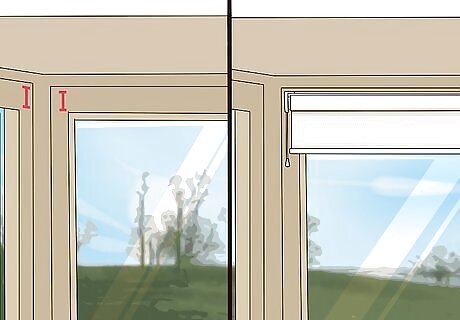
Mark, level, pre-drill, and attach the brackets, then add the blinds. Installing roller blinds will vary based on the specific design and manufacturer, so follow the instructions that come with your blinds. However, there are some universal recommendations to follow: Hold each bracket in position and mark the screw holes on the window frame. Use a bar/spirit level (and a string if necessary) to make sure your bracket markings are level before drilling. Pre-drill holes for your screws, and use anchors if you aren't drilling into a solid, sturdy surface. After you screw the brackets into place and slide the blinds onto the brackets, tug on them to make sure they are securely attached.


Comments
0 comment