views
Hanging String Lights from Posts
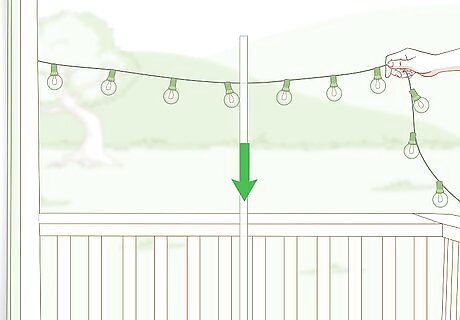
Hold the lights above the deck and mark where you need support posts. The first thing you should do before hanging your lights is to lay them out along your deck where you want them to hang. Hold them up so you can see where they will need supports. Use a pencil or piece of painter’s tape to mark where you will need to attach support posts. You will need to install supports roughly 8–10 feet (2.4–3.0 m) apart to hold up your string lights. Have another person help you hold the lights up above your deck. Be sure to leave a little slack in your string lights so they have a little give when you hang them. Make sure the plug is near a power outlet.
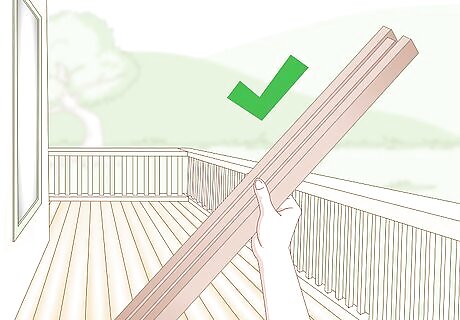
Use furring strips or thin wooden posts to hang your string lights. Furring strips are thin 1 inch (2.5 cm) by 2 inches (5.1 cm) posts that work great to hang light things like string lights. But you can use any type of wooden post that you want. Just use posts that are strong enough to withstand wind and rain. And make sure you have enough posts to support your lights! You can find furring posts and other wooden posts at your local hardware or home improvement store.
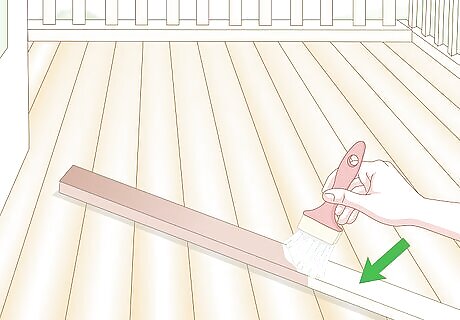
Paint or stain your posts to match your deck. Since you’ll be attaching the posts to your deck, you’ll want them to either match or complement the color of your deck. Whether you want the posts to blend in or accent your deck, painting or staining also strengthens the posts and will make them last longer. Be sure to allow your posts to fully dry before you use them. Be sure to use paint or stain that is rated for outdoor use! If your posts are already stained or painted but you want to change it, you can remove the paint and then restain or repaint them!
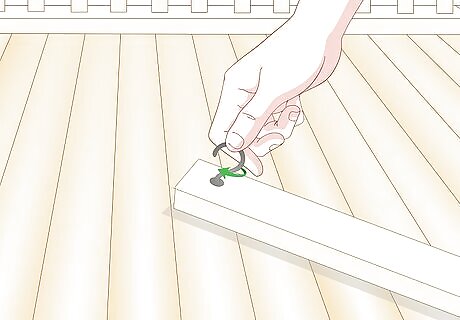
Attach cup hooks to the ends of your posts. Cup hooks are small, curved hooks with a screw on one end that can be used to hang your lights from your posts. It’s easier to attach them to your posts before you install them on your deck. Screw a cup hook onto the end that the lights will hang from. You can use a power drill to make a hole or manually screw the hook into the post. Make sure the hook is all the way in and secure in the post. Choose cup hooks that also complement your deck. There are gold, silver, and other color options to choose from. You can find them at your local hardware store.
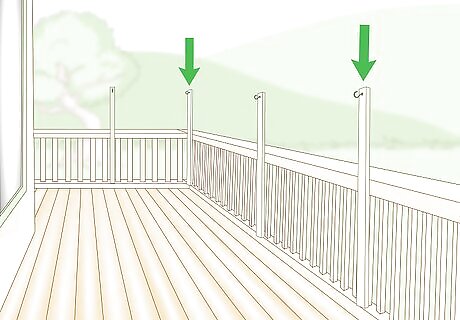
Install the posts onto your deck where you marked. You can either screw or nail the posts into place, just as long as they are securely attached. Measure the height of your posts so that they are mounted at the same level to hang your string lights evenly. You can either mount them on the inside of your deck or the outside, whichever you prefer. If you’re using furring strips, be sure to attach them gently. They can be fragile enough to crack under the strain of a hammer or drill.
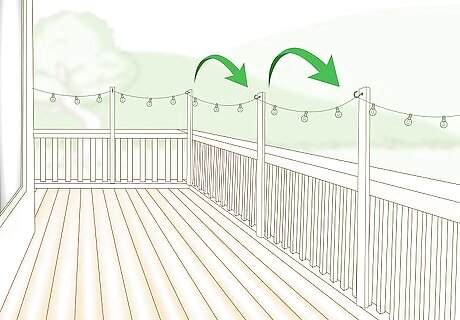
Hang your lights on the hooks mounted to the posts. With your supports mounted, it’s time to hang your lights! Keep the plug near the outlet and string the lights from post to post. Let them hang a little loosely so they can give a little under the strain of the outdoor elements. Once they’re attached, plug them in to enjoy them whenever you like. Keep the lights unplugged while you attach them.
Using Heavy Planters to Hang String Lights
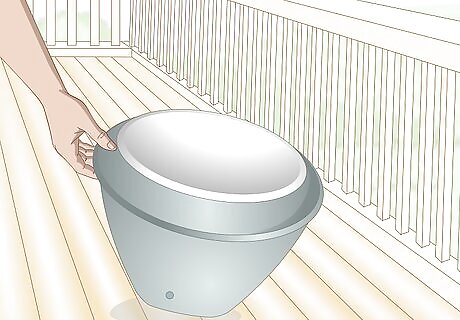
Get heavy planters that complement your deck. Planters can be ornate and come in a variety of colors and designs, so you want to choose ones that suit your deck. You also want the same planters for a uniform look. Planters can be made out of many different materials as well, so choose materials that you like and are durable enough to last. You can find heavy planters at home improvement stores like Home Depot or Lowe’s. You can also repaint your planters to match your deck.
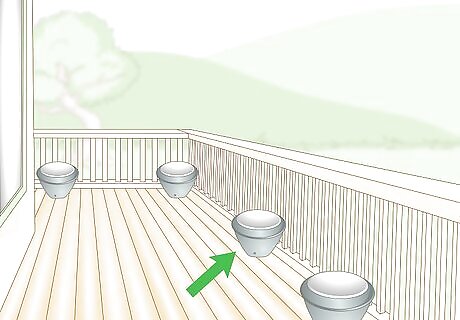
Arrange the heavy planters around the perimeter of your deck. Before you fill your planters, you need to arrange them where you will need support posts to hang your lights. Hold your lights up around your deck to see where they will need supports, and place a planter there. Install your planters on the outside of your deck so the poles are not in the way. You can place your planters at the corners of your deck or space them out every 10 feet (3.0 m) or so. Planters are both heavy and can be chipped, so try not to move them too much so you don’t risk damaging them.
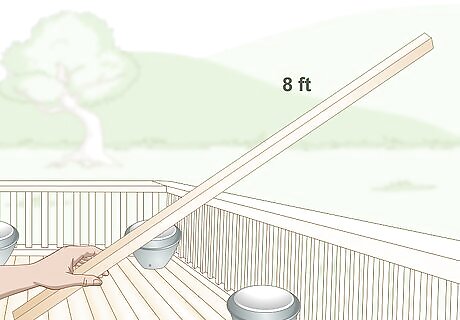
Use wooden posts 8 feet (2.4 m) or taller to install in your planters. Because you’re installing support posts that start lower, in the planters, they need to be tall enough to reach above your deck so your lights can hang. You can use furring strips or any other wooden posts as supports. Just be sure your posts are strong enough to support your lights and withstand the movement caused by wind. You can also paint or stain your posts.
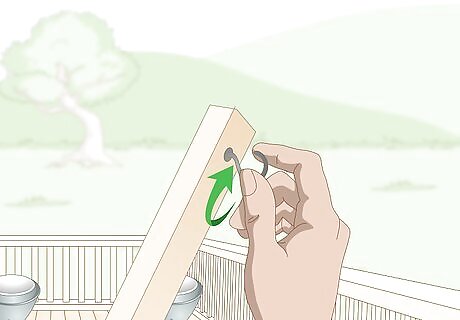
Attach cup hooks to the posts before putting them in the planters. Since the posts have to be taller to reach above your deck, you need to attach your cup hooks before you put them into the planters. You also don’t want to disturb the posts too much once they’re in the planters. Screw in a cup hook to the end you plan to hang your lights from. Make sure the hooks are securely attached.
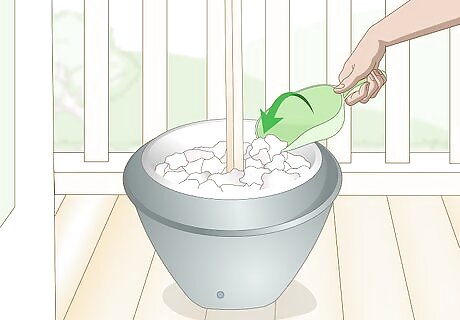
Insert the posts in the planters and fill with heavy materials. After you’ve attached your cup hooks to your posts, put them into the planter and fill the planter with heavy materials like concrete or gravel. If you plan to keep plants in the planters, you can put gravel in the bottom of the planter and fill the rest with dirt before adding any plants. For a strong hold, fill the bottom of the planter with wet cement, insert the post in the center, and allow the cement to fully dry.
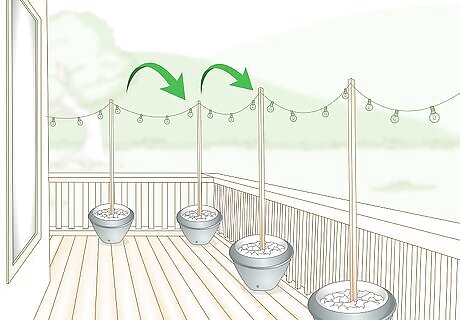
String your lights from one post to another. With your posts in the planters and the planters in place, start connecting your string lights, keeping the plug near an electrical outlet. Work your way from one post to the next, making sure the lights are securely connected to one post before moving to another. Leave a little bit of slack in the string lights so they can sway with the wind. If you’re not using wooden posts or cup hooks, you can use zip ties to attach the lights to the supports.
Attaching String Lights Directly Onto the Deck
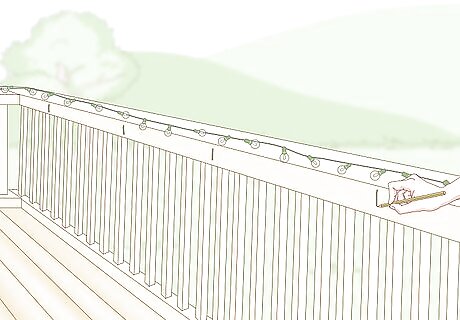
Hold the lights along the deck and mark where you want to attach them. If you plan to attach your lights directly onto your deck, the first thing you should do is run the lights along the length of your deck, keeping the plug near an outlet. Find where the lights will need to be attached to the deck to be supported. Mark with a pencil or a piece of painter’s tape where you will need to add cup hooks. For a more “relaxed” hang in your lights, mark every 8–10 feet (2.4–3.0 m) so the lights can hang a little bit. If you want the lights to stay snug against the deck, you can mark every 3-5 feet. You may not want much slack in your lights when attaching them directly to your deck.
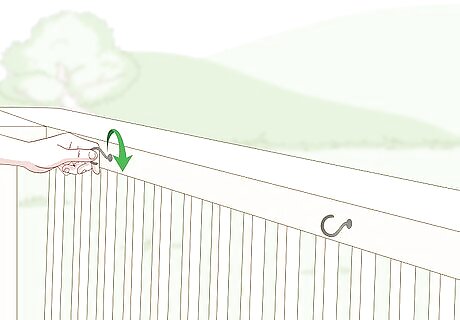
Install cup hooks where you marked. Take your cup hooks and screw them into the places you marked. Make sure that they are screwed all the way in. Make sure the hooks are pointed up so the string lights won’t fall out of them. Use cup hooks with colors that either blend in with or complement your deck!
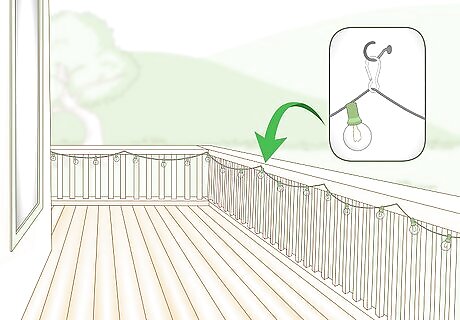
Attach the lights on the hooks using mini carabiners. After you’ve installed your cup hooks, connect your lights to them and secure them with mini carabiners for additional support. Thread the carabiner through the eye of the screw and cord of the light. Carabiners are easy to remove as well, so if you need to take down the lights, simply remove the carabiners and uninstall your string lights. Make sure the lights are not plugged in while you attach them!





Comments
0 comment