
Know that not all plating is created equally. Depending on the manufacturer, the stripping process can take a few minutes or a few hours, which is generally no sweat since you will be building that 426 Hemi while waiting for the valve covers to de-chrome
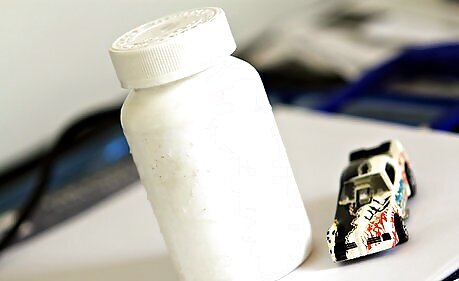
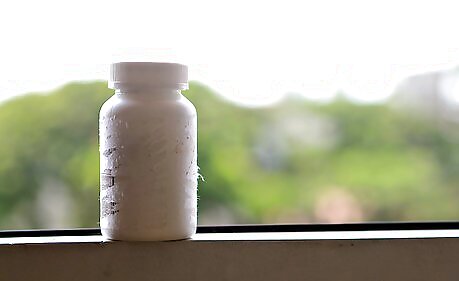
Get an airtight container, such as a prescription bottle.
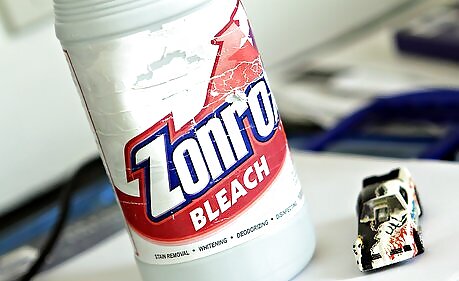
Get the chemical for stripping the chrome. Easy-Off oven cleaner can work, but it does have a weird smell, so many prefer chlorine bleach, found in the laundry aisle of your local retailer. Get the cheap stuff, it has no added fragrances and seems to work better for this purpose. Castrol Super-Clean works as well, and it is preferred by most modelers.
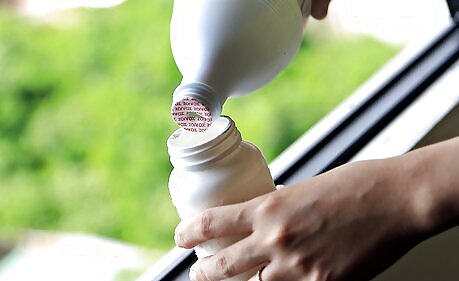
Pour enough bleach into the container to cover the parts. Usually about an inch or so will do the trick.
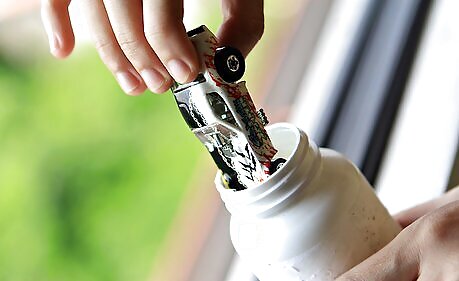
Drop the parts into the bleach and place the lid on securely. Here's where the airtight part comes in. Since most plastic parts float in bleach, shake the container a little to insure the parts are covered.
Take a look after about an hour. If the chrome is hanging tough, replace the lid and wait another hour. If the parts are still shiny after that, leave them in the bleach overnight.
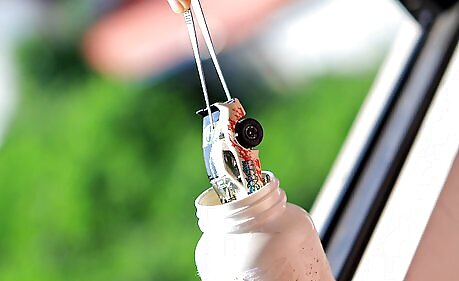
Once the parts are de-chromed, recover them using tweezers. Place them in a container of fresh water to soak. After 30 min. replace the water and allow them to soak another 30 min.

Be sure and dump your container.


Comments
0 comment