views
Preparing
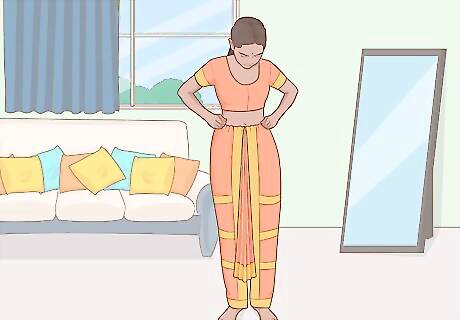
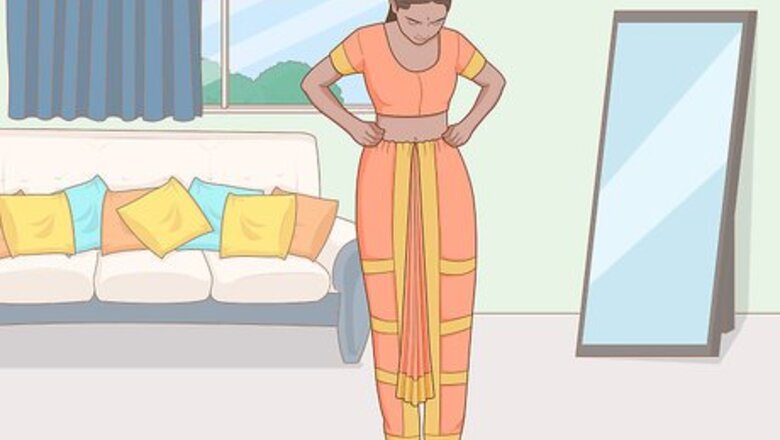
Wear an appropriate blouse and some pyjama pants. Make sure the drawstring of the pyjama pants is tight.
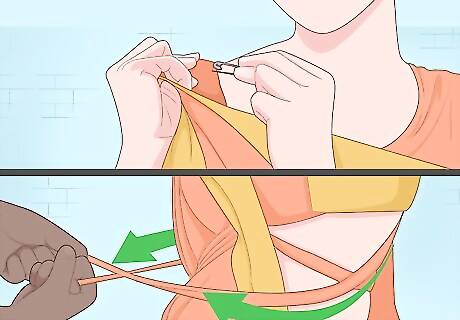
Tie the pallu. With the help of a safety pin, attach the pallu's top end to your blouse from the inside. Pull back the drawstrings from the front half and tie a tight double knot at the back. Pull in front the drawstrings from the back half and tie a tight double knot on the front. Tuck in the front and back loose ends of the pallu into the pyjama. With the help of a safety pin, attach the pallu's top end to your blouse from the inside. Pull back the drawstrings from the front half and tie a tight double knot at the back. Pull in front the drawstrings from the back half and tie a tight double knot on the front. Tuck in the front and back loose ends of the pallu into the pyjama.
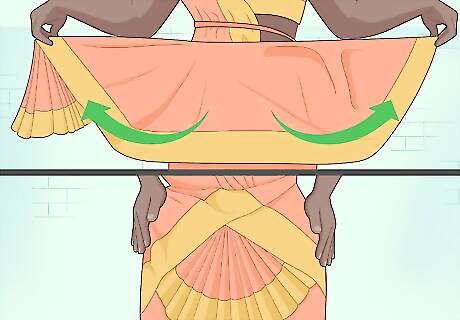
Attach the small fan. Take the small fan around your waist.
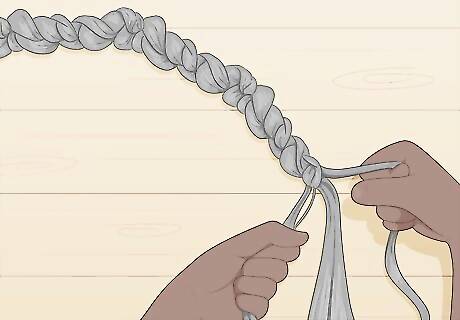
Make a plait Holding the connected end of your hair extensions, start tying it into a plait.
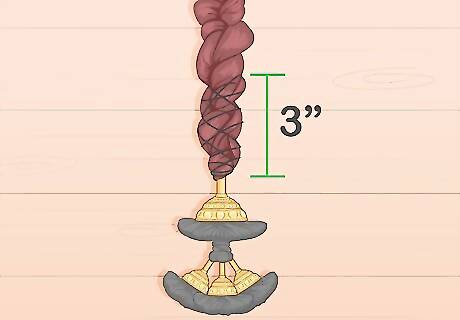
Add the kunjalam When you reach the last 3 inches (7.6 cm), plait in the kunjalam. Tie the strings of the kunjalam around the end of the plait. Take a 15-inch string through the connected end of the hair extension.
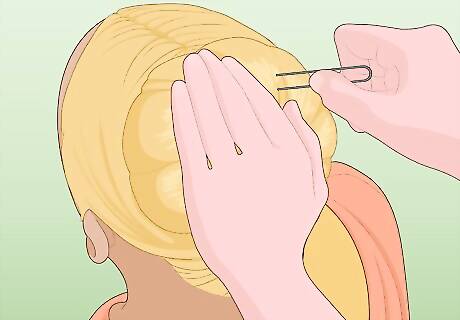
Tie the bun (jura). Brush back all of your hair. Part your hair centrally till the top of you head. Using a rubber band, tie a tight ponytail at a medium height. Turn the ponytail around into a bun and secure in place with another rubber band. Tuck in any stray hair with hair pins.
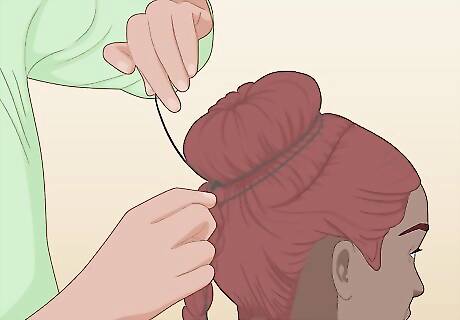
Add the extension.take the plaited hair extension by the string and tie it securely around the bun. You can go around several times to ensure a tight grip.
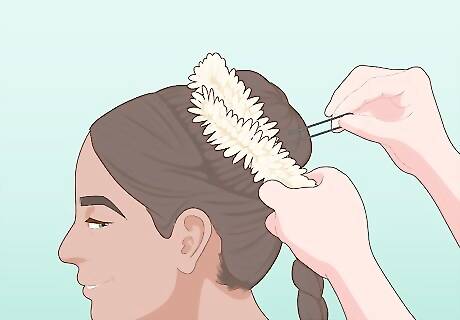
Add the gajra. Attach one end of the gajra securely to the side of the bun using hair pins. Take the gajra around the bun two or three times (till it looks sufficiently thick). Attach the other end to the hair using a hair pin. The gajra should feel tight and stay in place. Use extra pins wherever required.
Learn the basics
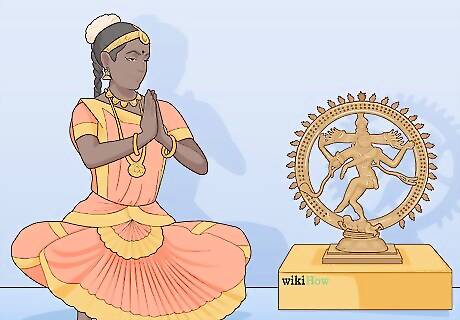
Namaskar Before starting out with your sessions, do the NAMASKAR. Here the dancer bows down in respect to the following: Musicians Stage God Guru Audience
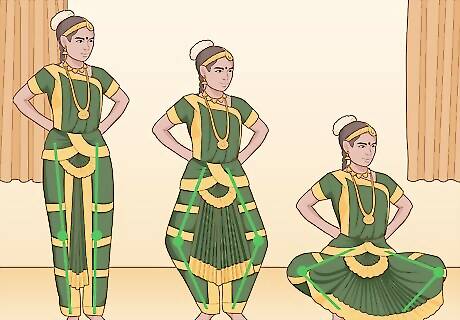
Adavu* Bharatanatyam blogger Shreenidhi has a posting on Adavu positions. The basic positions described are: ARAIMANDI– Half Seated Position. SAMAPADAM – Legs Together MANDI– Full Seated Position
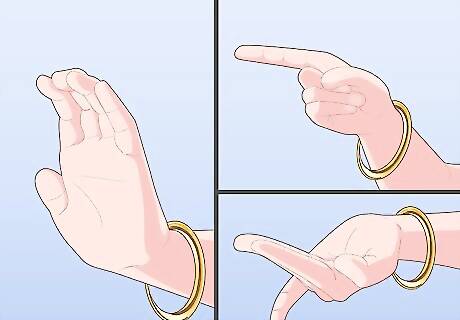
Hand gestures Gestures are not new since you use them in your day to day activities. Take some time and think of what gesture you would use for following situations: To call a person To point at an object To show drinking Denote a snake
Learn the adavus
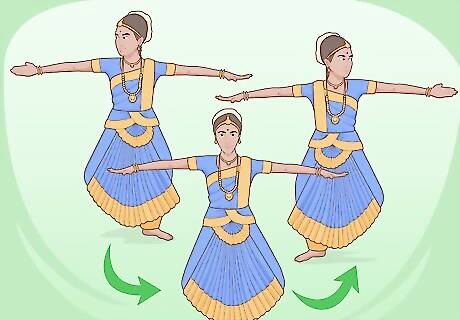
Tatta adavu The word Tatta literally means “to tap”. In this adavu, we are taught the Bharatanatyam way of leg tapping. This adavu involves only the use of legs unlike most other adavus. As described in earlier post “More about Adavus”, every adavu has a Bol or syllable. The Bol is used to provide a rhythm for the steps (like 1-2, 1-2-3 etc.) and also acts as a mnemonic for the steps. The Bol for Tatta adavu is “tai ya tai hi”.
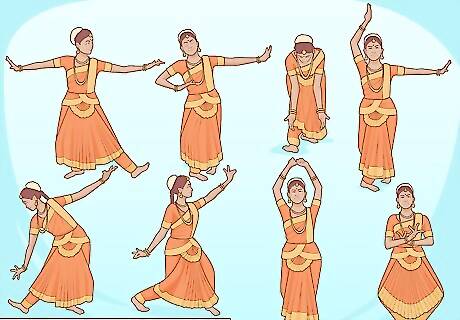
Natta adavu “Natta” means to stretch and so the Adavu involves some stretching compared to the Tatta Adavuwe explored earlier. And compared to Tatta Adavu, the Natta adavu involves heel contacts of the feet. Thus word “Nattu” in Tamil is also referred to “Perching of heels”. So get ready for some stretching and synchronization of hands and legs! The bols (sollukattu) for this Adavu is “tai yum tat ta tai hi ya ha”. You would see that the basic leg postures used in this Adavu is Ardhamandal and Alidha. Ardhamandal was used in Tatta Adavu and we will see the Alidha postures in the explanation for this Adavu.
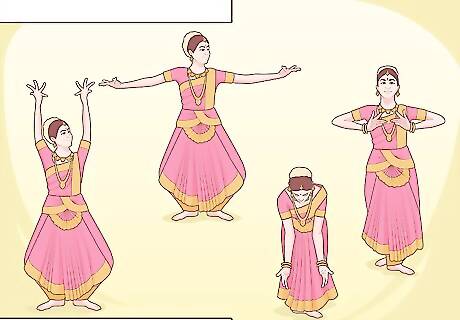
Visharu adavu Visharu Adavu involves swinging of hands in different directions ie sideways, up and down. Leg movements are simple and straight in one line. A Concept of shoulder pulls is also introduced later here. This Adavu is also called as Mardita adavu or Paraval adavu. The mudras used are Alapadma, katakamukha, Tripataka and Pataka. The sollukettu or Bols for this adavu is Ta Tai Tai Ta Dhit Tai Tai Ta.
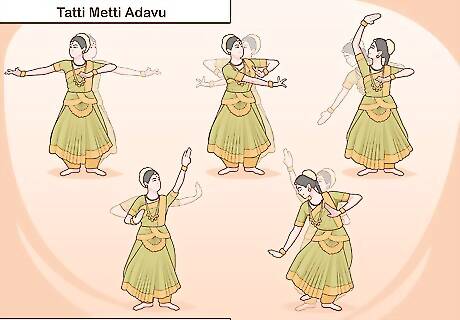
TattiMetti adavu ” means a heel contact with the floor. For Metti one must first be on the toes (either a jump on the toes or just striking a toe) and then flatten the feet while the toes are already firm on the ground. TattiMetti is one of the most important adavus and these steps are often used in Jatiswarams and Tillanas. The sollukettu is Tat Tai Ta Ha Dhit Tai Ta Ha
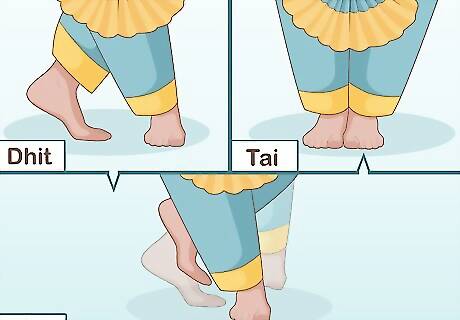
Teermanam adavu Dhit Dhit Tai. Some schools also use Gi Na Tom . Teermanam means to conclude or an ending or a final stage. Thus the steps in these adavus are used to end a dance sequence or jathis. It is done in a set of three steps or repeated thrice. Most of the time these steps are performed in the fast pace ie Dhruta kala. The bols or the syllables of this adavu is
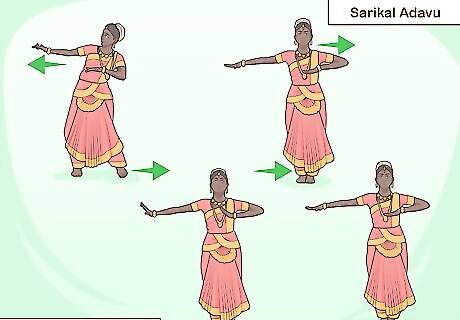
Tai Ya Tai Hi or Tai Ya Tai Ya Tai Hi Tai Hi. Sarikal adavu Sarikal means to slide. Here as one foot is lifted and placed the another foot slides towards it. Then the feet takes the Anchita position where the feet rests on the heel. This position is also called as Tadittam. Then both the feet tap together with a slight jump. Bols (syllables or sollukettu) of the Adavu is
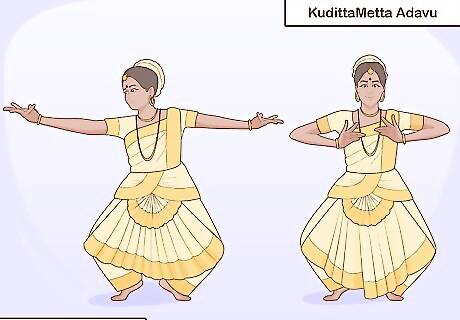
KudittaMetta adavuTai Gha, Tai Ghi. Following are the links to different variations of this Adavu. Kuditta Metta refers to Jumping on the toes and then striking the heels. The initial jump though not very obvious. Both jumping and striking the heels are executed in the Araimandi position. It is also known as Guditta Metta. KudittaMetta is also referred as Kutta Adavu. May be because the movement of jumping on the heels is called as Kuttanam in the Chari bhedas (Types of walks). Thus the name Kutta Adavu.



Comments
0 comment