views
Creating the Center of the Butterfly
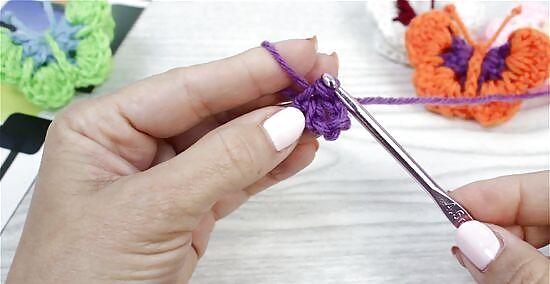
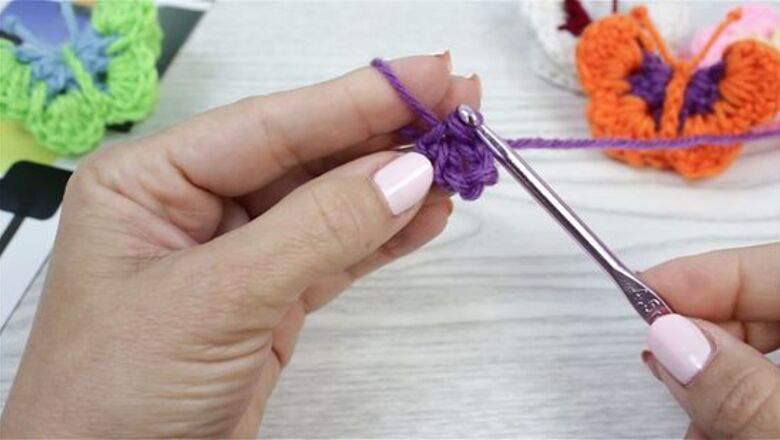
Chain six and join in a circle. To start making your butterfly, make a chain of six stitches. Then, insert the hook into the first stitch and slipstitch to connect the ends. This will create a chain circle and you will be working your stitches into the center of this circle. To make the first chain, yarn over the hook twice and then pull the first loop through the second. Then, loop the yarn over again. Pull through the other loop. Continue until you have six stitches. To slipstitch, insert the hook into the end of the chain. Then, yarn over and pull it through both loops.
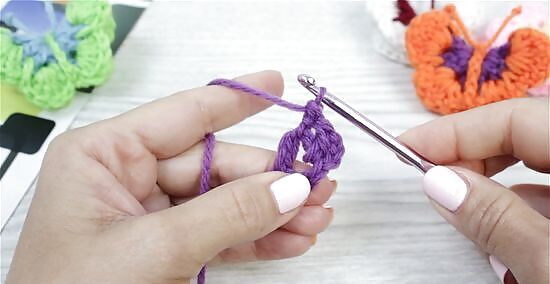
Chain three and double crochet twice into the center. To begin working into the center, make a chain of three stitches. Then, double crochet twice into the center of the circle. This will complete one cluster of double crochet stitches and you will need to make a total of eight clusters or 16 double crochet stitches. To double crochet, yarn over the hook, then insert the hook into the stitch and yarn over the hook again. Next, pull the yarn through the first stitch, and then yarn over again. Pull the yarn through the next two stitches on the hook, then yarn over the hook again. Then, pull the yarn through the last two stitches on your hook.
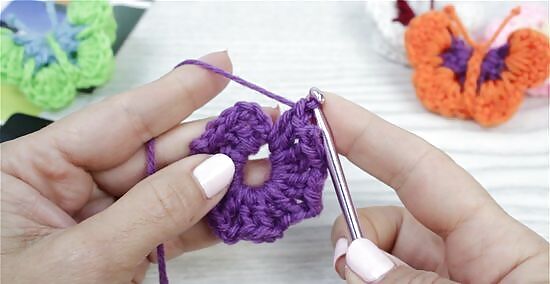
Chain two and double crochet twice into center again. After your first two double crochet stitches, make a chain of two. Then, double crochet twice into the center again. Continue to chain two and double crochet two into the center all the way around the circle. You should have a total of 16 double crochet stitches when you reach the end.
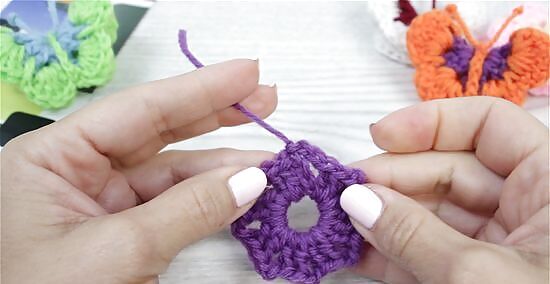
Chain two and connect with a slipstitch. To finish the first round, chain two after your last cluster of double crochet stitches. Then, use a slipstitch to connect the chain of two to the top of the chain of three that you made at the beginning of the round.
Creating the Outer Wing
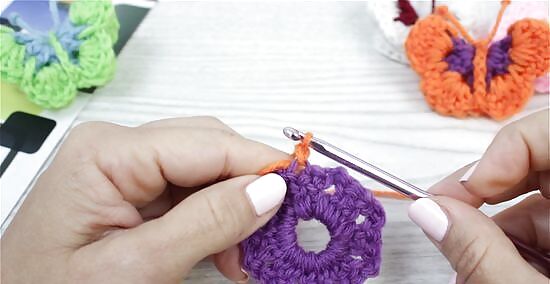
Switch your yarn. Switch to your other color for the outside of the wing. To do this, cut the yarn a few inches from your hook and pull it through the stitch to secure it. Then, tie the new yarn around the space where the old yarn was connected. Then, begin working with the new yarn color. You will have two loose ends that you will need to work into the next round to hide them. To do this, lay them along the stitches that you will be working with next and then crochet around them.
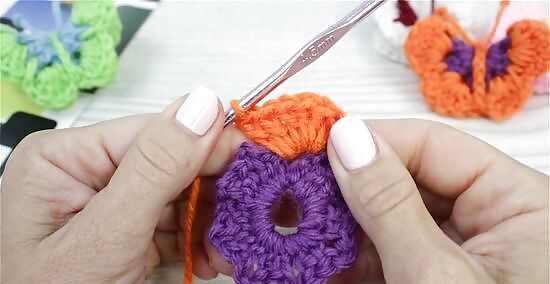
Double crochet six times into the chain two space. To begin the next round, you will need to double crochet into the chain two space six times. This will create a scalloped edge around your circle.
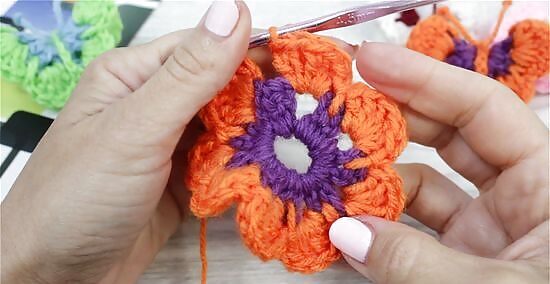
Slipstitch after the sixth double crochet. After you complete your sixth double crochet stitch, use a slipstitch to connect the last stitch. This will help to create the scalloped effect for the double crochet stitches. Repeat this sequence all the way around the circle. When you reach the end, you should have eight scallops.
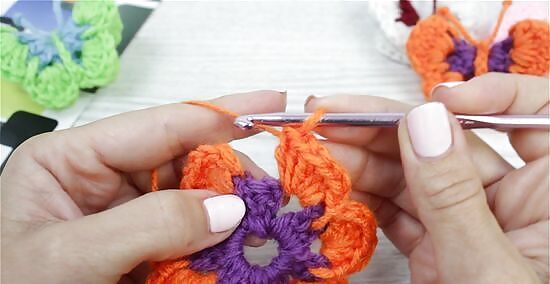
Slipstitch into first stitch to finish the round. After you have finished all eight scallops, you will need to connect the first and last scallops. Use a slipstitch to join the first and last stitches in the round.
Finishing the Butterfly
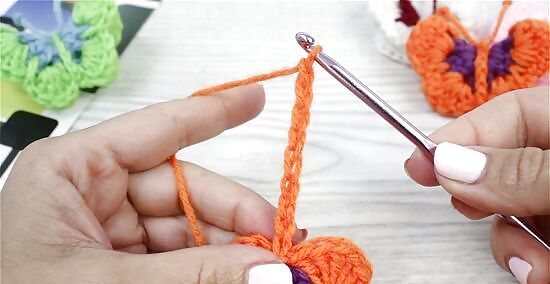
Chain eight. At this point your work will look like a ruffled doily. To make it look like a butterfly, you will need to secure it down the middle. Make a chain of eight stitches extending from the circle.
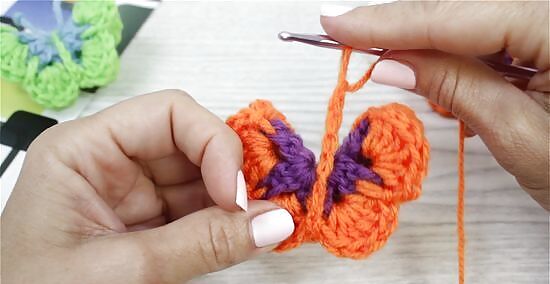
Fold the circle in half and wrap the chain around it. Next, fold the chain in half. Then, wrap the chain around the center of the folded circle to secure it. The chain running down the center of the folded circle will resemble the body of the butterfly.
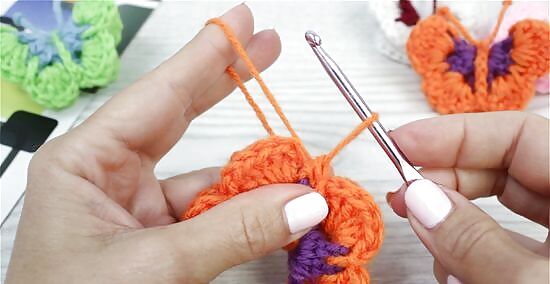
Secure the chain with a slipstitch. To secure the chain, insert your hook into the first chain and then yarn over and pull the yarn through the stitch. Cut the yarn a few inches away from the hook and then pull it trough to create a knot.
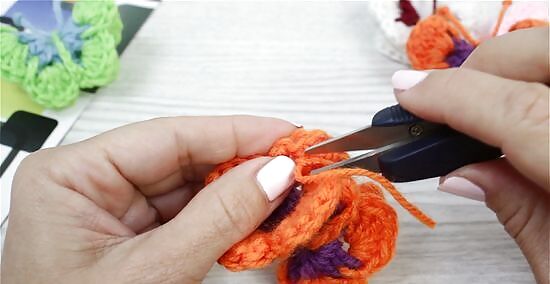
Sew in the tail. You will have a bit of excess yarn extending from the end, so you will need to sew it in. Thread the yarn through the needle’s eye and then sew the tail through the edge a few times to secure it. Then, snip the excess.
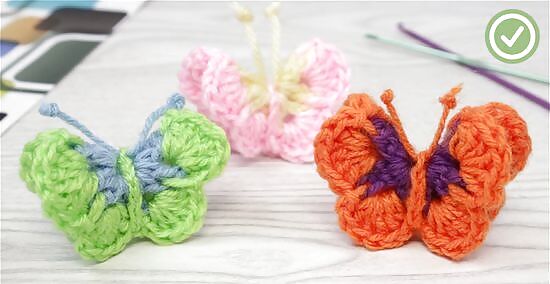
Create the antennae. To make little antennae for your butterfly, cut a small piece of yarn (a few inches long) in the same color as the butterfly’s body. Then, tie a knot into each end of the yarn. You can snip the excess closer to the knot if you cannot get the knots right on the end. Then, slide the yarn under the chain at the top of the butterfly’s body and then pull until the antennae are even.


Comments
0 comment