
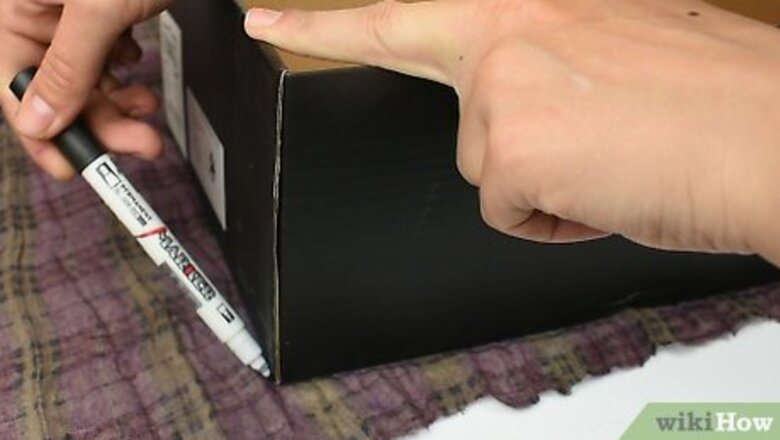
Covering a Box without a Lid
Cut 2 rectangular pieces of fabric that are slightly larger than the bottom of the box. Lay the fabric on a table with the back side up. Place the box on top of it and trace around the bottom. Use a ruler to add an extra 1 inch (2.5 cm) on each side of the fabric. Cut the rectangle out of the fabric. Cut another piece the same way.
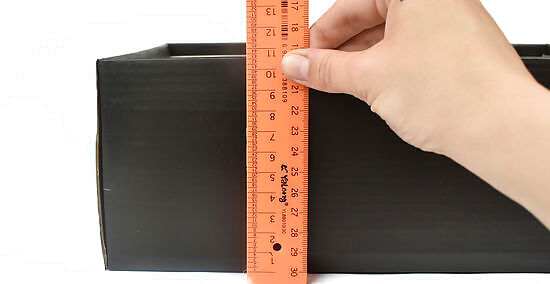
Measure the sides of the box. Use a ruler to find the height of the box. Multiply the number times 2 and add 1 inch (2.5 cm). Measure the length of both the long side and the short side of the box. Multiply each number by 2 and add them together, plus 2 inches (5.1 cm). For instance, if the height of the box is 5 inches (13 cm), multiply it by 2 to get 10 inches (25 cm) plus 1 inch (2.5 cm), equal to 11 inches (28 cm), and cut the fabric to that height. If the sides measure 8 inches (20 cm) and 4 inches (10 cm) in length, multiply each by 2 to get 16 inches (41 cm) and 8 inches (20 cm). Add them together plus 2 inches (5.1 cm) to get 26 inches (66 cm), and cut the fabric to that length.
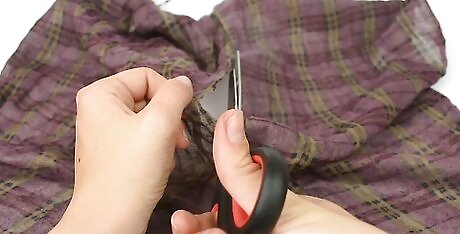
Mark and cut a long piece of fabric based on your measurements. Use the 2 totals from your measurements for the height and length of the fabric. Measure it out and cut it with fabric scissors. Along the long edge of the fabric, measure up to the height of the box and mark it along the length of the fabric with a ruler. Make sure to mark it on the wrong side of the fabric with a pen or pencil.
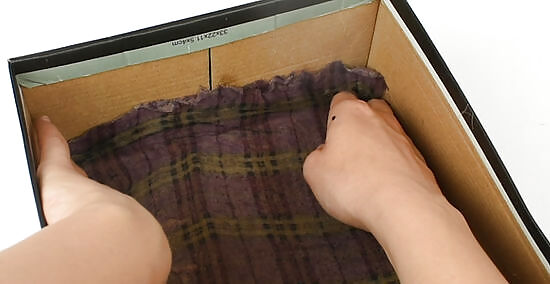
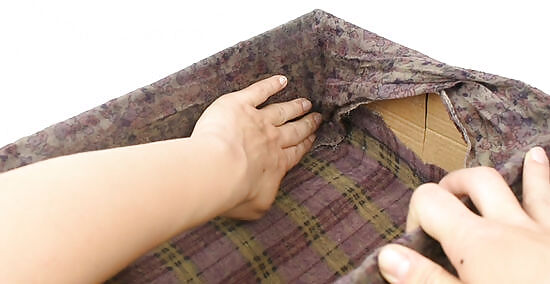
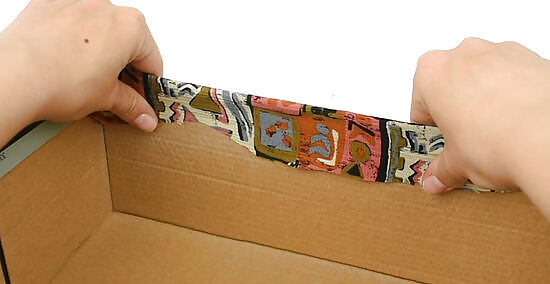
Glue 1 of the large rectangles on the inside of the box. Spray adhesive in the box. Once it's just tacky, not sticky, lay the fabric inside the box, centering it as well as you can. It will come slightly up the sides of the box. As it does, fold the extra fabric at the corners over and glue them into place, too. You can also use plain school glue, or if that doesn't work well, watered down school glue (equal parts glue and water). Mod Podge is also a good option.
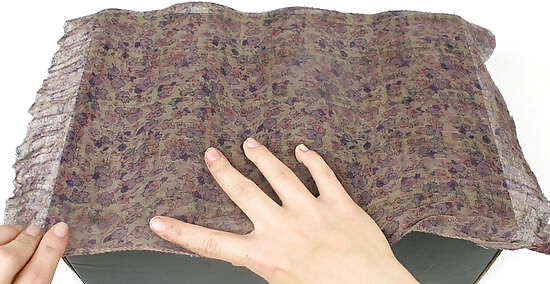
Cover the bottom of the box with the other the rectangular piece. Flip the box over. Add glue to the bottom of the box. Once it's just tacky, center the rectangle on the bottom of the box and smooth it out with your fingers. Add glue to the sides of the box at the bottom and fold the fabric over it; the fabric should hang over 1 inch (2.5 cm) or so on all sides. Fold the corners over and glue them in place so they're flat.
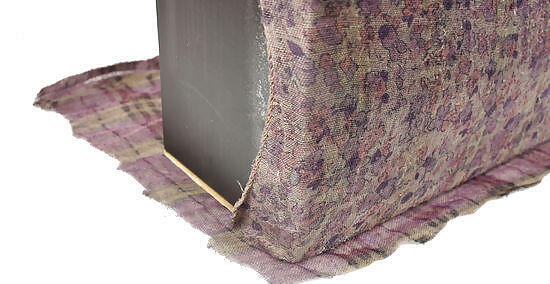
Line up the long strip of fabric. Wrap the long piece of fabric around the sides of the box. Line up a short edge so that 1 inch (2.5 cm) of the fabric goes over one side to the next. Also, the fabric should overhang the bottom about 1 inch (2.5 cm). Line up the mark you made on the fabric with the top of the box. You'll fold the fabric over into the box in a minute; you want it to just reach the bottom with no overhang.
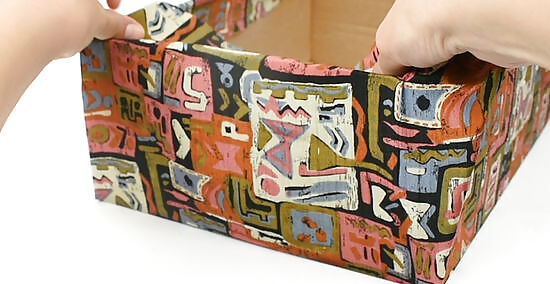
Glue the long piece in place. Start with the one end that overhangs. Add glue and press that piece into place. Add glue to the adjacent side and then smooth the fabric over it. Continue all the way around, just working on the outer sides first. Paint or spray glue on each side 1 at a time and smooth down the fabric over it before moving on to the next side. If you want, you can lay the fabric flat on the table and move the box instead. Make sure you're pulling the fabric taut around the corners. When you reach the first edge that you glued down hanging over one side, fold the piece you have leftover to make a smooth line. Fold it just enough that it reaches the corner of the box, then glue it into place.
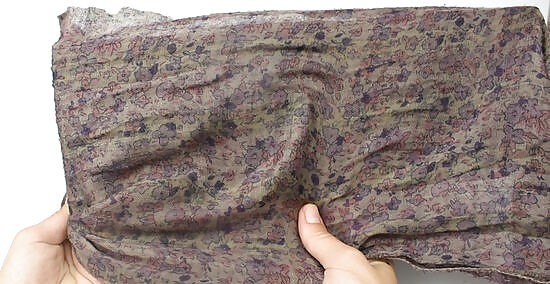
Fold the fabric into the inside of the box and glue it into place. Add glue to one inner side. Wrap the fabric over the top and smooth it along the side. Do the same on the side across from the one you just did. Fold the corner fabric under the remaining 2 sides of the fabric and glue them into place, too. You may want to practice your folding before you start gluing.
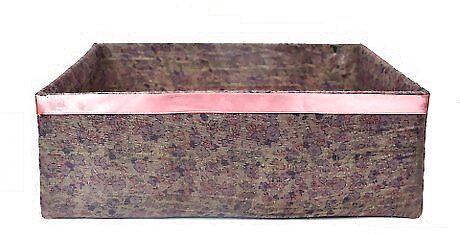
Glue the overhang at the bottom into place. Flip the box over. Add glue along 1 edge on the bottom and press the fabric into place. Do the same on the opposite side. Fold the corners into the fabric at either end and glue them down. Glue and fold the edges down on the last 2 edges. If you want, you can glue a decorative ribbon along the top that folds over the top edge.
Covering a Box with a Lid

Measure the fabric against the box to trim it. Lay the fabric on a table with the back side facing upwards. Pull it up the sides of the box to see how much you need. Leave about 1 inch (2.5 cm) at the top all the way around to fold over the edges. Use fabric scissors to trim off the extra fabric. If you prefer, you can measure the box with a measuring tape. Measure down one side, across the back, and up the other side to get the length. Do the same the other way to get the width. Add 2 inches (5.1 cm) to each measurement and then cut a rectangle of that size out of the fabric. Work on just the bottom without the lid for now.
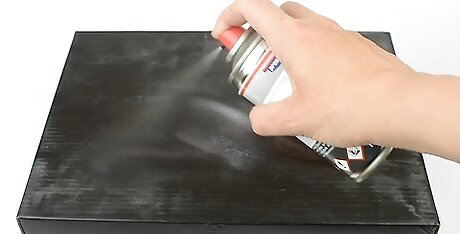
Spray or paint glue on the bottom of the box. If you're using a spray adhesive, spritz it on the bottom of the box in an even layer and then leave it for a few moments for it to go from sticky to tacky. If you're using a liquid glue, paint it on with a sponge brush in a thin, even layer. For liquid adhesive, try mixing school glue with water in equal parts. Alternatively, Mod Podge is a popular brand of adhesive.
Lay the box in the middle of the fabric. Center the box on the fabric. Set it down on the "wrong" side of the fabric, which should be facing up. Press it down to help the glue set, holding it down for a few seconds, then turn it over. Use your fingers to smooth out the fabric. Try not to leave any wrinkles or bubbles in the fabric.

Glue the fabric to the long sides of the box. Pick either of the long sides to start with. Spray on a layer of glue or paint it on thinly with a sponge brush. Let it get slightly tacky and then pull the fabric up from the bottom over the glue. Smooth out the wrinkles and bubbles with your fingers. Do the same with the other long side.
Glue the fabric to the inside top edge. Paint or spray the glue, starting with the same sides you just did. Fold the fabric over the edge at the top and use your fingers to press it into place. Try to go all the way to the corner with the fabric. Repeat on the other side.
Fold and glue the short sides in place. On one short side, add a thin layer of glue. Fold in the excess fabric by lifting up the fabric towards the box and pressing in the sides of the fabric behind the main piece to make triangles. Fold the triangles flat behind the main piece of fabric, lining up the edges as you do. You may need to work a little to get this perfect. You can also cut the fabric and tuck it in if you prefer. Do the same on the other end.

Glue the top flaps into place on both ends. Add a little glue on the inside edge along the top. Start with one end first. Pull the fabric over the edge and use your fingers to press it into place. Hold it there for a few seconds to make sure it stays. Fold and glue the top edge down on the other end, too.
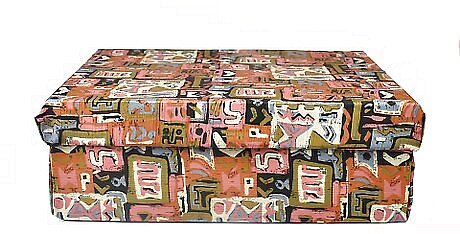
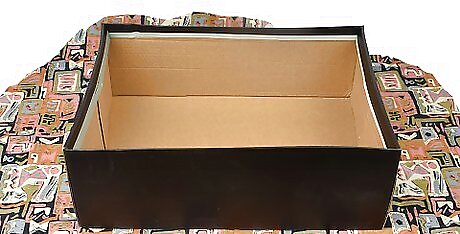
Repeat the process for the lid. For most storage boxes, the lid will just fit over the top of the box. Therefore, you can add fabric to it the same way you did to the bottom. Once you're done, let the top and bottom dry before putting them together.


Comments
0 comment