views
Connecting an Electric Guitar or Bass
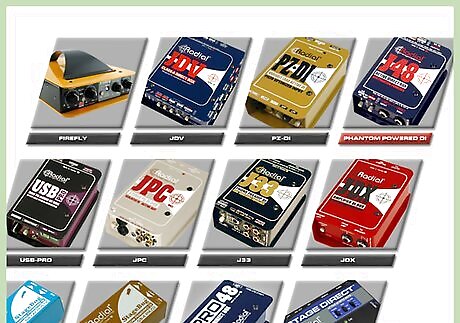
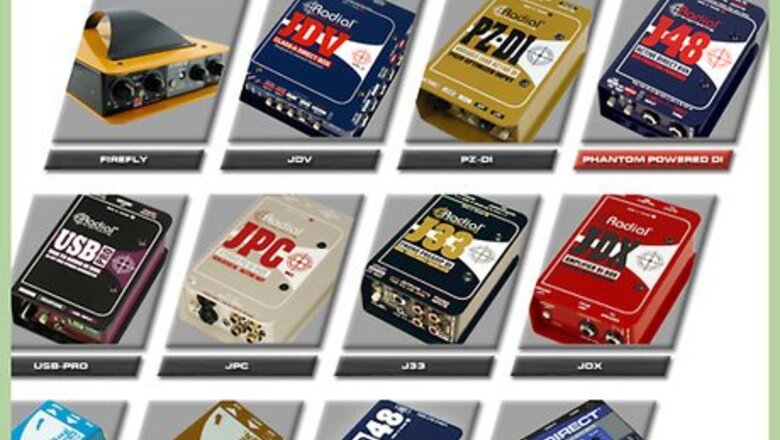
Consider a DI box. You'll need some kind of interface or adapter that takes the signal from the guitar and gets it to the computer.A DI is a small amplifier which takes the (quiet) signal coming from your instrument and amplifies it before it goes into your Macbook. DIs come in either active or passive forms. Most six string guitars are passive by design (no amplification inside the instrument itself requiring a battery) and thus will require an active DI. Some bass guitars are active by design (require a battery in the instrument) and could use a passive DI, but in general active DIs are more common. Although DIs convert instrument signal effectively, they are most commonly used alongside professional recording equipment and thus may not have the appropriate outputs to get into your Macbook. Since you want to avoid adapting your connections / signal multiple times, make sure to find a DI that has the output you want. Search for an "interface". The term interface is often used for more complex options of connecting instruments to computers, and implies a more automatic compatibility with modern laptops via USB or other means. Search "guitar macbook interface" or similar to see some options. These work very similarly to DIs by amplifying the signal on its way to the laptop, but are sometimes sold in conjunction with software suites that help model various classic amplifiers and effects once your signal has made the leap to digital.
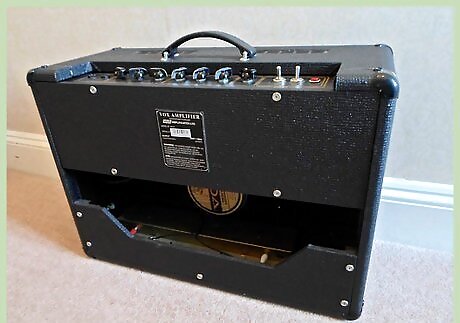
Consider going direct. First understand what you have in terms of connections one each side (1/4 inch cable / thunderbolt input, etc...) then consider what exactly you're trying to achieve. Choosing to connect your cables with adapters only (and not use DI or other proper signal converter) when recording results in signal loss and unwanted noise. Note: Older versions of Macbook had a "microphone" 1/8inch input, while newer versions do not.
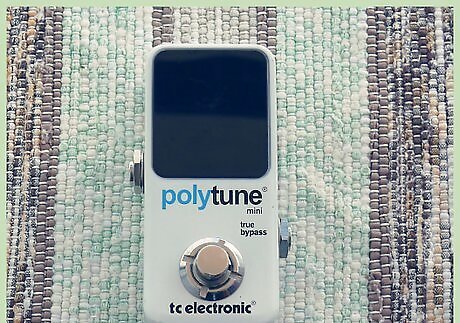
Tune your guitar or bass. This is the perfect time for you to check if your guitar is in tune. You don't need an amp cranked to full volume to do this. At a reasonable volume or without amplification at all, listen to the intervals of your instrument or use a tuner to tune it. If you plan on using a tuner or foot pedal with your instrument, these will also need to be added to your setup. For most basses, this means you will have to connect the foot pedal and tuner to your guitar with correct accompanying attachments before you attach your DI. If you are recording, you may also want to consider using some fretboard lubricant. This will decrease the amount of squeaking caused by sliding your fingers down the strings.
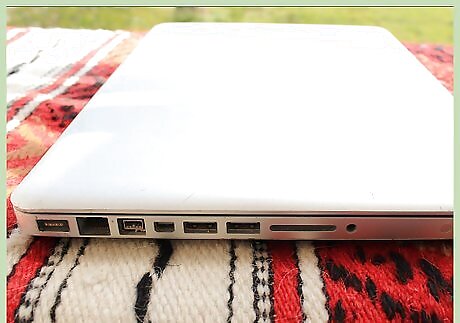
Link your instrument to your Macbook. Doing this depends on your chosen Di/interface. If you choose to adapt your chord and connect your guitar directly to your Macbook, you'll need appropriate adapters and can expect significant signal loss.. More recent Macbook versions do not have an audio input for a direct connection but older models do. Be careful when you're connecting your cable to your Macbook's audio input! This port can look very similar to your headphone input. In most cases, your headphone input will be indicated by a small headphone or musical note symbol beside the port.
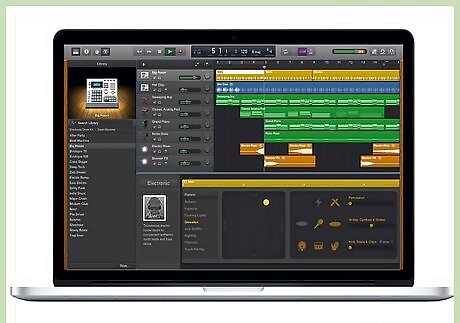
Use GarageBand's digital amps. This can be an effective space saving technique, since traditional amps can take up a significant amount of space. GarageBand comes pre-loaded with many common amps that you can use to craft the sound of your guitar. Choose from one of these for the amp that best suits your purposes. You'll have to experiment with GarageBand to find which amp produces the kind of sound suited for your recording. You can also customize amp pre-sets through the amp pop-up menus. Using these, you can change between amp types, models, cabinets, and mics.
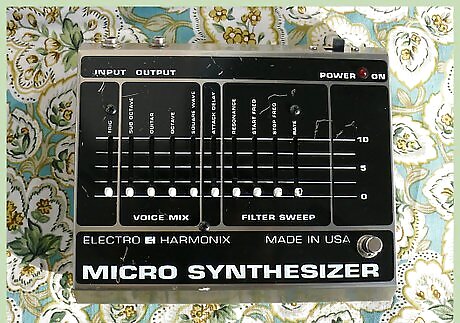
Plug in headphones. Though it can feel righteous tearing a solo on your bass at loud volumes, with this kind of setup the extra noise will likely create feedback and distort the sound of your instrument when recording. Protect the quality of your recordings by using headphones. Even if you don't intend on using your headphones and instead plan on using the readout in your digital audio interface (DAW), which in this case is GarageBand, plugging in headphones can still improve the quality of your recording. A Feedback Protection feature can be enabled in GarageBand from the monitor pop up menu. Toggle this feature "On" in that menu to protect yourself from excess feedback.
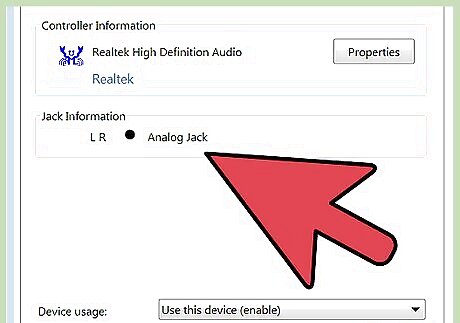
Switch your input from Microphone to Line In. This can be found in your System Preferences, which can be found on the program dock. You dock is usually located at the bottom of your screen, and System Preferences will likely be represented by a gear icon. In System Preferences, there should be an option labeled "Sound." Open this by clicking and then choose "Input" in the following menu. Here you will be able to change the settings from Internal Microphone to Line In.
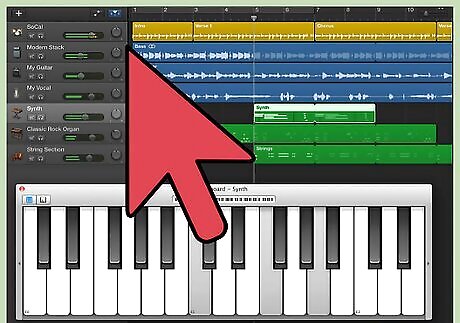
Open GarageBand and record. Navigate to GarageBand on your Macbook. When the program launches, in the upper left hand corner should be the "File" heading. Select this and, in the resulting menu, choose "New" or "New Project." This will open the New Project dialogue box. Here you can choose from many different inputs for your recording; choose the setting that best matches your recording preferences. Once you have opened a New Project and the associated dialogue box has appeared, options should be available for digital amp users who are not using an external amp. Since you're using headphones, you'll also want to change your from "Monitor Off" to "Monitor On." These settings can be found in the "My Instrument" pop up menu.
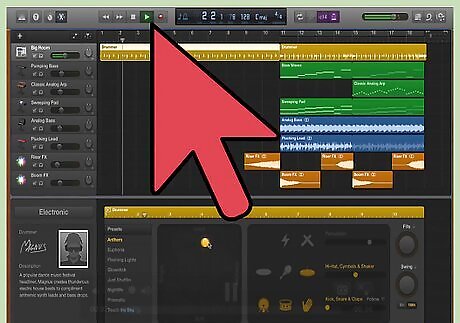
Restore your settings to normal when finished. Your Macbook will remember many of your changed settings, which could create difficult if you plan on video chatting or using a microphone after your recording session. You'll need to return to System Preferences on your program dock and from there path through Sound to the Input menu to return your input from "Line In" back to "Microphone."
Troubleshooting Issues
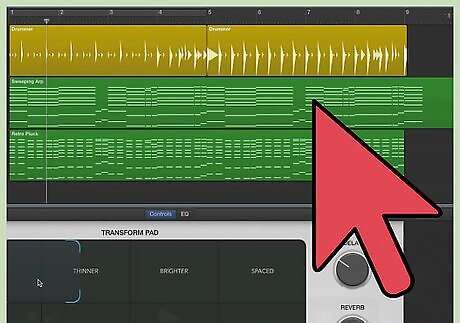
Resolve dead audio output created by Mono Audio. In some cases when using a physical amp, you might find that GarageBand does not recognize any sound being produced, even when you are playing your instrument. This may be caused by a settings conflict. The most likely issue will be with your Mono Audio setting. To fix this, you should: Navigate on your Macbook from Settings → General → Accessibility. In the resulting menu, you should see a Mono option, which you should turn off. After adjusting this setting, your sound production should be A-OK. You may need to close GarageBand and re-launch the program for your setting changes to take effect.
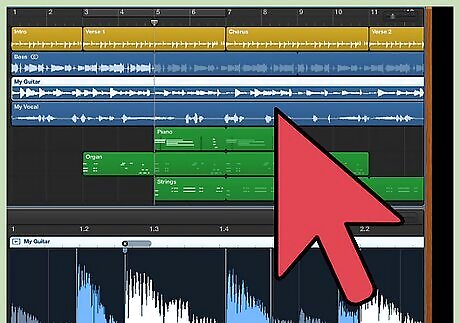
Check muting, soloed, and instrument tracks for other audio issues. If you have muted your main instrument or soloed another instrument, GarageBand will not output the sound from your instrument. Additionally, if you have changed your instrument track from blue to green, GarageBand is programmed to ignore your input instrument. You may have activated one of these features through an accidental click or by hitting a hotkey mistakenly. Check each of these simple solutions before attempting something more drastic.
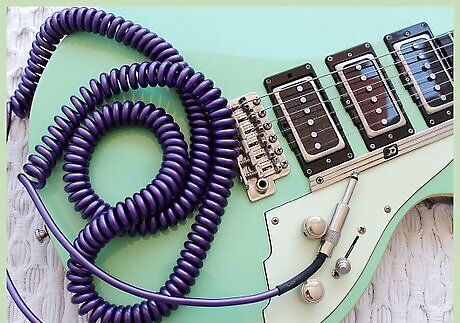
Check manuals for incompatibility. There is a huge variety of equipment you might be using when producing and recording sound with your Macbook. Any one of these pieces of equipment, your tuner, your DI, your pre-amp, and many other commonly used guitar accessories, can create difficulty with GarageBand if the equipment is not compatible with Apple products. Check the manuals for your equipment to see if there are compatibility issues. If you've bought your equipment used and were never given a manual, or if you have lost your manual, you can usually search the make and model of your equipment to find its specifications. In many cases, you might even have a digital copy of the manual available to you.





Comments
0 comment