
Using MinGW
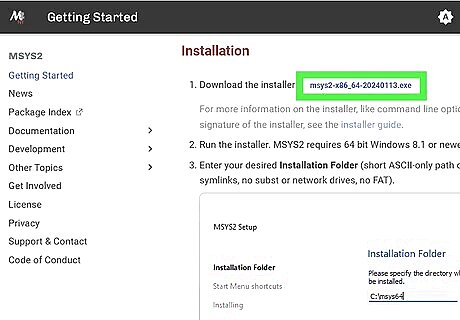
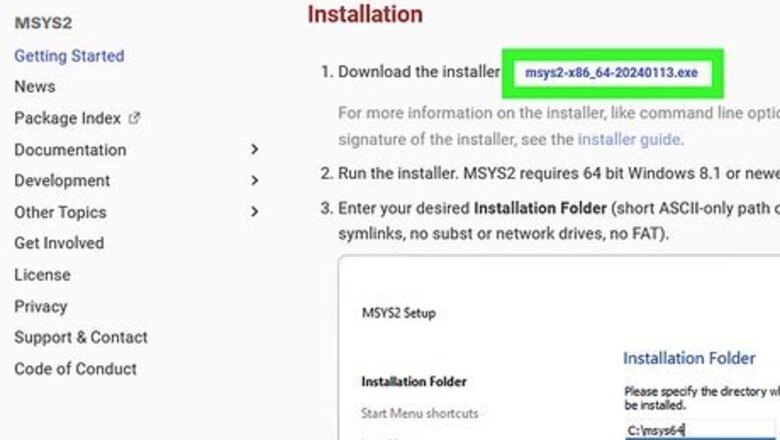
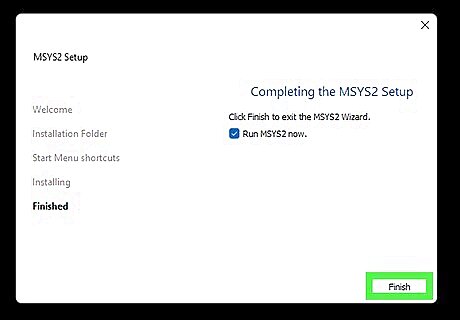
Install MSYS2 for Windows. If you're using Visual Studio Code or another development environment that doesn't come with a compiler, you can use the MinGW GCC and G++ compiler to turn CPP files into executables, just like in Linux. To get started, head to https://www.msys2.org/ and click the link next to Download the installer, then double-click the installer to run it. When installing, choose a short name for your install folder with no special characters, e.g., C:\msys64. You should install MSYS2 on an NTFS volume on the local machine, not on a network drive.
Open an MSYS2 terminal. The MSYS2 terminal should open automatically after installation. If it doesn't, open the MSYS2 folder in the Windows menu, then select MSYS2 UCRT64.
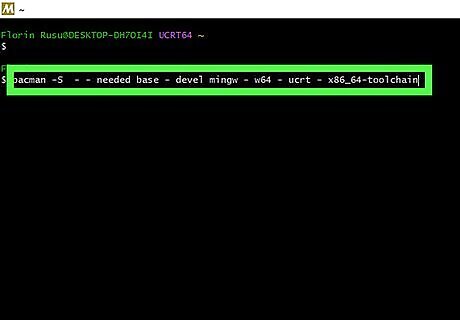
Install MinGW GCC and G++. To do this: Type this command into the terminal and press Enter: pacman -S --needed base-devel mingw-w64-ucrt-x86_64-toolchain. When you see the list of tools, press Enter to install all of them at once. Press Y to proceed with installation. Once the installation is complete, MinGW's version of GCC/G++ will be installed and ready to use.
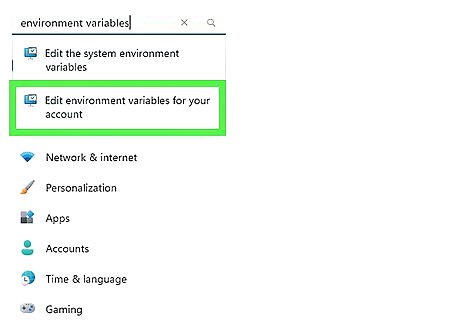
Open your user environment variables for editing. Now you'll want to add the compiler's installation path to your Windows environment variables so you can run it from command prompt. Right-click the Windows menu and select Settings. In the search bar, type environment variables. You should see two search results. Click Edit environment variables for your account.

Add the path to the MinGW compiler. Here's how: Select Path under "User variables" and click the Edit… button. Click New. Add the path to the ucrt64\\bin\ folder inside the MSYS2 folder you created. For example, if you installed MSYS2 in C:\MSYS2, type C:\MSYS2\ucrt64\bin. Click OK
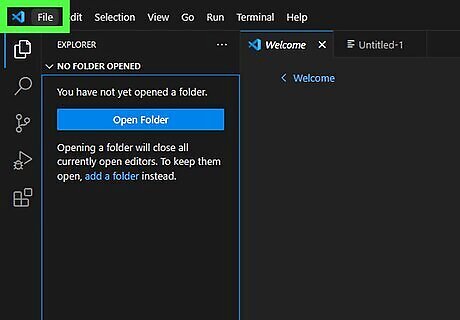
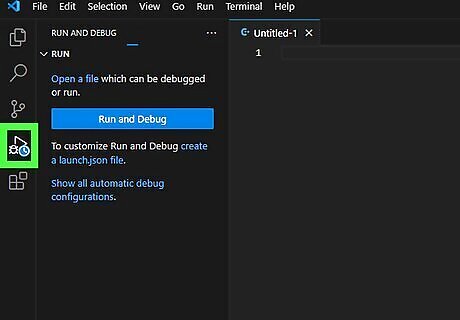
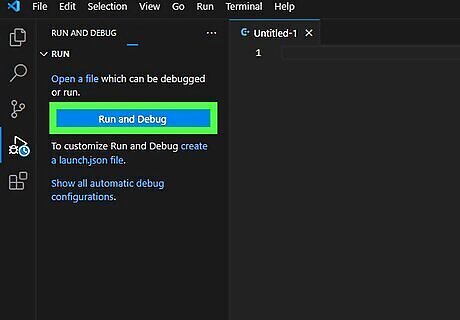
Compile the CPP file to EXE in VS Code (optional). If you're using Visual Studio Code, you can now easily compile and run your C++ program from within the editor. Here's how: Reopen your CPP file in VS Code. Click the Play button at the top-right and select Run C/C++ File. From the list of compilers, select C/C++: g++.exe build and debug active file. You'll only have to do this the first time you use the compiler. Once selected, your program will be compiled, and you'll see the output in the terminal.
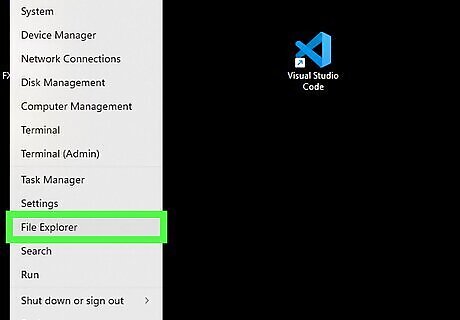
Compile from the command prompt. If you just want to compile the CPP file into EXE at the prompt, it's easy: Right-click the Start menu and select File Explorer. Open the folder that contains your CPP file(s). Hold the ⇧ Shift key as you click an empty area in the folder, then select Open Command window here. If you're using Windows 11, select Open in Terminal, click the down arrow at the top of the Terminal, and select Command Prompt. Type g++ yourprogram.cpp (replace that name with the name of your actual CPP file) and press ↵ Enter to compile the CPP file into an EXE. As long as there are no errors in your C++ code, a new file ending in "EXE" will appear in the current folder.
Using Microsoft Visual Studio

Open Visual Studio on your PC. You'll find it in the Start menu. Use this method if you're using the full IDE commercial version of Visual Studio. If you're using a free coding app like Visual Studio Code or want to compile from the command prompt, see the Using MinGW method.
Create a new project. If you haven't already done so, click the File menu, select New, and then select Project. A dialog window will appear.

Set up your project: The steps are a little different depending on the version you're using: Visual Studio 2019: Select C++ from the "Language" menu, Windows from the "Platform" menu, and then Console as the "Project type." Select Console App, click Next, enter a project name, and then click Create. Visual Studio 2017: Click Windows Desktop and then Windows Console Application. Type a name for the project and click OK.

Open the Solution Explorer if it's not already open. If you don't already see a window with this name, click the View menu and select Solution Explorer to display it now.
Add your CPP file(s) to the "Source Files" folder. The folder is in the Solution Explorer. You can drag them there from another window. Rename the main CPP file (the one that contains "int main()") to the name of the project that you chose if it's not already the same. If you have any .H files, add them to the "Header Files" directory.
Click the Build menu. It's at the top of the window.
Click Build Solution on the menu. This compiles your program into the EXE format. Your build results will appear in the "Output" window at the bottom of the workspace. To test your program from Visual Studio, click the Debug menu and select Start without debugging. To test it from the File Explorer, right-click the name of your app in the Solution Explorer window, select Open Folder in File Explorer, and then double-click the Debug folder—you'll find your app here.


Comments
0 comment