views
- Try to pick seashells that no longer have living creatures or animal tissue in them. Boil, bury, or freeze shells to remove any dead tissue before cleaning.
- Soak seashells in clean water for a week to dissolve debris, then deep clean with bleach or toothpaste. Brush away clinging barnacles afterwards.
- After cleaning, wait for your shells to dry and then polish them with mineral oil or a satin-finish polyurethane spray.
Collecting Seashells

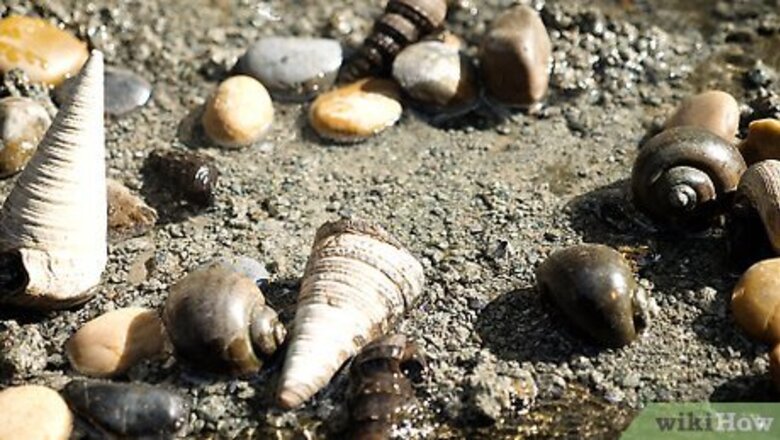
Obtain your shells from your favourite collecting spot. This may be a local beach, or one you visit when on vacation. Shells can also be purchased from craft stores and from online sources.
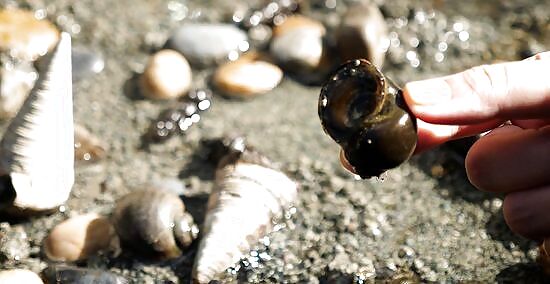
Do not take any shells with sea creatures alive in them. Be considerate of nature and leave seashells with live creatures in them alone. You can tell a shell is still alive if you turn it over and there is a creature inside it. Check with your country's laws to ensure you don't collect illegal seashells. For example, in U.S. waters, Queen Conches are illegal to take. They are a protected species due it being vulnerable to overfishing.
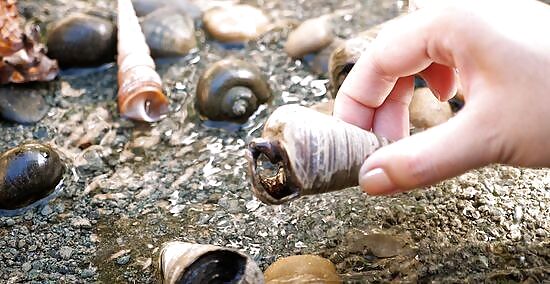
Determine whether a seashell is a live or dead shell. In shelling, a live seashell is a shell with animal tissue still attached to it. This is different from a seashell that is alive since the animal tissue in a live shell is dead. A dead shell is a shell with no animal tissue inside it. Understanding whether a shell is live or dead will affect the way you will choose to clean your shell. For example, live shells will require you to remove the animal tissue inside.
Removing Tissue from Live Seashells
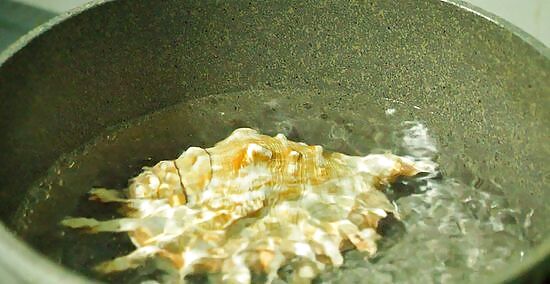
Boil the shells to remove animal tissue. Boiling or cooking a live seashell will loosen up any animal tissues inside the shell and make it easier to remove. You will need a pot and tweezers or some tool like a dental instrument to remove the animal tissue. To clean live shells by boiling: Place the seashells in a large pot of room temperature water. Cover the shells with about 2 inches (5 cm) of extra water. It's important to use room temperature water and to put the shells in the pot before heating them up because any sudden heat could crack the shells. Bring the water to a boil. Let the water roll for about 5 minutes. If you are boiling more than one shell, add extra boiling time. As well, larger shells might require more boiling time. Take out the shells with tongs and place them gently on a soft surface like a hot towel. Carefully, with your tweezers or any other tool, pull out any animal tissue from inside the shells and dispose of it.
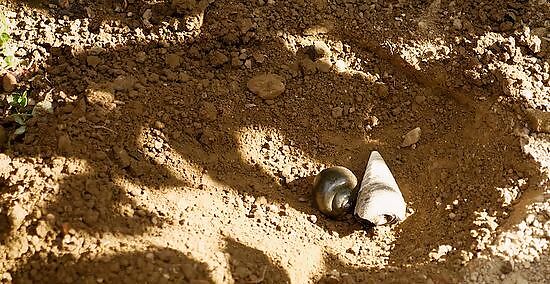
Bury your live shells. This method of cleaning out a live shell can take the longest, but many choose to use this method to prevent the shell from being damaged. Boiling and freezing, as well as pulling out animal tissue by hand, can cause a shell to crack. Burying a live shell, provided you bury it in a safe place, protects it from damage and is a natural way to clean out animal tissues. Ants, bugs, and other insects will feed on the shell and clean it out. To clean live shells by burying them: Dig a hole in the ground. Make sure the hole is large enough to fit all your shells and also provide plenty of space between each shell. The hole should also be around 18 to 24 inches (45 to 60 cm) deep to prevent unwanted animals from digging up your seashells or people from stepping on top and crushing your shells. Place your shells evenly with space between them in the hole. Cover the shells with dirt. Wait a few months for insects, larvae, worms, and bacteria to remove the tissue inside the shell. The longer you wait, the better the results. Dig up the shells again and check to see if all signs of animal tissue are gone.
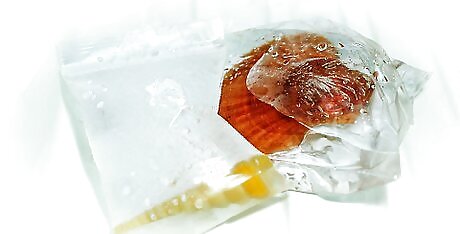
Freeze your live seashells. Freezing kills any remaining animal tissue inside the shell and makes it easier to remove. To clean a live seashell by freezing: Place your shells in a Ziplock bag. You may need to use several bags if you have many shells. Add water to the bag until all the shells are covered. Place the bag in the freezer. Let it freeze solid for a few days. Remove it from the freezer and let it thaw completely. Take out the shells and pull out the animal tissue from inside the shells.
Cleaning Dead Seashells
Soak your seashells in water for a week. The water will dissolve any dirt on your seashells and give you shells that are shiny and clean by the end of the week. Change the water every day or so. Adding fresh water to your seashell soak can result in even cleaner seashells. You can also choose to boil your dead seashells after the week is over to ensure all particles or animal tissue is completely gone from the shells. Alternatively, you can clean them in soapy water with a little bit of vinegar.

Use bleach to clean your seashells. Bleach will definitely remove any dirt, impurities, and animal tissue from your seashells. However, some seashell collectors warn that using bleach can destroy the colour of your shells and make them smell like bleach forever. To clean a shell using bleach: Fill a pot with equal parts water and bleach. It should be full enough to cover all shells. Soak the shells in the solution. You might notice a flaky, leathery covering coming off the shells. This is the periostracum or the organic coating or "skin" of the shell. Once this coating is gone, you can remove the shells from the solution. Additionally, you can use a toothbrush to remove particles from the shells. Rinse your shells thoroughly and allow to dry completely. Rub baby oil or mineral oil on the shells to restore shine.

Use toothpaste to clean your shell. Toothpaste is a less strong alternative to bleaching your seashells. To clean a dead shell by using toothpaste: Smear a light coat of toothpaste over one side of the shell at a time. Let the toothpaste-covered shell sit for at least 5 hours, so the toothpaste has time to soak right in. It is fine to leave it overnight to make sure that the toothpaste does its job. Once it has gone tacky and/or hard, depending on the thickness of the layer of toothpaste you applied, get an old toothbrush and a glass of warm water and scrub the shells thoroughly. Make sure you get into all the little cracks and hard-to-see gaps. Make sure that all of the toothpaste has been removed, even if this means rinsing the shells under running water once scrubbed. This will remove the grit and other parts in the toothpaste, remove anything rough or sharp, leaving the surface very smooth with very few flaws.
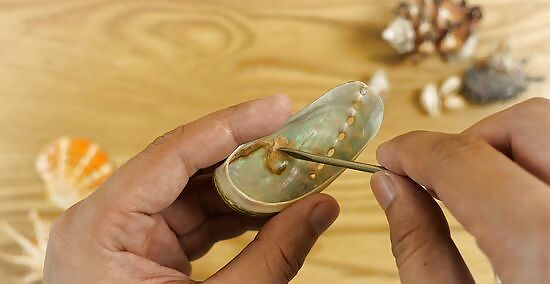
Remove barnacles from your shells. If you see that barnacles are attached to your shells, use a dental tool, soft toothbrush, or wire brush to remove the barnacles. This is most effective if the shells have been cleaned previously, either from being soaked in water or bleached.
Polishing Seashells
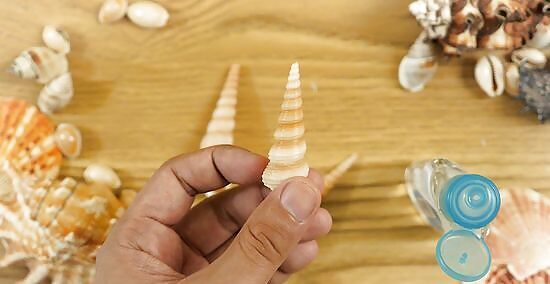
Rub mineral oil over each shell to give it a deep gleam. Allow the shells to dry for at least one full day and then rub oil on the shell. Mineral oil not only restores the shine of the shell, but helps to preserve the shell. Similarly, you can use WD-40. However, when using this material, be sure to use gloves to handle the shells.
Spray the shells. You can use satin-finish polyurethane or coat with clear nail polish. This type of finish preserves the shell's organic look while giving it an extra glossy shine. Do one side of the shell each day. Allow the shell to dry completely before starting on the other side. Each side can take about a day to dry. If you prefer a natural look, do not polish them.


Comments
0 comment