views
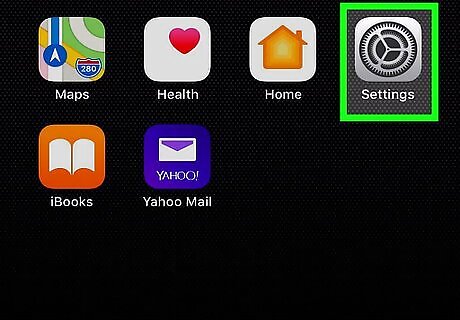
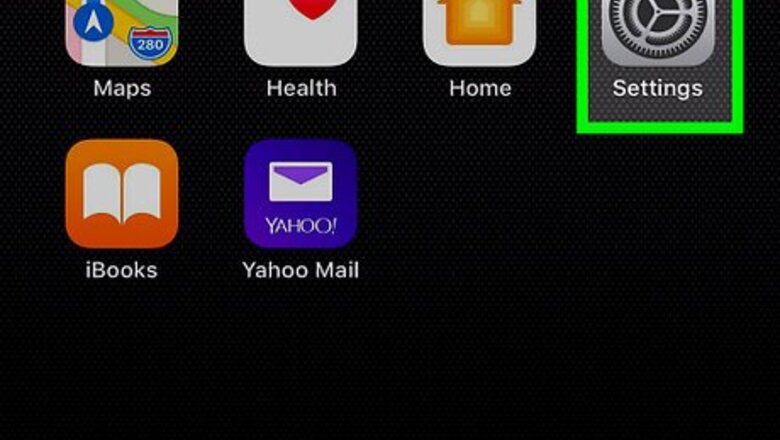
Open your iPhone or iPad’s Settings iPhone Settings App Icon. It’s usually located on the home screen.
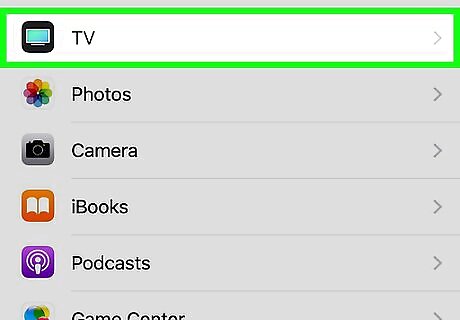
Scroll down and tap TV. If you don’t see this option, the TV app may not be available in your area. Depending on your location, you may be able to download it from the App Store.
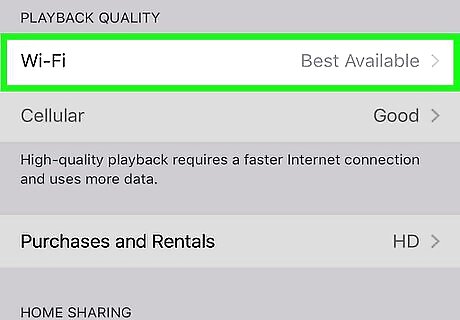
Scroll down and tap Wifi. It’s under the “Playback Quality” header.
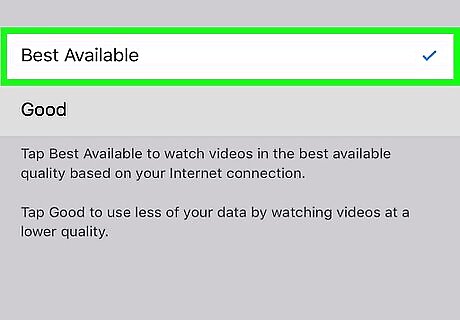
Select a playback quality option. If you have a fast network connection when connected to Wi-Fi, choose Best Available. If your connection is slow or you are experiencing quality issues at a higher level, select Good.
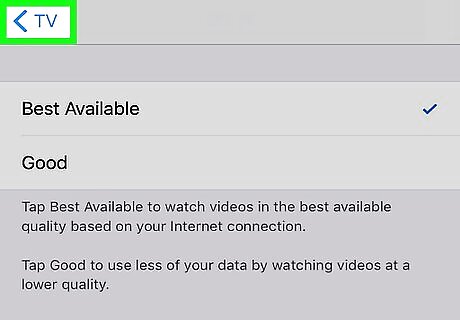
Tap the back button.
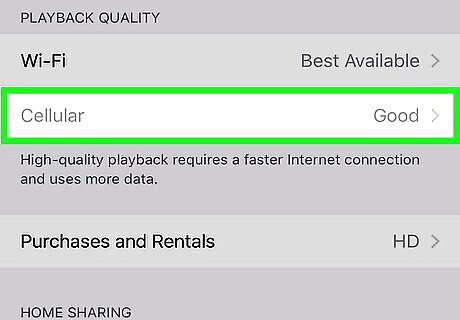
Tap Cellular. If this option is grayed-out, you have disabled cellular playback for the TV app.
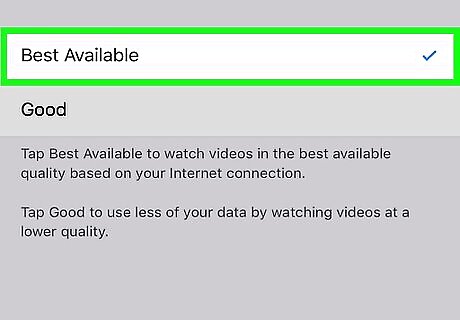
Select a playback quality option. As you did for your wireless connection, choose Best Available if your connection is speedy, and Good if not. Best Available uses more data. Only select this option if you don’t pay for extra data charges.
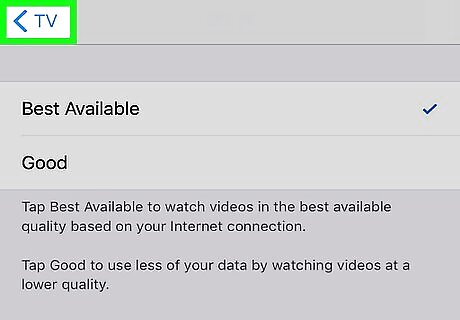
Tap the back button.
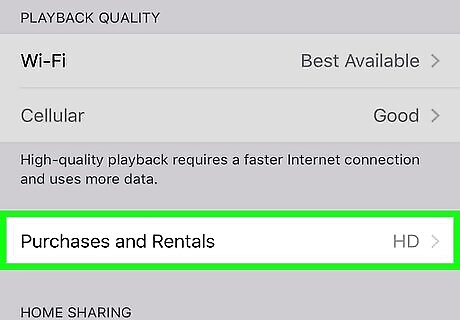
Tap Purchases and Rentals.
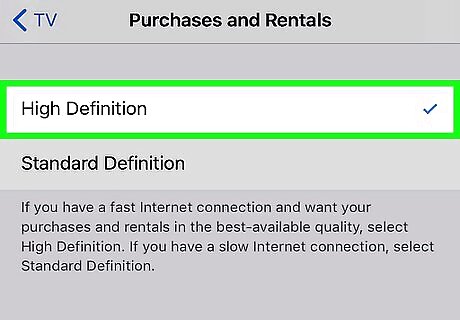
Select an option for purchased or rented video playback. Choose High Definition if you have a good connection, or Standard Definition if you have a slower connection.
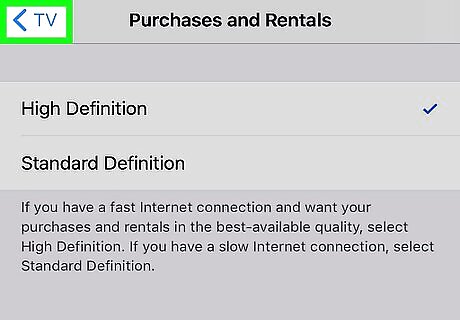
Tap the back button. Now that you’ve adjusted your playback options, the TV app will display video as you selected.





Comments
0 comment