
views
Measuring Your Space
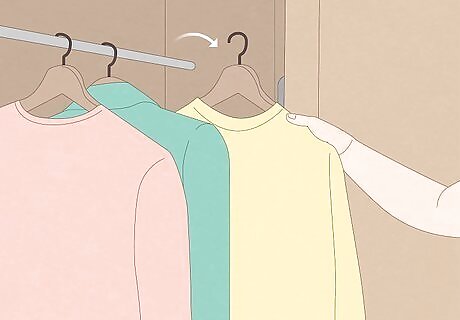
Empty your closet space. Remove all the clothing, organizers, and other objects from the closet space. If there are wire shelves in the closet, unscrew them and take them down from the wall. If you have wooden shelves that were hung previously, use a hammer to pound from below each shelf to loosen the board from the brackets. Unscrew or pry the brackets from the wall to carefully remove them. If any holes were created by the removal of the shelves, use a putty knife and drywall mud to fill them in. Paint the rest of the closet with whatever paint color you’d like before adding your new shelves.
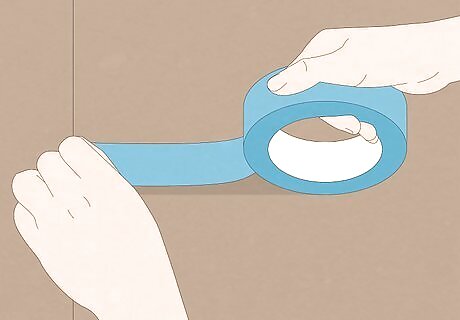
Mark where you want the shelves to be on the walls using painter’s tape. If you have specific objects you’d like the closet to have enough room to store, use these to roughly measure how wide the space between each shelf should be. Remember to take into account the thickness of the shelving material when planning. If you want to include a rod to hang coats and clothing, make sure to take the height of the rod and how much space you need below it into account when marking out space. You can also draw a sketch on graphing paper to figure out the spacing, mark out your measurements, and make sure you’re getting the best use out of your materials.
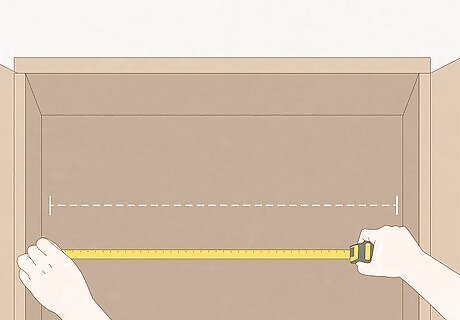
Measure the width of each individual shelf. Use a tape measure to measure from where you would like the front edge of your shelf to be to the back wall. Make sure to measure in several places along the wall, just in case the wall is slanted or bent along the back. Then, measure how long you would like each shelf and shelf bracket to be. If your shelving is going to run along a corner of your closet, plan to make one board longer to match up with the other. Measure each wall accordingly and factor in the width of one board when cutting the other to size.
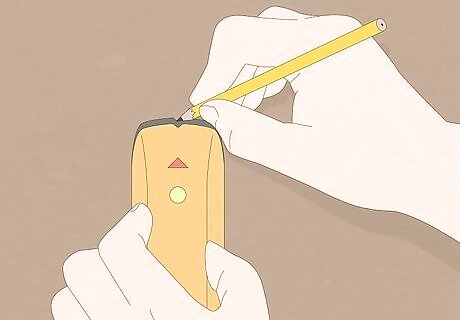
Locate the studs. Use a stud finder to find the studs in the walls and use a pencil or a piece of painter’s tape to mark where the studs are along each shelf. Many stud finders only have one light and will tell you where the edges of the studs are, so make sure to scan both sides of the stud and mark in the middle. If you don’t have a stud in a wall where you’d like a shelf to be, use drywall anchors to hold the shelf brackets in place securely.
Installing Your Shelving Cleats
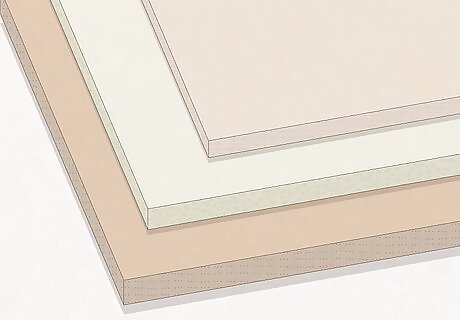
Choose your shelving material. If you’re creating a storage space to hold medium to heavy-weight kitchen or garage items, use furniture-grade plywood or cherry wood. To hold clothing and other light and medium-weight objects, consider using particle board, pine, melamine, MDF (Medium-Density Fiberboard), or laminate wood. If your closet doesn’t fit the exact dimensions of the material you choose, buy the next size up and cut it to whatever length you need. If you’re looking for a cheaper material, melamine is one of the most durable and cost-effective alternatives to plywood or MDF. You can also repurpose shelves from an old bookcase or from your old closet. Use 1in x 2 in (2.54 cm x 5.08 cm) wood boards for the shelf brackets. You can also use metal shelving brackets if you just want to add one or two shelves, however, this may make your shelving look less built-in than using a wooden bracket.
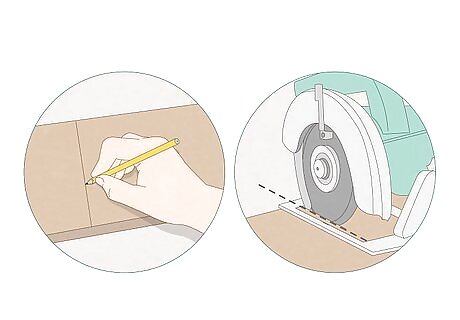
Cut the shelves to size. Use a pencil to mark the length you need to cut each wooden shelf to and cut with a circular saw or use a miter saw to cut the boards down to size. You can also ask your local home improvement store to cut your boards to the size you need. If you’re attaching two shelves together at a corner of your closet, predrill pocket holes underneath the boards facing the edge you want to attach.
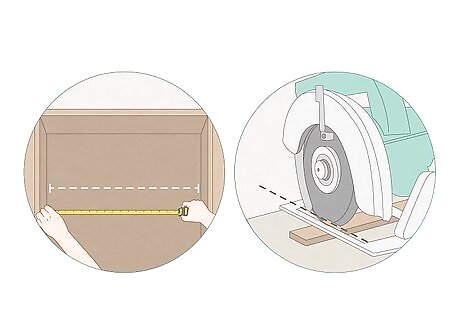
Cut the brackets to the size you need to support the shelves. Brackets are nailed or screwed in underneath your shelves and against the wall so that the weight of your shelves can be supported. If you’re supporting your shelves from the sides, plan to cut your brackets to the same width as your shelves so that the brackets don’t stick out from underneath the shelves. If you’re supporting your shelves from the back, plan to cut your brackets to the same length as your shelf. If your shelf fits snugly in between three walls, cut out the shelf first. Cut the two end brackets to the same width as the shelf, place them on top of your shelf, and then measure the space you need for the bracket in between them. After cutting each piece, fit the brackets together on top of the shelf to make sure they will sit flush against the wall. Keep in mind that the brackets will show after you hang up your shelves. Sand, prime, and paint or stain your brackets before hanging them on the wall.
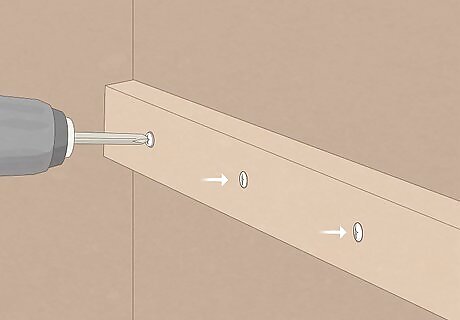
Drill or nail each bracket into the wall. Hold the first bracket on the wall of the closet, about ½ in (1.27 cm) below where you’d like your shelving to be. Predrill holes where the bracket aligns with the studs or wall anchors. Place a level on top of the bracket and screw it into place. Leave each screw a little loose until all of the screws are in, adjust the board until it’s level, and then drill the screws in the rest of the way. Repeat this process for each wall bracket. Predrilling beforehand can prevent the wood from splitting when you drive in a screw. When predrilling, use a drill bit that’s about ⅛ in (0.32 cm) smaller than your screws. Ensure that your screws are distributed evenly across each bracket so that the weight can be distributed evenly.
Placing Your Shelves and Adding Finishing Touches
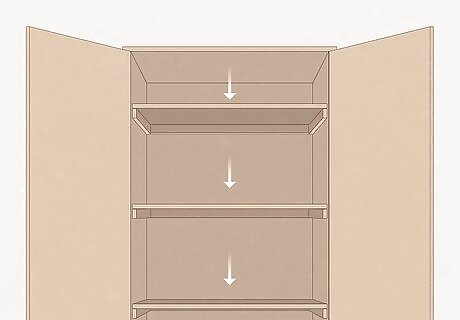
Slide each shelf onto the wall brackets. If you’re worried about the shelves sliding off, apply wood glue or use a couple of brad nails to attach the shelf to the shelving brackets. If you’re attaching two boards together at a corner of your closet, clamp the boards together to make them flush against each other. Use 1 ½ in (3.81 cm) wood screws to screw them together through the predrilled pocket holes. If you want to make your shelves cubbies, measure the width and height of the area from the top shelf to the bottom shelf and cut an additional piece after the rest of the shelves are installed. Use brad nails to attach the board at the edge of the wall to the supporting brackets and along each individual shelf. If you need additional support to keep your shelves from sagging, install a metal bracket in the center under each shelf or glue and nail a 1x2 piece to the front edge of each shelf.
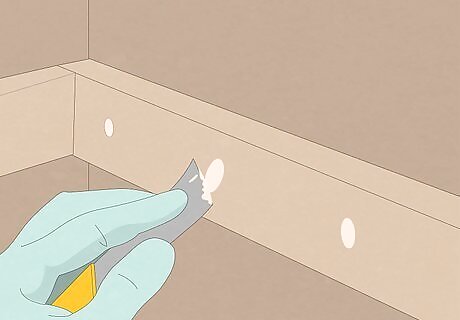
Use wood putty to cover the brad or screw holes. When the wood putty has dried, use a 150-grit sanding block or sander to smooth down your shelves. If you installed supporting boards, you can use caulk to fill in where the edges of the shelves meet a supporting board.
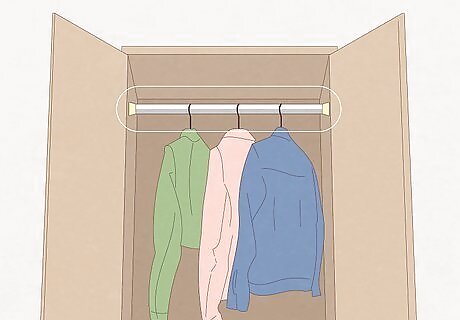
Hang a closet rod if you want to hang clothing items. Space your rod far enough from the back of the closet so that there’s a 1-2 in (2.5-5.1 cm) gap between the far corner of a hanger and the wall. Measure the distance of the area you want your rod to fit in, and plan to cut or adjust your rod so that it’s about ⅛ in (0.32 cm) shorter so you have room for the brackets. Install both mounting brackets, using a level to make sure that the brackets are in line with each other across the closet. Slide the rod into place.
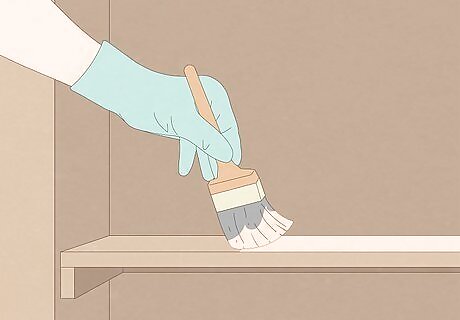
Prime and paint your shelves. If you didn’t prime and paint your shelves before installing them, you can do it after they’re in. Sand all the wood surfaces you plan on painting using 150-grit sandpaper. Paint the wood with a few coats of primer, lightly sanding between each coat to knock down the grain. Then, paint with whatever paint color you choose! Consider using a tinted primer so that you won’t have to put on as many coats of paint, whether you choose a light or dark color. Make sure you vacuum or wipe off the surface of your shelves after you sand to prevent the sawdust from interfering with the primer.






Comments
0 comment