views
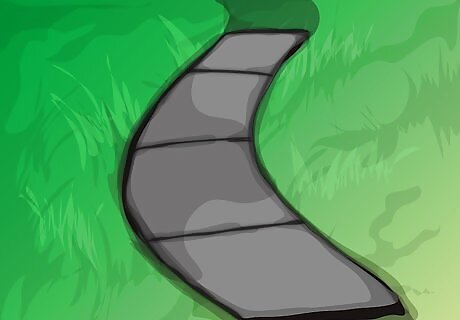
Plan your sidewalk. Do you want to make a curved sidewalk or straight? maybe you want to put in a ramp, whatever the case may be, know what you plan to do before you begin.
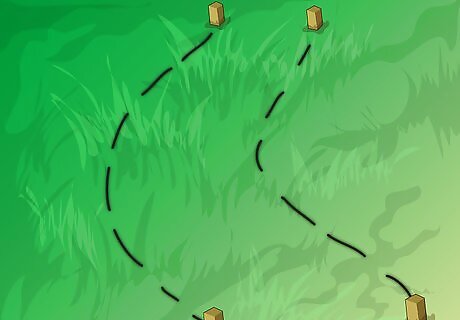
Lay out the area. Mark out a start and end point, as well as layout your potential sidewalk.
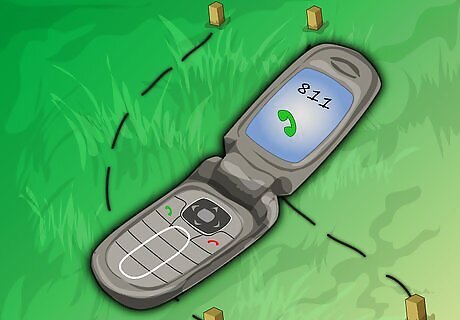
CALL DIG-SAFE (811). You would be surprised how many utilities are buried less than 4 inches (10.2 cm) underground.
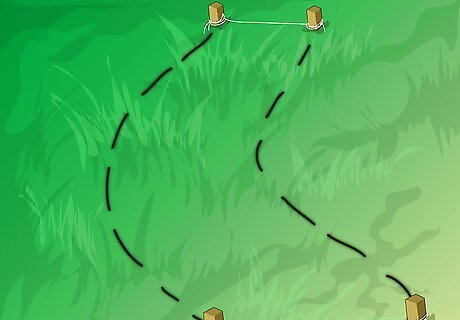
Establish a finish grade for your sidewalk this will serve as a start point as well as finish point. For most sidewalks, the use if a sting line and line level are sufficient enough. If you wish to be more technical and precise, you may use a laser or transit to establish grades.
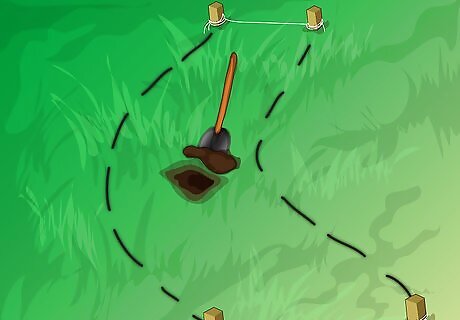
Begin your excavation. Dig to your sub-grade, roughly 5–7 inches (12.7–17.8 cm) below your established finish grade.
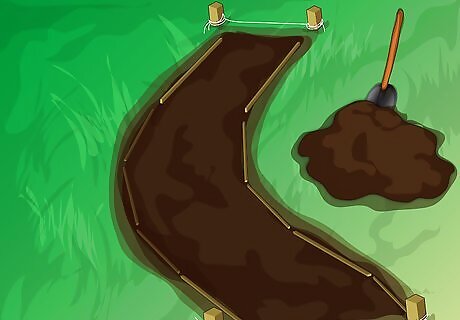
Form your sidewalk. Form your sidewalk using a rigid, yet flexible piece(s) of material. Thin plywood 1/2" to 3/4" is best to use due to its flexibility. Strip plywood into 4" wide sheets.
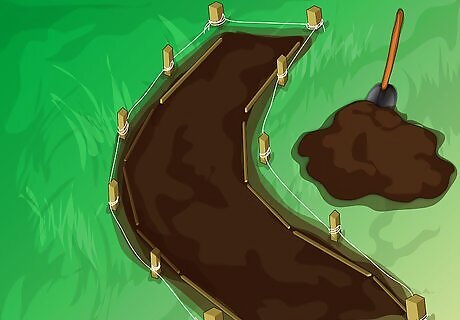
Set a string line to your finish grade. The string should also serve as a guide for the form to follow.
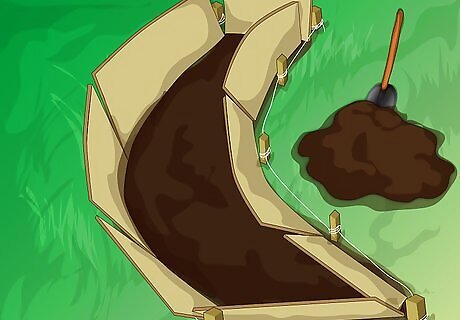
Set the forms by using either form pins or scrap wood. Begin by driving the pin or wood into the ground so the material is not able to easily move. Then nail the face of the form to the pin or wood while at the same time following the string. The top of the form should just touch the string.
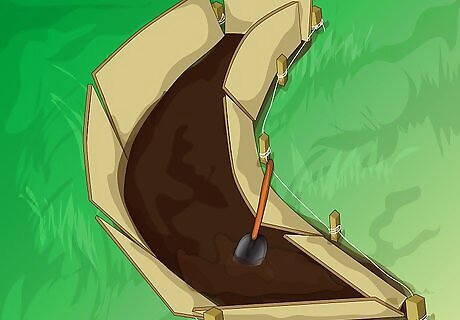
Fine grade your excavation. Use a straight blade rake to level out the ground. If possible, compact the ground after fine grading by using a hand tamper or motorized compactor.
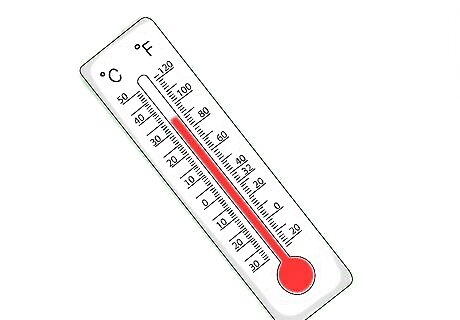
Apply it at the right temperature. The temperature of the concrete should be between 50°F and 90°F during placement. This can be checked with a standard thermometer. If you purchase ready-mix concrete, be sure to request an air-entrainment additive. You should look for air-entrainment to be between 4-8%. This will insure that your concrete is able to withstand colder temperatures.
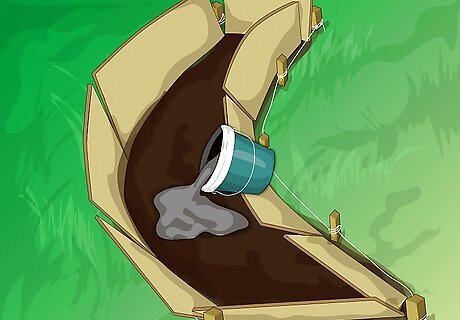
Pour the concrete to your finish grade. Use a screed (Straight edge)to remove excess concrete as well as level off the surface. screed in a sliding motion, pulling the screed back and fourth while at the same time moving it along the form.
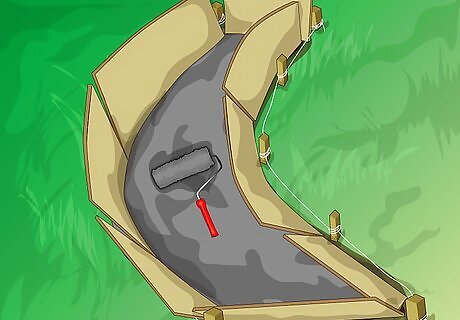
Roll the concrete using a concrete roller. This pushes the aggregate in the mix down while at the same time raises the cream used to finish the concrete.
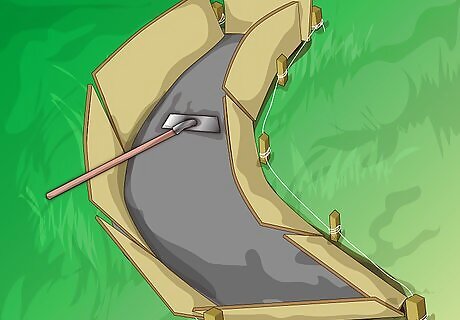
Bull float the concrete. Push the float over the concrete, to the form then pull it back to you. The slower you do this the better.
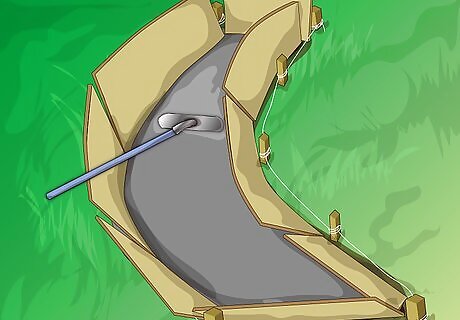
Use a fresno float to float over what you just bull floated. This will put an extremely smooth surface on the concrete, making it easier to finish.
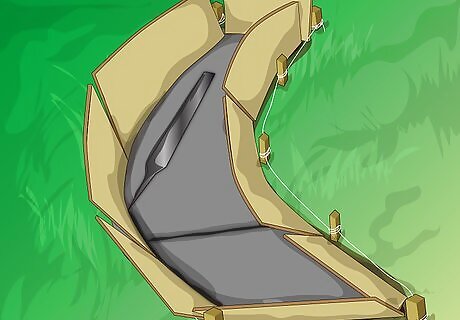
Cut your edges and center joints using an edger and center joint. Push the tools through the concrete while keeping the outside edges of the tools level with the concrete. Concrete likes to crack in squares. Be sure to put score marks or dummy joints in your sidewalk. These should be spaced apart equal to the length. e.g. 4' wide = Dummy Joints should be spaced every 4"/ 5'=5". Dummy joints should not be spaced more than 6'. Use a fiberboard expansion material where your concrete meets other structures and every 25' in in your sidewalk.
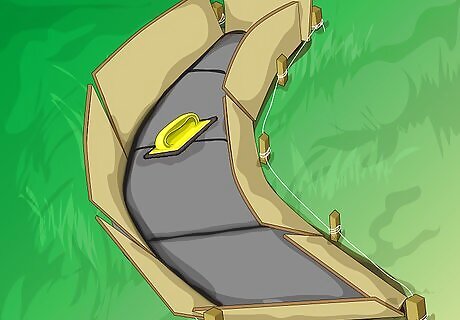
Use a magnesium float to remove the score marks left behind by the hand tools you used earlier, if desired. If you wish to broom finish the concrete, let the mix set up until is becomes tough to float (magnesium float). Pull a horsehair brush lightly across the surface so the stride marks are perpendicular to your form.


Comments
0 comment