views
Setting up Your External Hard Drive
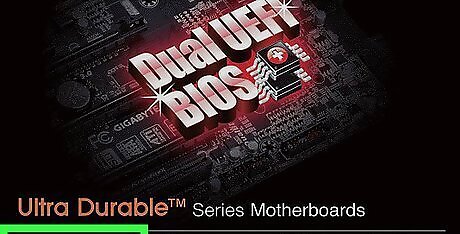
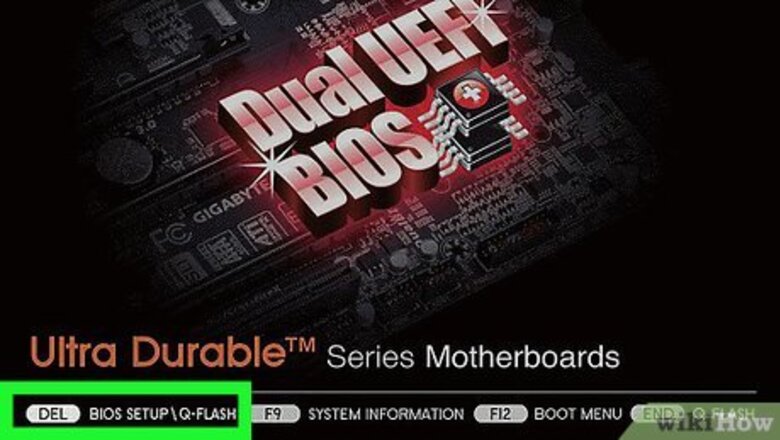
Figure out your computer's BIOS key on Windows. Skip this step on Mac. If you want to set your computer to boot from an external hard drive, you'll need to access the BIOS, which is a control panel that you open by pressing repeatedly a key (usually a function key such as F12) as your computer starts up. You can usually find out what key to use by doing the following: Open a search engine (e.g., Google). Type in your computer's manufacturer, model name, and the phrase "bios key". Press ↵ Enter, then search for a result that matches your search and determine your BIOS key. You can also check your computer's manual (or, if you don't have the manual, the online documentation for your computer that you can find on the manufacturer's website).
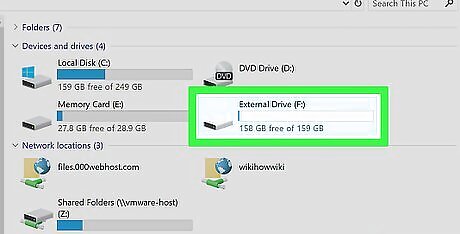
Attach the external hard drive to your computer. Plug one end of the external hard drive's USB cable into a free USB port on your computer, then plug the other end of the cable into the external hard drive. The external hard drive will usually have an indicator light that blinks slowly or stays constant when your drive is connected. On a Mac, you may need to buy a USB to Thunderbolt 3 adapter if you don't have any USB 3.0 (rectangular) ports.
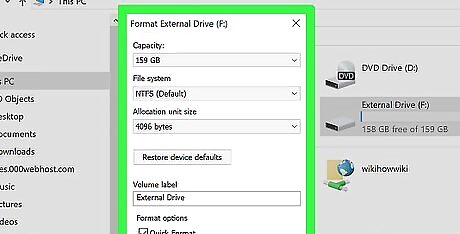
Format the hard drive if necessary. If the hard drive isn't compatible with your computer out of the box, you may encounter an error message stating that the drive is corrupted or otherwise unreadable. Formatting the drive for your computer's file system (NTFS for Windows and Mac OS Extended (Journaled) for Mac) will allow you to access the drive. When formatting the drive, you can choose exFAT at the file system to make the drive accessible to both Windows and Mac computers. Depending on the type of data you plan on putting on the drive, you may have to format it again later. For example, using the Live Linux tool to burn a Linux Disc Image to the external hard drive will automatically format it again. Formatting will erase any data that's already on the drive.
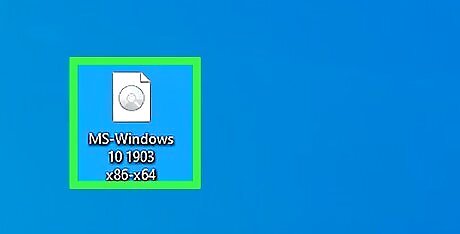
Make sure you have an item from which to boot. You can't boot from an empty hard drive; in most cases, booting from a hard drive will require you to have a Disc Image (abbreviated to "ISO") file on the hard drive. Examples of ISO files include the ones used to install Linux and Windows. Other examples of bootable images include a File History backup on Windows or a Time Machine backup on a Mac. Third-party services such as Clonezilla are also bootable.
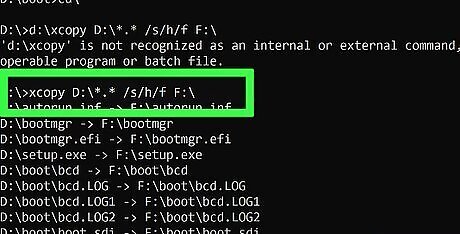
Place the boot file on the external hard drive. You can usually do this by dragging the ISO file (or other file, if different) into the external hard drive's window and dropping it there. If you're using a program such as the Windows 10 installation tool or LiveLinux to create your bootable external drive, skip this step.
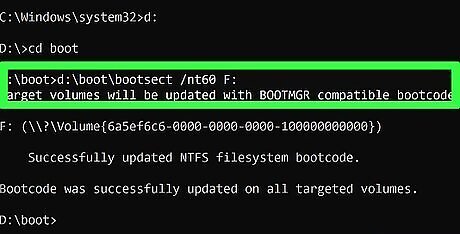
Make the external hard drive bootable. The final step before you can boot from your external hard drive is to tell your computer to view it as a bootable item. You can use Command Prompt (Windows) or Terminal (Mac) to do so. If you're using a program such as LiveLinux to burn an ISO file onto the external hard drive, the hard drive will be made bootable in the process.
Booting from an External Hard Drive on Windows
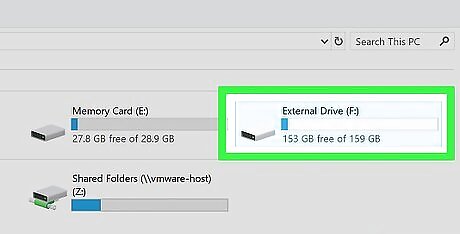
Make sure that your external hard drive is connected to your computer. Your external hard drive's cable should be connected firmly to both your computer and the external hard drive, and the external hard drive should be in a position where it doesn't create any tension on the cable.
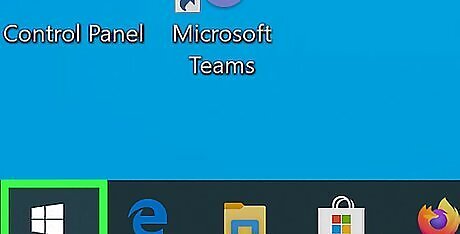
Open Start Windows Start. Click the Windows logo in the bottom-left corner of the screen.
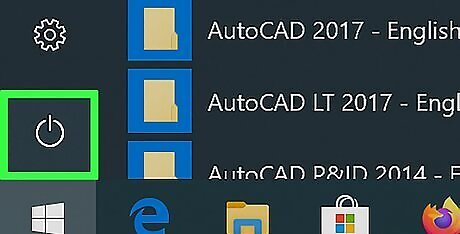
Click the "Power" Windows Power icon. It's in the lower-left side of the Start menu. Doing so prompts a pop-up menu.
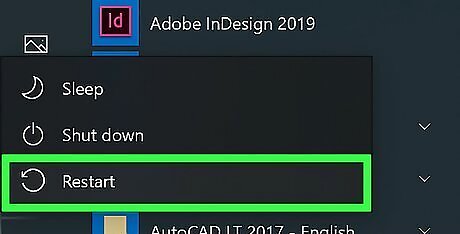
Click Restart. This is in the pop-up menu. Your computer will begin restarting.
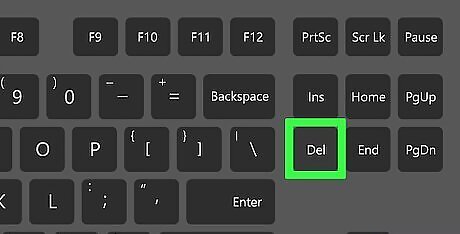
Begin pressing the BIOS key. As soon as your computer's screen turns off, you'll need to begin pressing repeatedly the key specified by your computer's manufacturer.
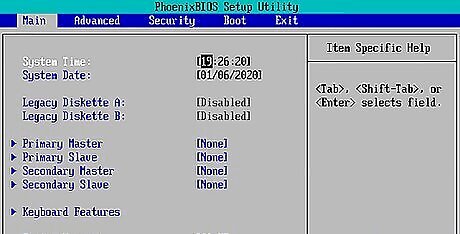
Stop pressing the key when the BIOS appears. The BIOS is usually a minimal interface with white or colored letters on a blue or black background.
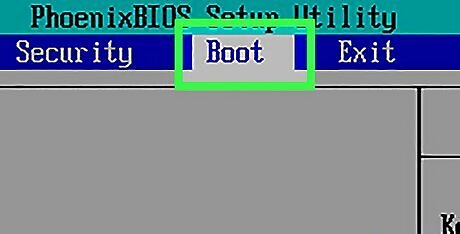
Find the "Boot Order" section. Scroll over to the "Boot Order" tab using the right arrow key, or look for the "Boot Order" option in one of the menus on the main page if you don't see a "Boot Order" tab. You may first need to select an Advanced tab to see the "Boot Order" menu. The BIOS menu varies from PC to PC, so don't be afraid to look around for the "Boot Order" section.
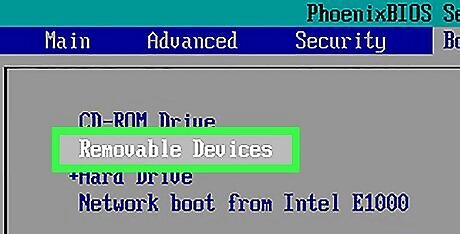
Select your external hard drive. Find your external hard drive's name or classification (e.g., External Hard Drive) in the "Boot Order" list, then press the "Down" arrow key until the external hard drive is selected. In some cases, you'll only be able to select USB devices (or similar) in this menu. If so, make sure that your external hard drive is the only USB storage attached to your computer when booting from it.
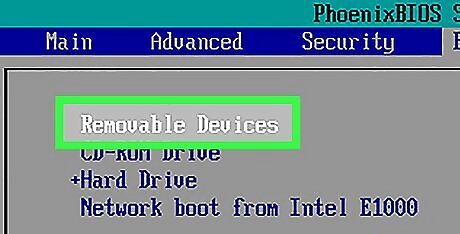
Move the hard drive to the top of the list. Press the "Move Up" key (usually the + key) as specified by the key legend on the right side of the screen until your hard drive's name is at the top of the "Boot Order" list. In some cases, the key legend will be at the bottom of the screen instead.
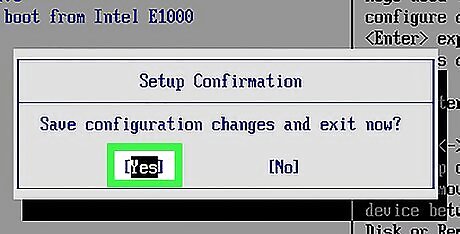
Save your changes and exit the BIOS. Usually, you'll press a key to do this, so check the key legend for a "Save and Exit" option. You may need to confirm this step by pressing another key.
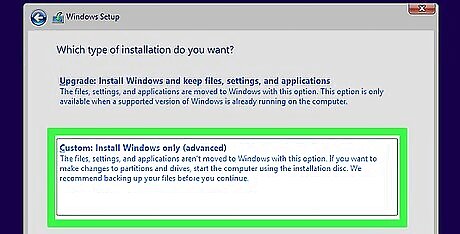
Follow any on-screen prompts. Once your external hard drive is selected as the boot location, your boot program or service will open; follow the on-screen prompts to open, install, or set up the program or service. For example, if you're installing Linux, you'll be asked to select a language and country, enter your user information, and so on. If you already have an operating system installed and set up on the external hard drive, completing the BIOS setup will open the operating system.
Booting from an External Hard Drive on Mac
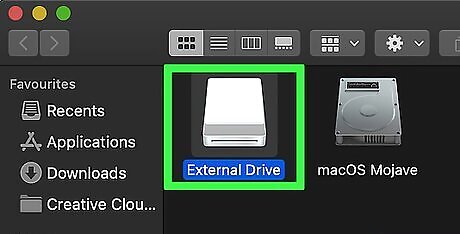
Make sure that your external hard drive is connected to your Mac. Your external hard drive's cable should be connected firmly to both your computer and the external hard drive, and the external hard drive should be in a position where it doesn't create any tension on the cable.
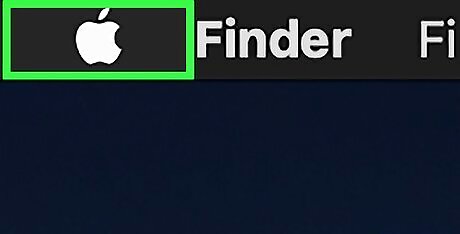
Open the Apple menu Mac Apple. Click the Apple logo in the top-left corner of the screen. A drop-down menu will appear.
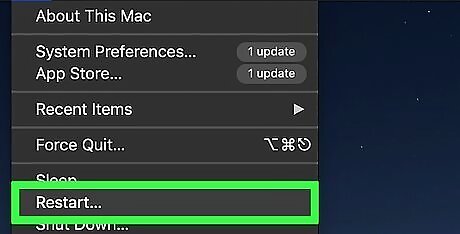
Click Restart…. It's in the drop-down menu.
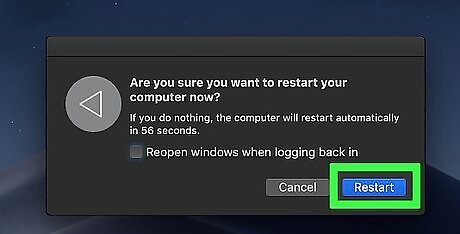
Click Restart when prompted. Your Mac will begin to restart.
Wait for the screen to turn off. Once your Mac's screen goes black, you can start holding down the ⌥ Option key.
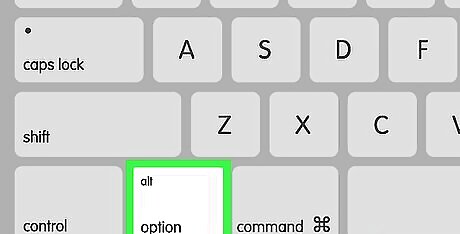
Press and hold the ⌥ Option key. You'll do this until the Startup Manager window opens.
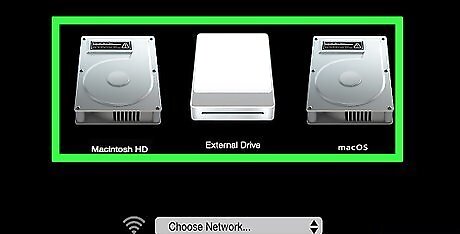
Release the key when the Startup Manager window appears. This window, which will appear in the middle of the screen, will have a list of your available boot locations.
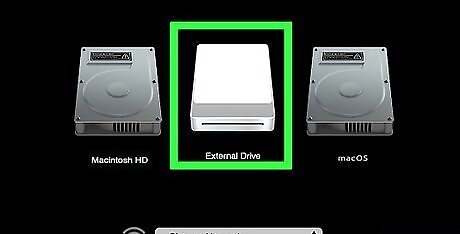
Select your external drive. Click your external drive's name in the Startup Manager window.
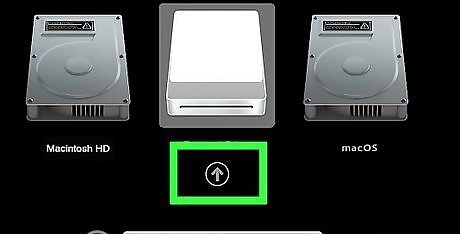
Confirm your selection. Click the upward-facing arrow below the external drive. Doing so will prompt your Mac to begin booting from the external hard drive.
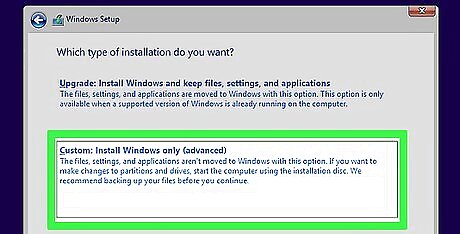
Follow any on-screen prompts. Once your external hard drive is selected as the boot location, your boot program or service will open; follow the on-screen prompts to open, install, or set up the program or service. For example, if you're installing Linux, you'll be asked to select a language and country, enter your user information, and so on. If you already have an operating system installed and set up on the external hard drive, confirming your hard drive selection will open the operating system.


Comments
0 comment