views
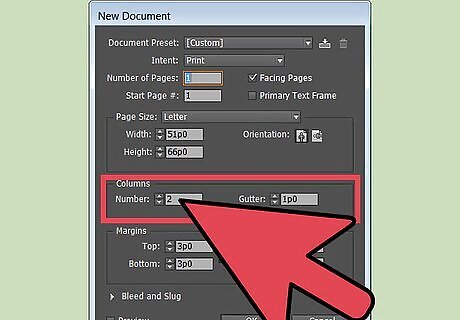
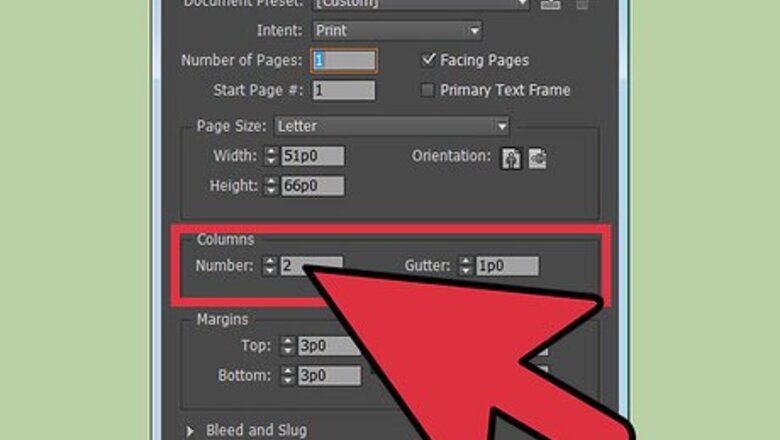
Add columns to a new document. You can change the number of columns in a new document to make working on it easier. Create the document by going to "File" and selecting "New." Choose a new page from the "Page" menu. Go to the "New Document" menu. Find the "Columns" window and enter the number of columns you want to add. Change the gutter width between each column to create a more dynamic design. The program will automatically change the column widths inside the text area to accommodate wider gutters.
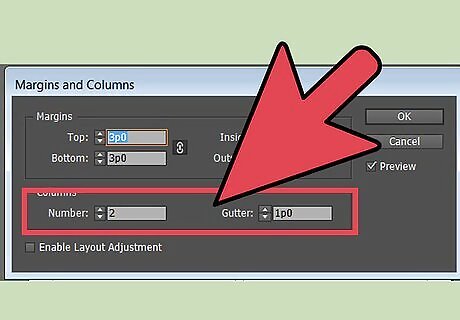
Use InDesign to add columns to an existing document. Designers often want to change the number of columns on an existing page. The process is similar to adding columns to a new document. Go to the "Pages" menu and double-click the page you want to open. Select the text area where you want to add columns. Go to the "Layout" menu. Find "Margins and Columns" from the "Layout" drop-down menu. In the "Columns" window, enter the number of columns you want. You also can add columns from the "Object" menu. Select it and find "Text Frame Options." The "Margins and Columns" drop-down will appear. The keyboard commands for the "Margins and Columns" menu are "Ctrl+b" for PC's and "Command+b" on a Mac.
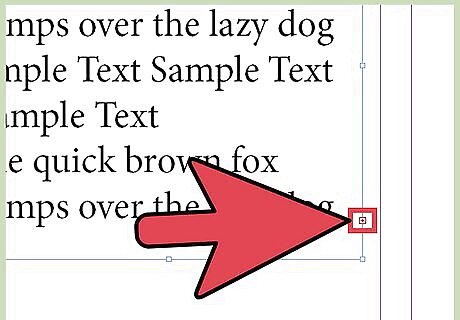
Create a new column using overset text. You can add additional columns on a page using real text. The column with overset text will have a red + symbol in its out port, which is at the bottom right of the frame. Draw any empty text frame next to the first column. Select the first frame with the Selection tool. Click the + symbol in this frame. Your cursor now holds the overset text. Position the cursor over the empty text frame. The cursor's shape will change. Click and the text will flow into the new column. You also can create another column when your cursor contains the overset text without having an empty text frame available. Simply click and drag your cursor over an empty space in the document and the text will flow into it.
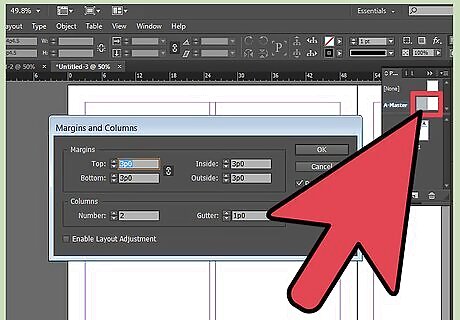
Change columns in master or spread pages. Designers sometimes want to change column formatting on master or spread pages to ensure continuity on those pages. Go to the "Pages" menu. Click once on a page icon. Then click on the pages numbers below it that form the spread. Double-click the page icon to target the spread. The page spread will appear in the document window. Make sure the text area is highlighted and go to the "Layout" menu and find "Margins and Columns." Enter the values you desire for the number of columns and gutter widths. Hit "OK." To make unequal column widths for a more-dynamic layout, place your cursor over a column grid and drag it to its new position. The gutter width will remain the same as you stretch the column.







Comments
0 comment