
views
Using Windows
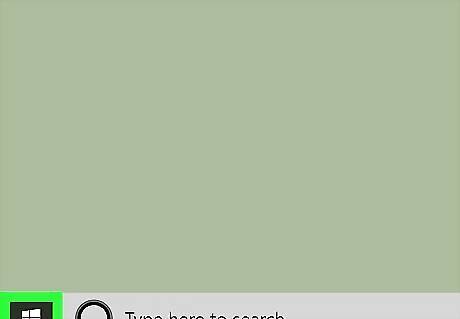
Open Start Windows Start. Click the Windows logo in the bottom-left corner of the screen. This method will work on Windows 10 and Windows 11.
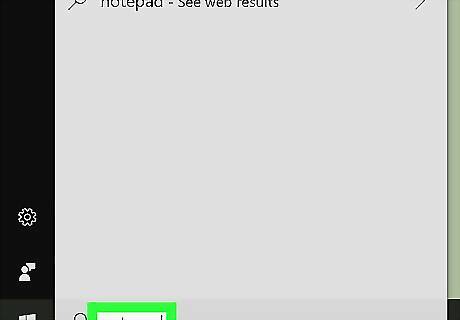
Type in notepad. This will search your computer for the Notepad app.
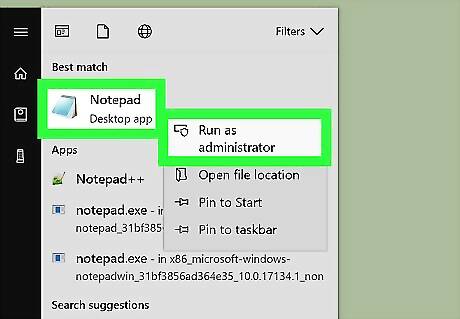
Open Notepad in administrator mode. Right-click Notepad at the top of the Start window, click Run as administrator in the drop-down menu, and click Yes when prompted. The Notepad window will open. If your mouse doesn't have a right-click button, click the right side of the mouse, or use two fingers to click the mouse. If your computer uses a trackpad instead of a mouse, use two fingers to tap the trackpad or press the bottom-right side of the trackpad.
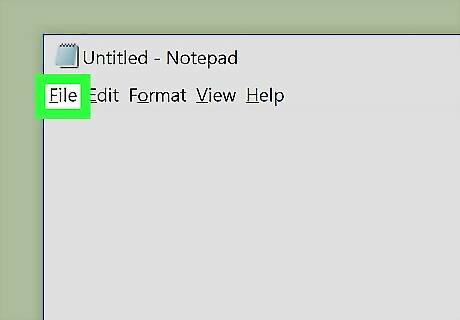
Click File. It's in the top-left corner of the window. A drop-down menu will appear.
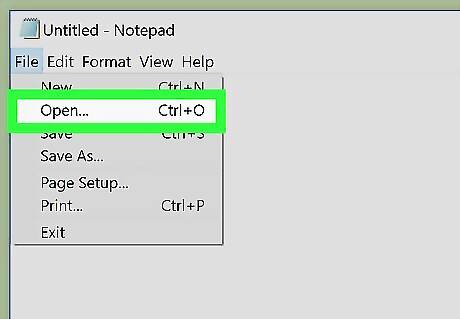
Click Open…. This option is near the top of the File drop-down menu. Doing so opens a File Explorer window.
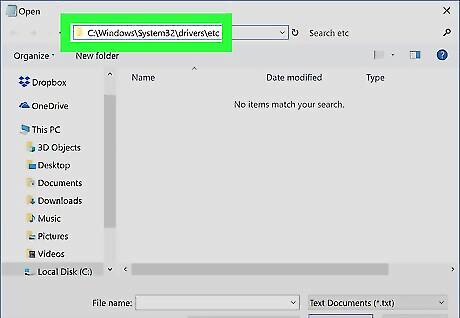
Navigate to the "etc" folder. To do so: Click This PC on the left side of the File Explorer window. Scroll down and double-click your hard drive's name (usually OS (C:)) in the middle of the window. Double-click the "Windows" folder. Scroll down and double-click the "System32" folder. Scroll down and double-click the "drivers" folder. Double-click the "etc" folder.
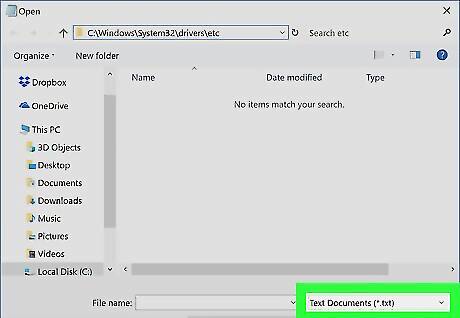
Click the "Text Documents (*.txt)" box. It's in the lower-right side of the window. A drop-down menu will appear.
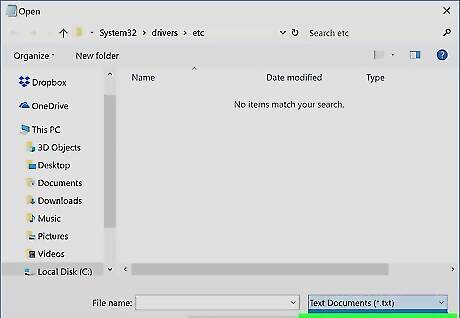
Click All Files. This option is in the drop-down menu. You should see several files appear in the main window.
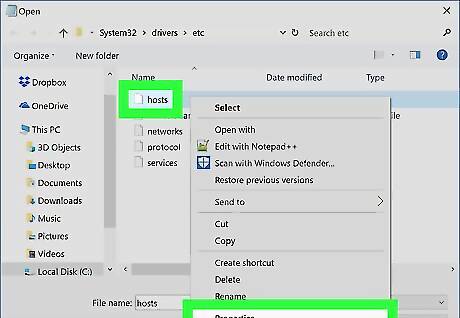
Remove security from the "hosts" file. Find the "hosts" file in the main Notepad window, then do the following: Right-click the "hosts" file. Click Properties in the drop-down menu. Click the Security tab. Click Edit. Check the "Full Control" box. Click OK, then click Yes when prompted. Click OK.
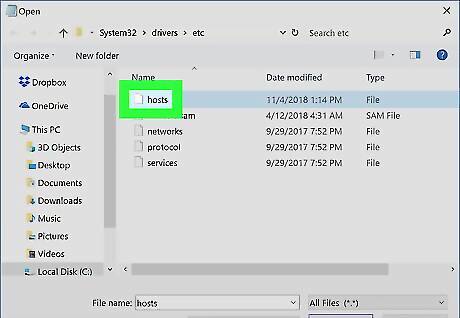
Select the "hosts" file. Click the "hosts" file to do so.
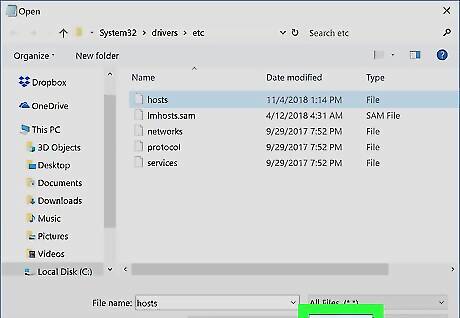
Click Open. It's in the lower-right side of the window. The "hosts" file will open in Notepad.
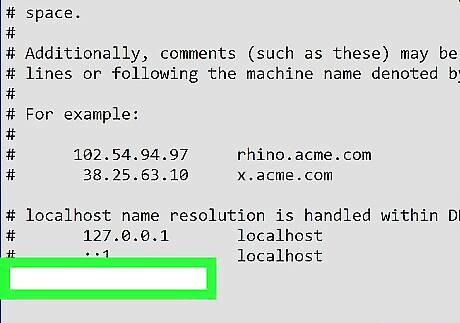
Create a new line at the bottom of the document. Click the very end of the last line on the page, then press ↵ Enter.
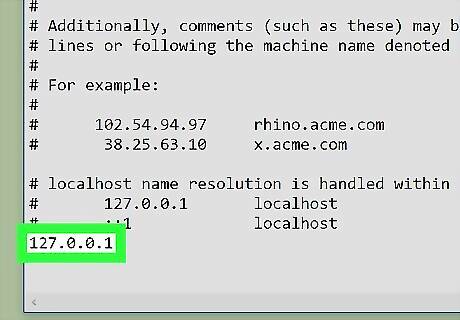
Add websites to the block list. To block a website in your computer's browsers, do the following: Type in 127.0.0.1 and press Tab ↹. Type in a website's address without the "www" section (e.g., "facebook.com", "twitter.com"). Press ↵ Enter to start a new line, then repeat the above two steps with other addresses you want to block.
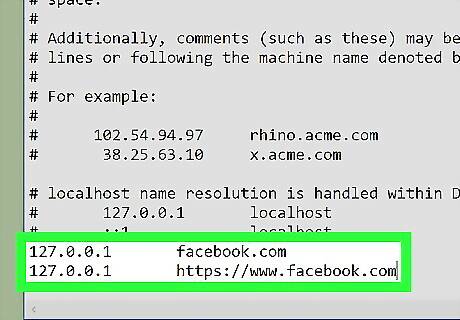
Block Google Chrome sites using this method. While you can block sites in most browsers using the above step, Google Chrome is slightly different: if you're blocking sites on Google Chrome, you'll need to place a space and then the "www.[site].com" version of the website's address after the "[site].com" version. To block Facebook, for example, you would type in 127.0.0.1 facebook.com www.facebook.com. Adding the "http://" or "https://" part of the address as well (e.g., 127.0.0.1 facebook.com https://www.facebook.com can improve the chances of the site being blocked.
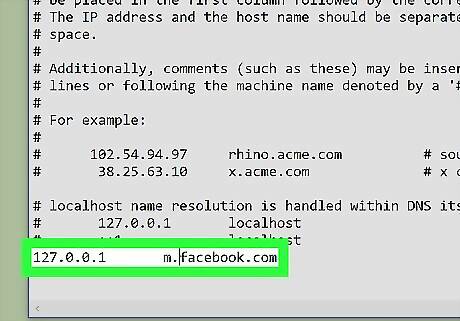
Try blocking alternative versions of the website's address. IP address — You can find a website's IP address and then block it in the "hosts" file to prevent people from accessing the website via its IP address. Mobile site — By placing "m." in front of a website's address (e.g., "m.facebook.com" instead of "facebook.com"), you can block the mobile version of the website as well.
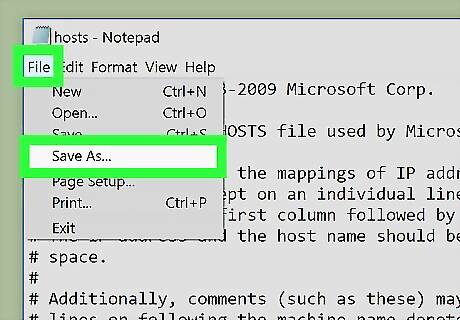
Replace the existing "hosts" file with the edited one. To do so: Click File in the top-left corner of Notepad. Click Save As... in the drop-down menu. Click the "Save as type" drop-down box, then click All Files in the drop-down menu. Click the "hosts" file in the main window to select it. Click Save, then click Yes when prompted.
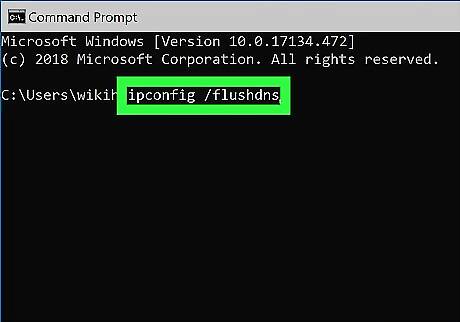
Flush your computer's DNS cache. You'll use Command Prompt to perform this action. Flushing the DNS cache will prevent saved browser information from clashing with your blocked sites. Press the Windows key and type "cmd". Right-click Command Prompt. Click Run as administrator. Click Yes to confirm. In the Command Prompt, type ipconfig /flushdns. Press Enter.
Restart all browsers. If you have any browser windows open, close them and then re-open them. Any websites you added to the "hosts" file should now be blocked in your browsers. If the websites still aren't blocked after restarting your browsers, try restarting your computer.
On Mac
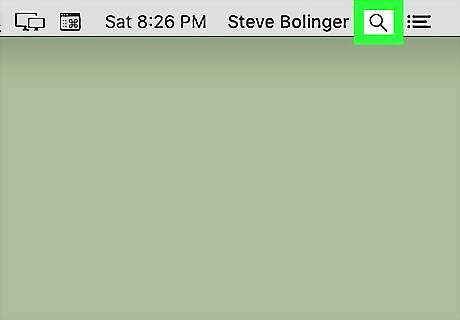
Open Spotlight Mac Spotlight. Click the magnifying glass icon in the upper-right side of your Mac's screen. A text box will appear.
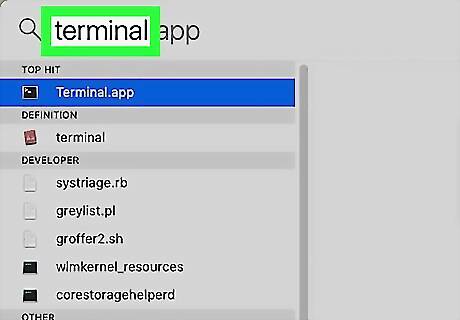
Type terminal into Spotlight. This will search your computer for the Terminal app.
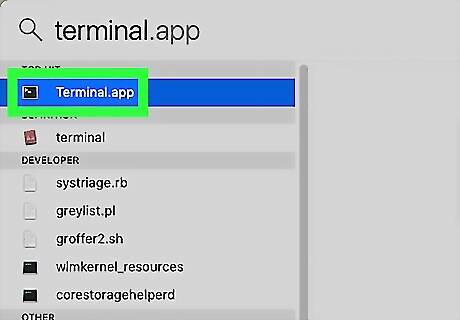
Double-click Mac Terminal Terminal. It should be the top option in the Spotlight search results. Doing so will open the Terminal app.
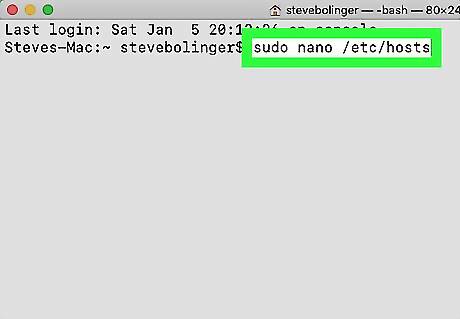
Open the "hosts" file. Type in sudo nano /etc/hosts and then press ⏎ Return.
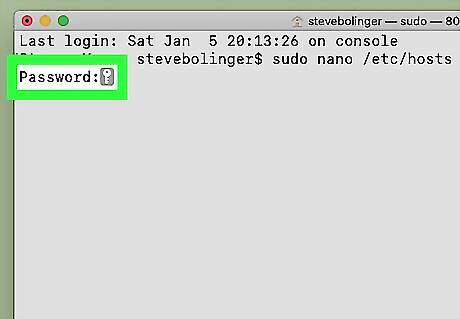
Enter your Mac's password. Type in the password that you use to log into your Mac, then press ⏎ Return. The "hosts" file will open. Terminal won't show your password's letters as you type.
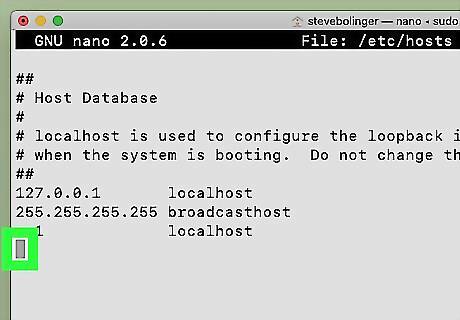
Move the blinking cursor down to the bottom of the page. Press the ↓ key until the cursor is at the end of the last line of text on the page, then press ⏎ Return.
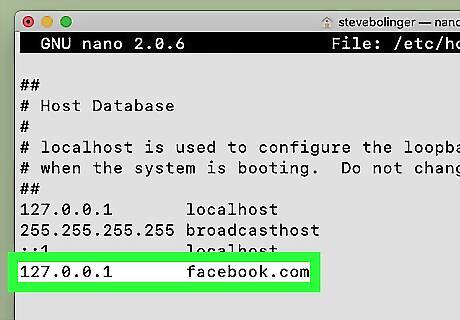
Add websites to the block list. To block a website in your computer's browsers, do the following: Type in 127.0.0.1 and press Tab ↹. Type in a website's address without the "www" section (e.g., "facebook.com"). Press ⏎ Return to start a new line, then repeat the above two steps with other addresses you want to block.
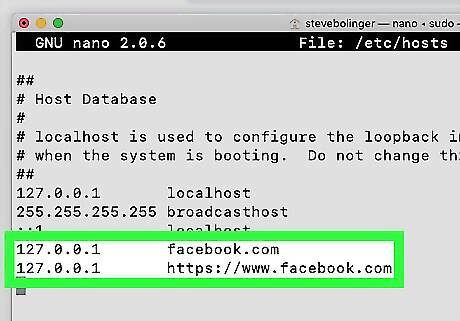
Block Google Chrome sites using this method. While you can block sites in most browsers using the above step, Google Chrome is slightly different: if you're blocking sites on Google Chrome, you'll need to place a space and then the "www.[site].com" version of the website's address after the "[site].com" version. To block Facebook, for example, you would type in 127.0.0.1 facebook.com www.facebook.com. Adding the "http://" or "https://" part of the address as well (e.g., 127.0.0.1 facebook.com https://www.facebook.com can improve the chances of the site being blocked.
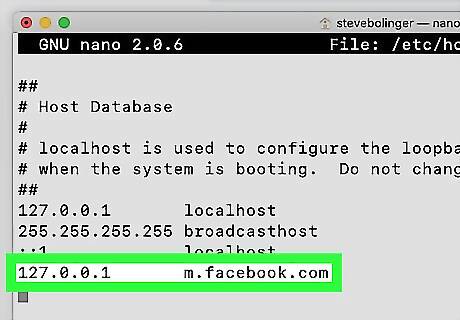
Try blocking alternative versions of the website's address. IP address — You can find a website's IP address and then block it in the "hosts" file to prevent people from accessing the website via its IP address. Mobile site — By placing "m." in front of a website's address (e.g., "m.facebook.com" instead of "facebook.com"), you can block the mobile version of the website as well.
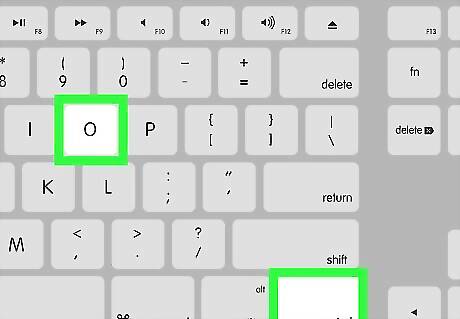
Save and exit the editor. Once you have entered all of the sites that you want to block, save and exit by pressing Control+O and then pressing ⏎ Return. To exit the hosts file, press Control+X.
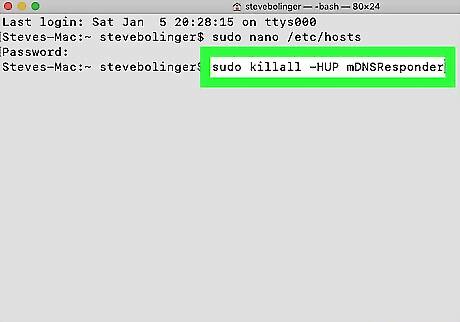
Flush your computer's DNS cache. Type in sudo killall -HUP mDNSResponder and press ⏎ Return. This command will flush your Mac's DNS cache, which will ensure that all of the website's previous data (e.g., saved passwords) is erased. Your listed site should now be blocked in all browsers on your computer. If your computer's browsers don't block the site, restart your computer to finalize the changes.
Using Chromebook & Google Chrome
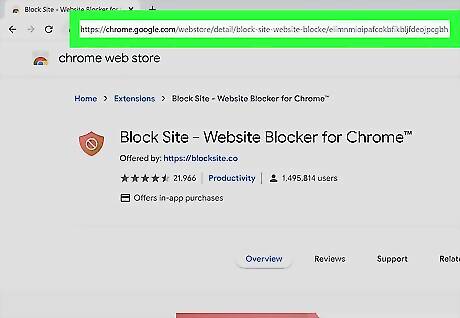
Open the Block Site page. This is the page from which you'll install Block Site. Block Site allows you to block individual pages or entire websites. It also allows you to set a password so that other computer users can't change your block list.
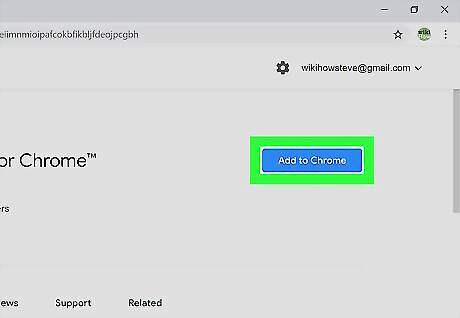
Click ADD TO CHROME. It's a blue button in the upper-right side of the page.
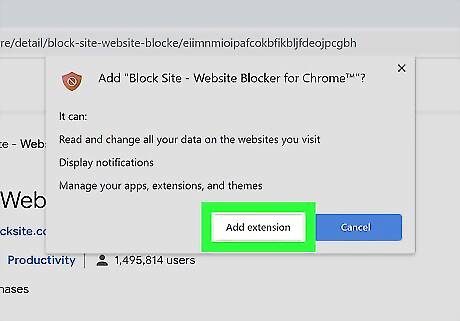
Click Add extension when prompted. This option will appear at the top of the page. Clicking it prompts Block Site to install.
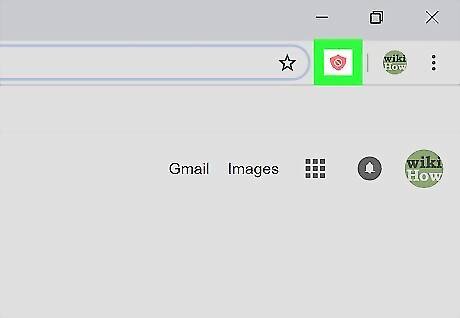
Click the Block Site icon. It's a shield-shaped option in the upper-right side of the Chrome page. A drop-down menu will appear.
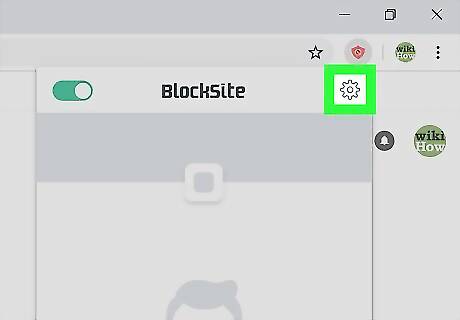
Click Edit block sites list. You'll find this in the drop-down menu. Doing so opens the Block Site page. You can also click the gear-shaped icon in the top-right corner of the drop-down menu if you want to open the Block Site page.
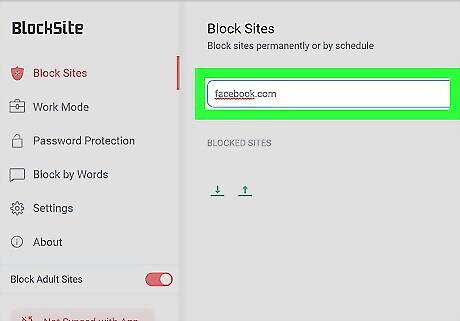
Enter a website's address. Click the "Enter a web address" text box near the top of the page, then type in the address of the website that you want to block. If you want to block a specific page on a website, go to that page, then copy the address by clicking the address bar at the top of the window and then pressing Ctrl+C (Windows) or ⌘ Command+C (Mac).
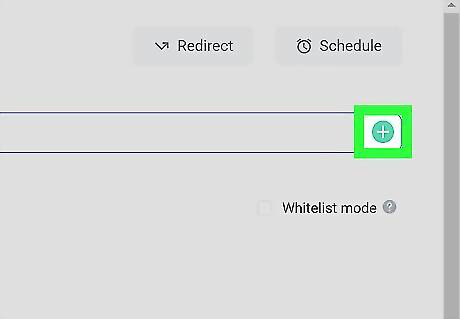
Click +. It's to the right of the website text field. Your website will immediately be added to Block Site's list of blocked websites. You can remove your site from Block Site's blacklist at any time by clicking the red circle icon to the right of the website's URL in the list of blocked sites.
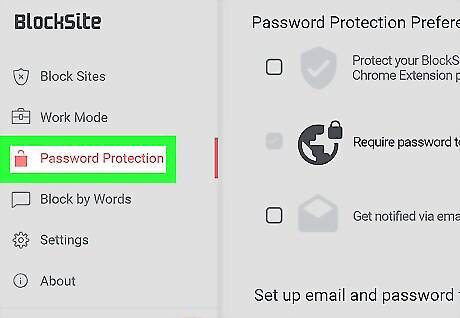
Click Password Protection. This tab is on the left side of the Block Site page.
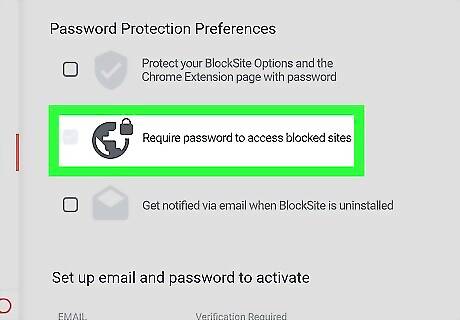
Check the "Require a password to access Block Site menu" box. Doing so will create a password text box at the bottom of the page. You can also check the "Enable password access to blocked pages" box if you want your password to allow you to open blocked sites.
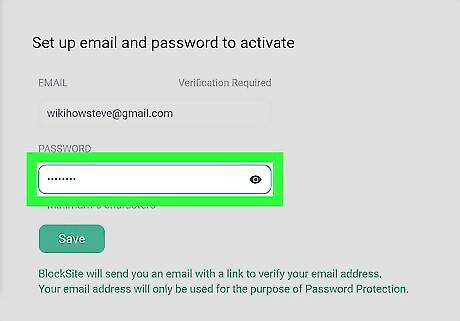
Scroll down and enter a password. Type your preferred password (at least 5 characters) into the text box at the bottom of the page.
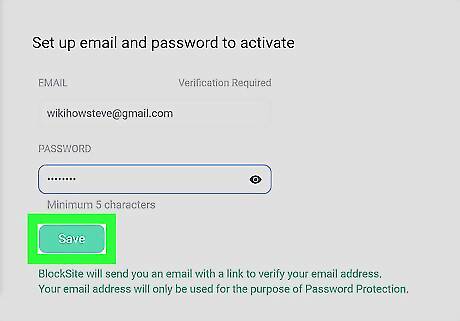
Click Set Password. It's to the right of the password text field. This will create your password and apply it to Block Site. When accessing Block Site in the future, you'll need to enter your password before you can add or remove sites. If you forget your password to Block Site, you can right-click the Block Site icon and click Remove from Chrome.
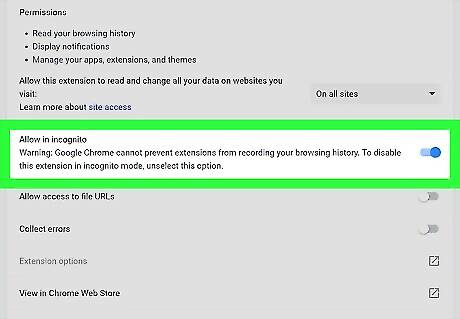
Allow Block Site in Incognito mode. One way that people can use to get around Block Site's restrictions is by using incognito mode, but you can enable Block Site in incognito to fix this problem: Click ⋮ Select More tools Click Extensions Click DETAILS below the "Block Site" heading. Click the grey "Allow in incognito" switch Android 7 Switch Off.
Using Firefox
Open Firefox. Its app icon resembles an orange fox wrapped around a blue globe.
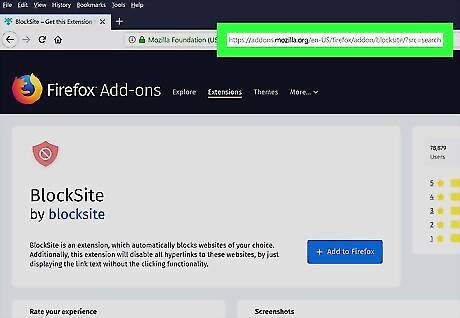
Open the Block Site webpage. This is the location from which you'll download Block Site.
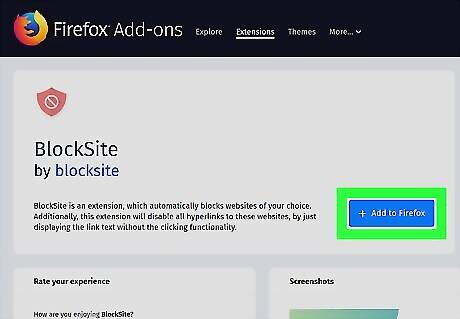
Click + Add to Firefox. This blue button is in the middle side of the page. You may have to scroll down to see it.
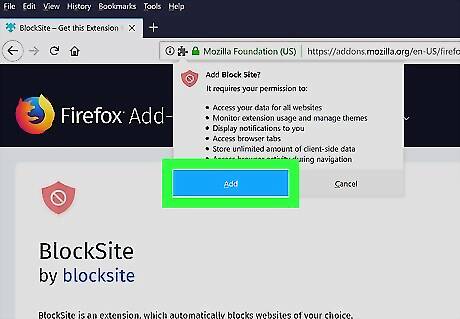
Click Add when prompted. This is also at the top of the window. Doing so will install Block Site in your Firefox browser.
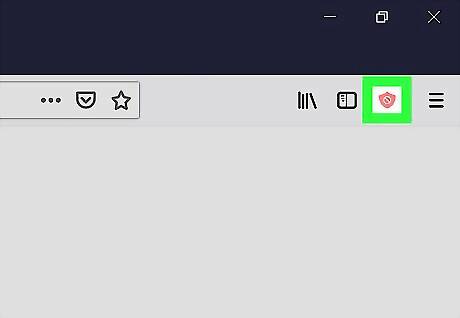
Click the Block Site app icon. It's an orange, shield-shaped icon in the upper-right side of the window. A drop-down menu will appear. You may have to click Got it in the drop-down menu before proceeding.
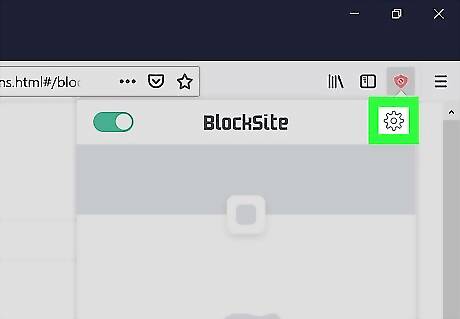
Click Edit block sites list. This is in the drop-down menu. Doing so opens the Block Site page. You can also click the gear-shaped icon in the top-right corner of the drop-down menu to open the Block Site page.
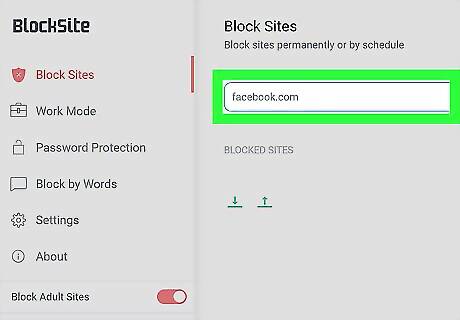
Enter a website's address. Click the "Enter a web address" text box near the top of the page, then type in the address of the website that you want to block. If you want to block a specific page on a website, go to that page, then copy the address by clicking the address bar at the top of the window and then pressing Ctrl+C (Windows) or ⌘ Command+C (Mac).
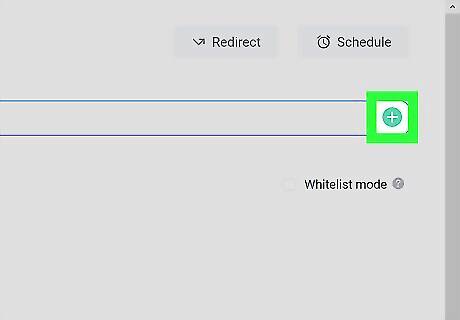
Click +. It's to the right of the website text field. Your website will immediately be added to Block Site's list of blocked websites. You can remove your site from Block Site's blacklist at any time by clicking the red circle icon to the right of the website's URL in the list of blocked sites.
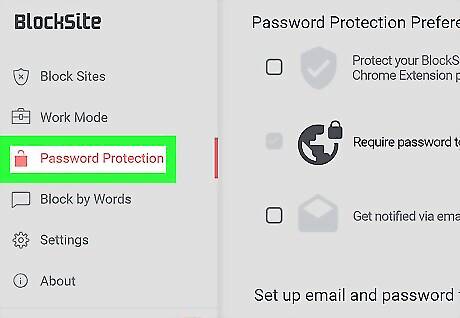
Click Password Protection. Go to the Block Site page. On the left side you will find the tab.
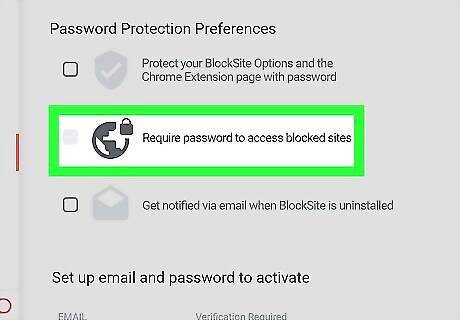
Make sure the box that says "Require a password to access Block Site menu" is selected. The password text box should appear at the bottom of the page. Check the "Enable password access to blocked pages" box if you want your password to allow you to open block sites.
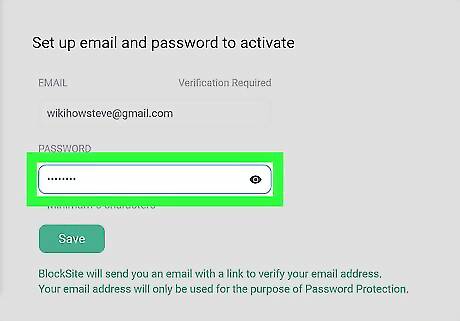
Scroll to the text box at the bottom of the page and enter a password with at least 5 characters.
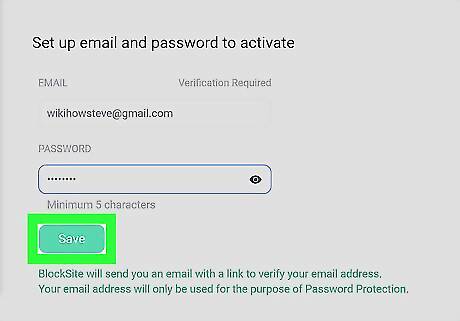
Click the Set Password button. This will set your password and apply it to Block Site. You'll need to enter your password before you can add or remove sites. If you forget your password to Block Site, you can remove it from Firefox by clicking ☰, clicking Add-ons, and clicking Remove to the right of "Block Site" on the Extensions page.


Comments
0 comment