views
If you are removing the GE washer agitator because you have a piece of clothing stuck underneath it, please try untwisting the stuck clothing free before trying to remove the agitator. Figure out the direction in which the agitator spins (usually the direction in which it is easy to turn the drum), then hold the outside drum in place while spinning the agitator in the opposite direction. This is to reverse the direction of the agitator to untwist the clothing from underneath it. As you continue to reverse spin the agitator, slowly pull the piece of clothing out and untwist until it is completely free of the agitator. If this fails, then try removing the agitator to retrieve your clothing.
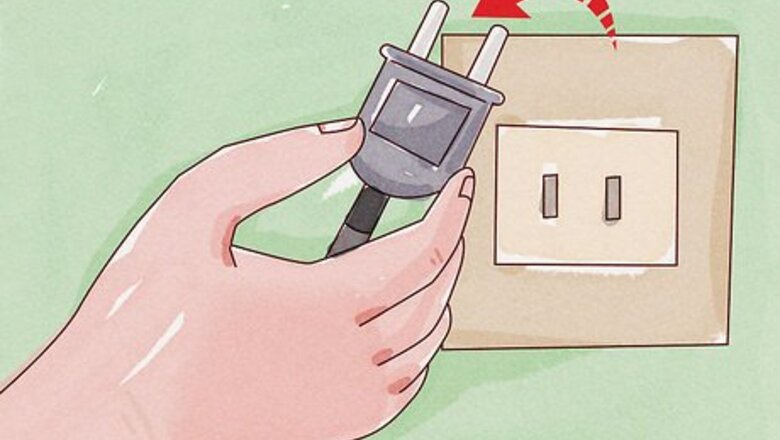
- Start by unplugging your washing machine. Then, remove the agitator cap by prying off the connection bolt.
- With the cap removed, look down the barrel to locate the metal bolt or nut holding the agitator in place. Then, use a ratchet to unscrew and remove it.
- After removing the metal bolt or nut, simply lift the agitator to remove it.
Removing a Bolted Agitator
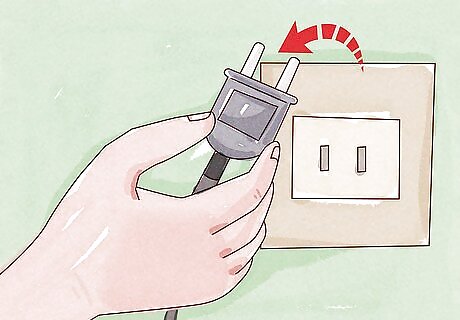
Unplug your washing machine. Removing a washing machine's agitator is generally a simple, easy procedure with minimal risk of danger. However, accidents are possible even during the most routine acts of maintenance, so, just to be safe, disconnect your washer from its power supply before beginning. Doing this ensures that you won't accidentally be shocked or injured if the "on" button is somehow pressed accidentally. Though injuries from washing machines are very rare for adults, they are, in fact, possible and can be quite serious. However, it's important to keep in mind that most washing machine injuries occur when the machine is full of clothes — in other words, during normal use.
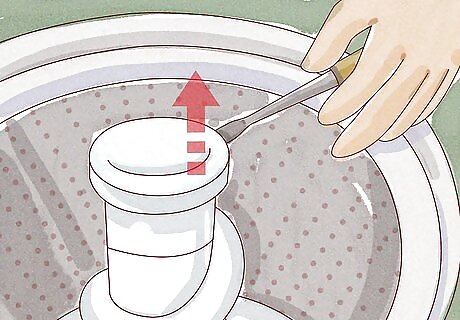
Remove the agitator cap. Many models of GE washer have agitators that are mounted in place with a single metal bolt (specifically, compact washers 1996 and earlier, regular 1992-1995 models, and handwash agitator models). To remove agitators on these models, this fastening bolt must first be removed. To access the bolt, remove the cap at the top of the agitator — this can usually be done either by hand or by prying with a screwdriver. Take care if the cap is glued down. Bolt caps that are glued in place are usually fairly fragile. If bent during the removal process, they may require special glue from the manufacturer to replace.
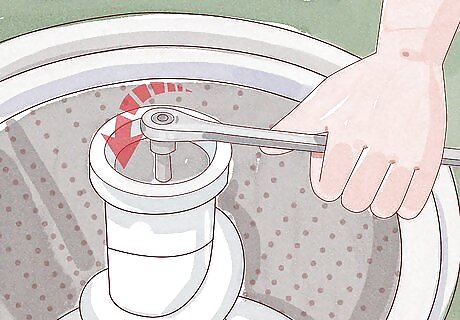
Unscrew the bolt holding the agitator down. Once you remove the cap, look down into the barrel of the agitator. You should see a metal bolt or nut holding the entire agitator housing in place. Use a ratchet (with an extender) to unscrew and remove this. Note that, in some cases, you may see large flathead, hex head, or #20, #40, or #50 torx screws rather than a standard hex nut or bolt. In these cases, use the appropriate screwdriver or socket. When you're done, simply lift the agitator up. It should come out of the machine freely. If it doesn't, it may be stuck in place with accumulated soap or other washing chemicals. In this case, see below for more information.

Re-install by reversing the steps above. For bolted agitators, re-installation is usually quite simple. Place the agitator back in the wash compartment, replace the bolt or screw, re-tighten it, and replace the agitator cap. At this point, your maintenance is complete! Plug your washing machine back in and test the function of your agitator to ensure it's working properly.
Removing a Non-bolted Agitator
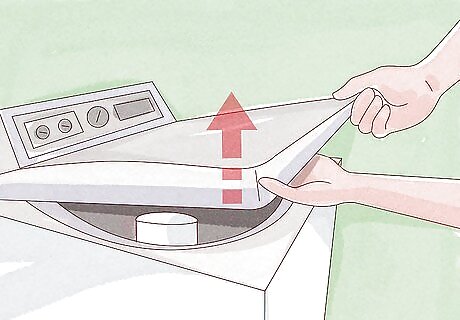
Open the wash compartment. Many older models of GE washing machines (specifically those made before 1992) have agitators that aren't secured in place with a bolt. This means that you don't necessarily need any special tools to remove the agitator, though you may if chemical buildup has caused it to become stuck in place. In this case, see the section on "stuck" agitators below. Before beginning, for your safety, be sure to unplug the machine as above.
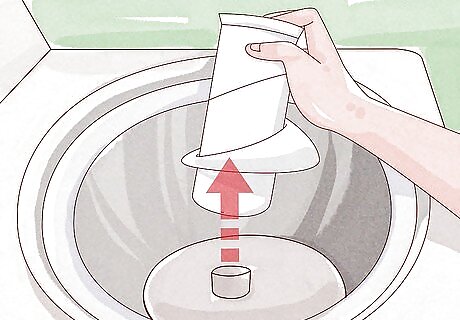
Pull directly up on the agitator. Brace yourself firmly against the washing machine and pull directly upward on the agitator. With some force, the agitator should come off of its mounting, exposing the drive shaft underneath. Avoid twisting or jerking the agitator from side to side. Don't hurt yourself by straining too hard to remove the agitator. See below for more information on how to handle a stuck agitator. If you're having trouble, you may also want to consult GE's online database of product manuals for more information.
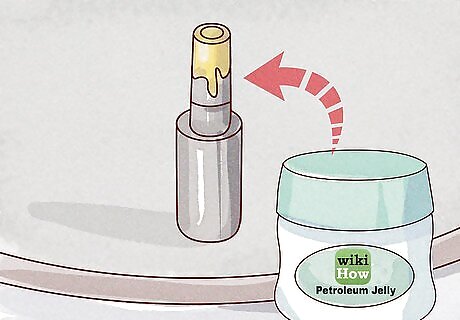
Take the opportunity to lubricate the shaft. Older models of washing machines usually have a metal shaft under the agitator that requires occasional lubrication to keep the motion of the agitator smooth. As long as your have access to the shaft, ensure it stays in good working order by using a small amount of petroleum jelly (often called by the brand name Vaseline) to lubricate it. For most models of washers, lubrication is recommended twice each year.

If the agitator won't come off, call a repairman. The agitators in many models of washing machine (particularly more recent ones) aren't designed to be removed normally — instead, they require special tools or techniques that only trained service people have access to. In these cases, you may not be able to remove the agitator even if there is no obvious bolt holding it in place, so your only option is to enlist the help of a mechanic. GE's customer service line is available at 1-800-432-2737. Service appointments can also be scheduled online via the support section of the official GE website.
Removing a "Stuck" Agitator
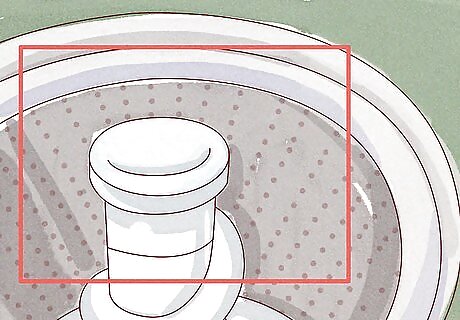
Ensure that the agitator isn't bolted down. Over many years of use, water, soap, and other washing chemicals can sometimes harden around the base of the agitator, essentially "freezing" it in place and making it very tricky to remove (if not impossible). Luckily, in this case, it's often still possible to remove the agitator by using a sturdy 2x4 plank as a simple lever. However, if this method is used to "force" an agitator that is bolted or otherwise fastened in place, it can break the agitator and even cause damage to the inner machinery of the washing machine. For this reason, it's extremely important to ensure that the agitator is not bolted down before attempting this method. Remove any bolts holding it in place as directed above and ensure that the agitator for your model of washer can be safely removed before beginning. If in doubt, contact a mechanic — the price of a repair is usually minor compared to the price of replacing a broken machine.
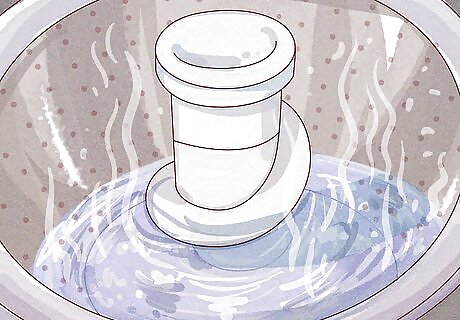
Cover the bottom half of the agitator with hot water. To begin, fill the washing compartment with about six inches or so of hot water — enough to completely cover the bottom of the agitator. This will help loosen any built-up soap and chemicals, making removal slightly easier. To be clear, you don't want to start a wash cycle with hot water. You only want to add hot water to the washing compartment. Attempting maintenance on your washing machine while it's "on" is always an unwise idea.
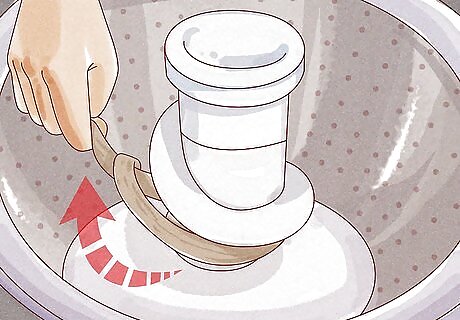
Fasten a loop of strong rope around the agitator. Grab a strong piece of rope about five feet (one and a half meters) long. Fold it over on itself at its midway point and loop it through itself to fasten it between the fins on the agitator neck. Give it a firm upward yank to tighten it and ensure it's secure. In a pinch, you can also use an old dryer belt for this task.
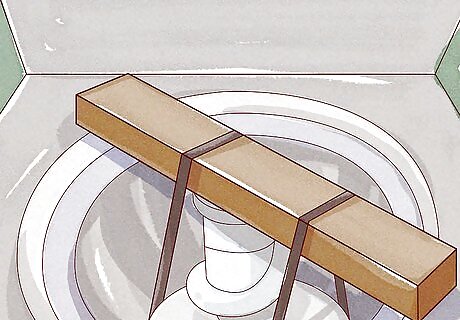
Position a sturdy 2x4 under the rope. Grab a 2x4 plank about five feet long. Loop the ends of the rope over the 2x4 and tie them securely in place around the wood so that they won't slip. To protect the finish on the edge of your washer from the pressure of the 2x4 in the next step, put a folded towel underneath it.
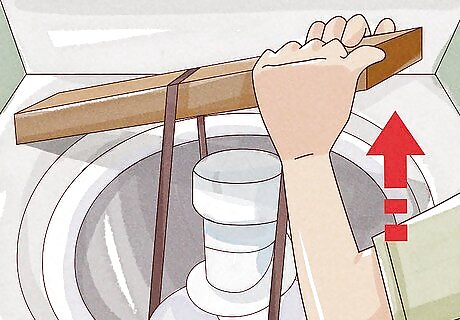
Use the 2x4 as a lever to pull the agitator off. Start putting firm pressure on the end of the piece of wood outside the washer. This will raise the end over the agitator, pulling it directly upward. Gradually increase the downward pressure on the lever until you are able to lift the agitator out. Beware — this can require quite a bit of force, especially if your agitator hasn't been removed in years. If you can't remove your agitator this way, call a mechanic. Using extreme amounts of pressure to push down on your lever is a sure-fire way to injure yourself, damage your washer or both, so play it safe.


Comments
0 comment