views
- Give your furniture a simple but stylish upgrade with wood stain, spray paint, chalk paint, wallpaper, or fabric.
- Install new drawer handles or nightstand legs to give your nightstand a chic transformation.
- Add an inexpensive but luxurious touch to your Ikea nightstand with marble contact paper.
- Give your furniture a textured touch by gluing down rows of wooden dowels or stapling in caning material.
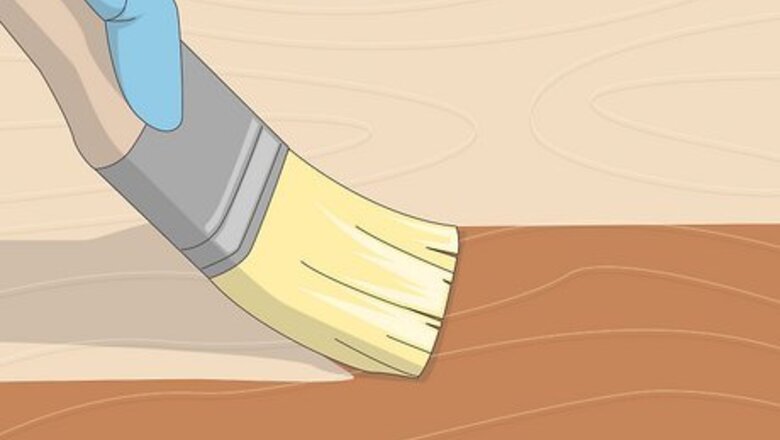
Stain the wood.
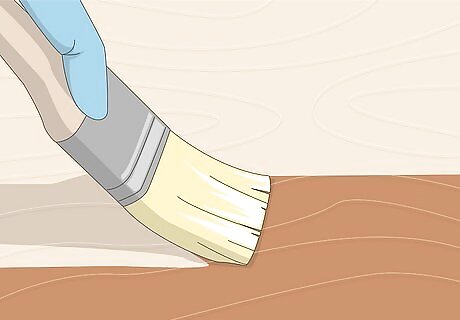
A simple coat of stain adds a classy, elegant touch to your furniture. Use a 220-grit sandpaper square to smooth out the surface of the wood first. Once it’s smooth to the touch, start applying the wood stain, moving in even strokes within a single layer. Once everything’s dry, apply polyurethane (a clear top coat) as a finish. Depending on the humidity and temperature, wait 24-28 hours before checking the surface. This hack will not work on veneer or laminate Ikea nightstands, as stain only sticks to real wood. Veneer is a thin piece of treated wood applied over the plywood, giving it a smoother surface but failing to absorb stain. Laminate repels most liquids in general to protect the surface of the wood.
Spray paint the nightstand.
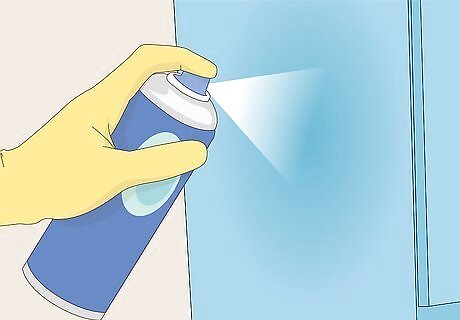
A fresh coat of paint brightens any type of plain wood. With a primer and paint color of your choice, set up your nightstand outdoors or in a well ventilated space. Evenly spray the wood with primer until it’s completely covered. Once the primer is dry, apply a coat of your chosen color of spray paint. Apply a second coat once the first is dry, and you’ll have a smooth, bold-looking nightstand! Spray paint is an especially great option for Ikea Tarva and Ikea Rast nightstands, which are both made with untreated pine.
Apply a coat of chalk paint.
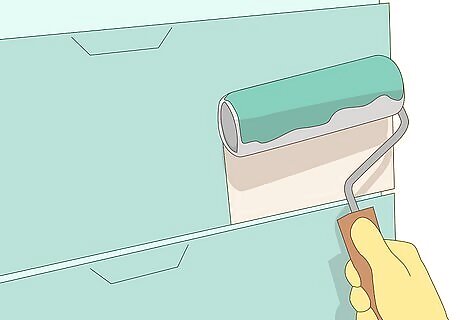
Chalk paint gives your nightstand a stylishly distressed look. Disassemble your nightstand and apply a coat of chalk paint using a brush or roller—a single coat of paint is generally enough to get the job done. Once the paint is dry, apply a layer of tinted or clear wax to seal everything in. Chalk paint doesn’t usually require any sanding or priming prep, but it helps to apply a layer of clear shellac to any untreated wood surfaces. This way, the wood tannins won’t seep into the chalk paint later on and change the final color.
Cover the nightstand in wallpaper.
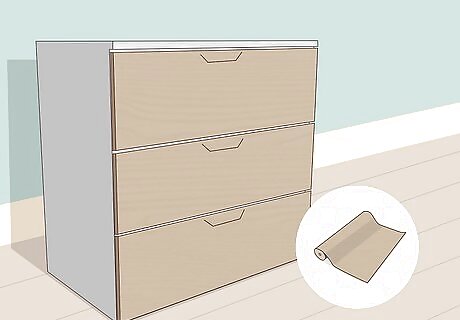
Wallpaper instantly adds pattern and texture to your nightstand. Simply adhere your chosen paper over the surface of the drawers, sides, or all over your nightstand! If you’re not feeling a wild pattern, use vinyl wood sheets to give a look of multiple different woods—these sheets apply similarly to peel-and-stick wallpapers. Some wallpaper needs to be adhered to the wall with a paste, but there’s a great deal out there that already has a sticky side and a paper side.
Wrap it in fabric.
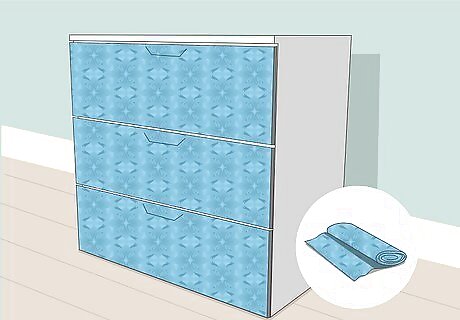
A little glue and fabric are all you need to transform your nightstand. Measure out sections of fabric that are large enough to wrap around the front of each drawer. Then, apply adhesive (like Mod Podge) over the surface of the drawer before pressing the fabric into place. If your drawers have handles (or you’re planning on adding handles later), cut the fabric accordingly before it dries.
Decorate the nightstand with stencils.
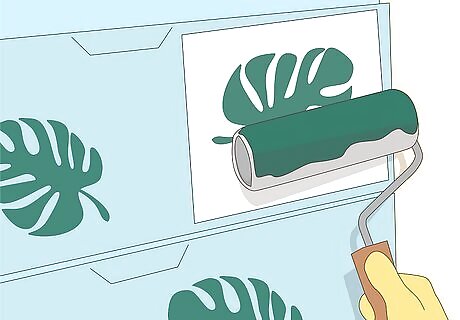
Stencils allow you to give your furniture a stylish and artistic touch. Trace your chosen pattern on with pencil and paint along the lines. If you’d rather simplify the process, just paint on the pattern from the get-go with a brush or a can of spray paint.
Upgrade the drawer handles.
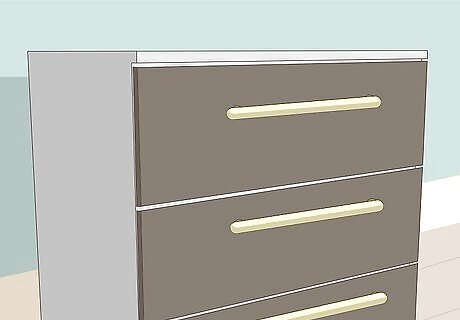
A simple change-up can give your Ikea nightstand a whole new look. Replace the drawer handles with long bars, cupped grips, or remove them altogether to give a more consistent look. Some nightstands already have pre-drilled holes—simply fill these with wood putty so you can drill new ones to fit the alternate handles. Or, you can always use the existing holes if they happen to fit the handles you pick.
Add wooden dowels.
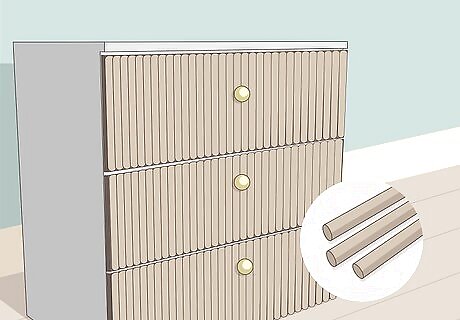
Wooden dowels give your nightstand a lot of personality and texture. Using a ruler and a pencil, draw lines in the pattern you’d like across the surface of your nightstand’s drawer. Set the dowels up along these lines, marking off the ends with a pencil. Cut the dowels to size with a handsaw, then use wood glue to adhere the dowels to the furniture. Paint and style them further as you choose! Place a cardboard box on the dowels to help them stay in place while the glue dries. A table saw is a much speedier option for cutting down the dowels, but, a hand saw is also fine.
Apply marble contact paper.
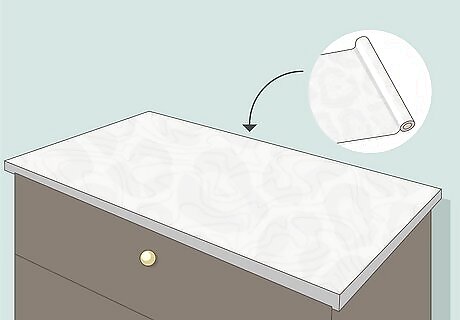
Marble contact paper gives your nightstand an expensive look for a cheap price. Before assembling your Ikea nightstand, set aside the piece that would be the top part of it. Cut a roll of marble contact paper to size, lining it up along the surface of the wood. Once it’s lined correctly, remove the sticker sheet from the back and smooth it down to adhere. Use the edge of a credit card to remove any air bubbles. Paint the rest of your nightstand white to get that clean, modern look. If you’re not worried about spending a little extra, use real marble tops to replace the tops of nightstands. Make sure that the existing wood of the nightstand can hold it, though! You may need to add some reinforcing planks to keep it secure.
Stick on some overlays.
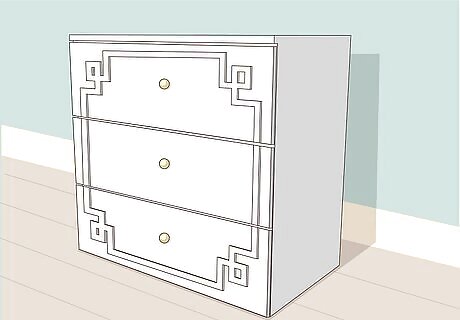
Overlays let you spruce up the front of your drawers with a simple adhesive. Use strips of painter’s tape to mark where your overlay will go along the front of the drawer. Then, apply multi-surface glue along the backside of the overlay. Using the tape as a guide, center and stick the overlay directly to the drawer. Try flattening the glue line out with a foam paintbrush before sticking the overlay to the furniture—this helps prevent lots of glue from coming out the sides. If excess glue does squeeze out when you apply the overlay, wipe it up with a clean cotton swab. Apply any new handles after you’ve installed in the overlay. Wood glue is a great way to securely attach them!
Install a new set of nightstand legs.
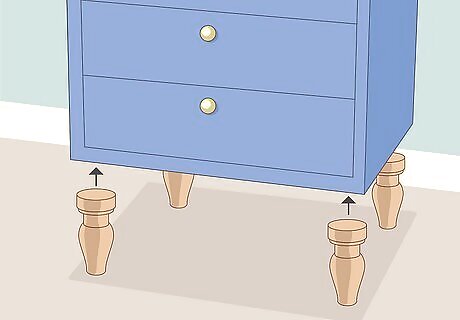
A new set of legs gives your nightstand a decorative (and physical!) lift. Depending on the type of nightstand you have, you may need to place a baseboard at the bottom of the stand and attach the legs to that so you aren’t drilling into the bottom drawer. At the end, all you have to do is nail the baseboard to the bottom! Narrow, metallic legs are common, as well as wood stub ones—what you choose really depends on the final look that you’re going for.
Create square-shaped apothecary drawers.
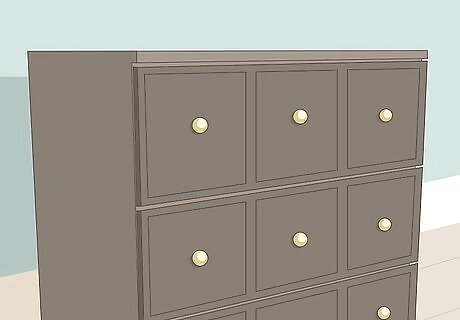
Give your Ikea nightstand an antique vibe with this iconic hack. Cut small squares of wood and glue them on top of an existing drawer to give it an apothecary-style look. Then, attach a library-style pull to each square to complete the nightstand’s vintage transformation. This style works best if you’re using a larger cabinet or dresser, but the same style can be done to the drawers of a traditional nightstand. This style could be especially easy to do on a sleek, handle-less nightstand like the Ikea Malm, but it might not be doable with a floating Ikea nightstand.
Accent your nightstand with caning material.
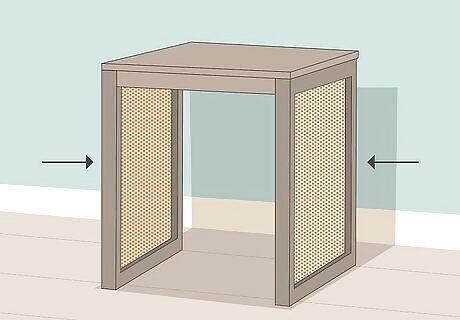
Caning material (like ratan) gives your furniture a beachy, boho look. Before you set up your nightstand, measure and cut out sections of caning material that fit within the frames of the furniture. Then, use a staple gun to attach the material to the inside of the frame. Caning material looks really good along the sides of your furniture.




Comments
0 comment